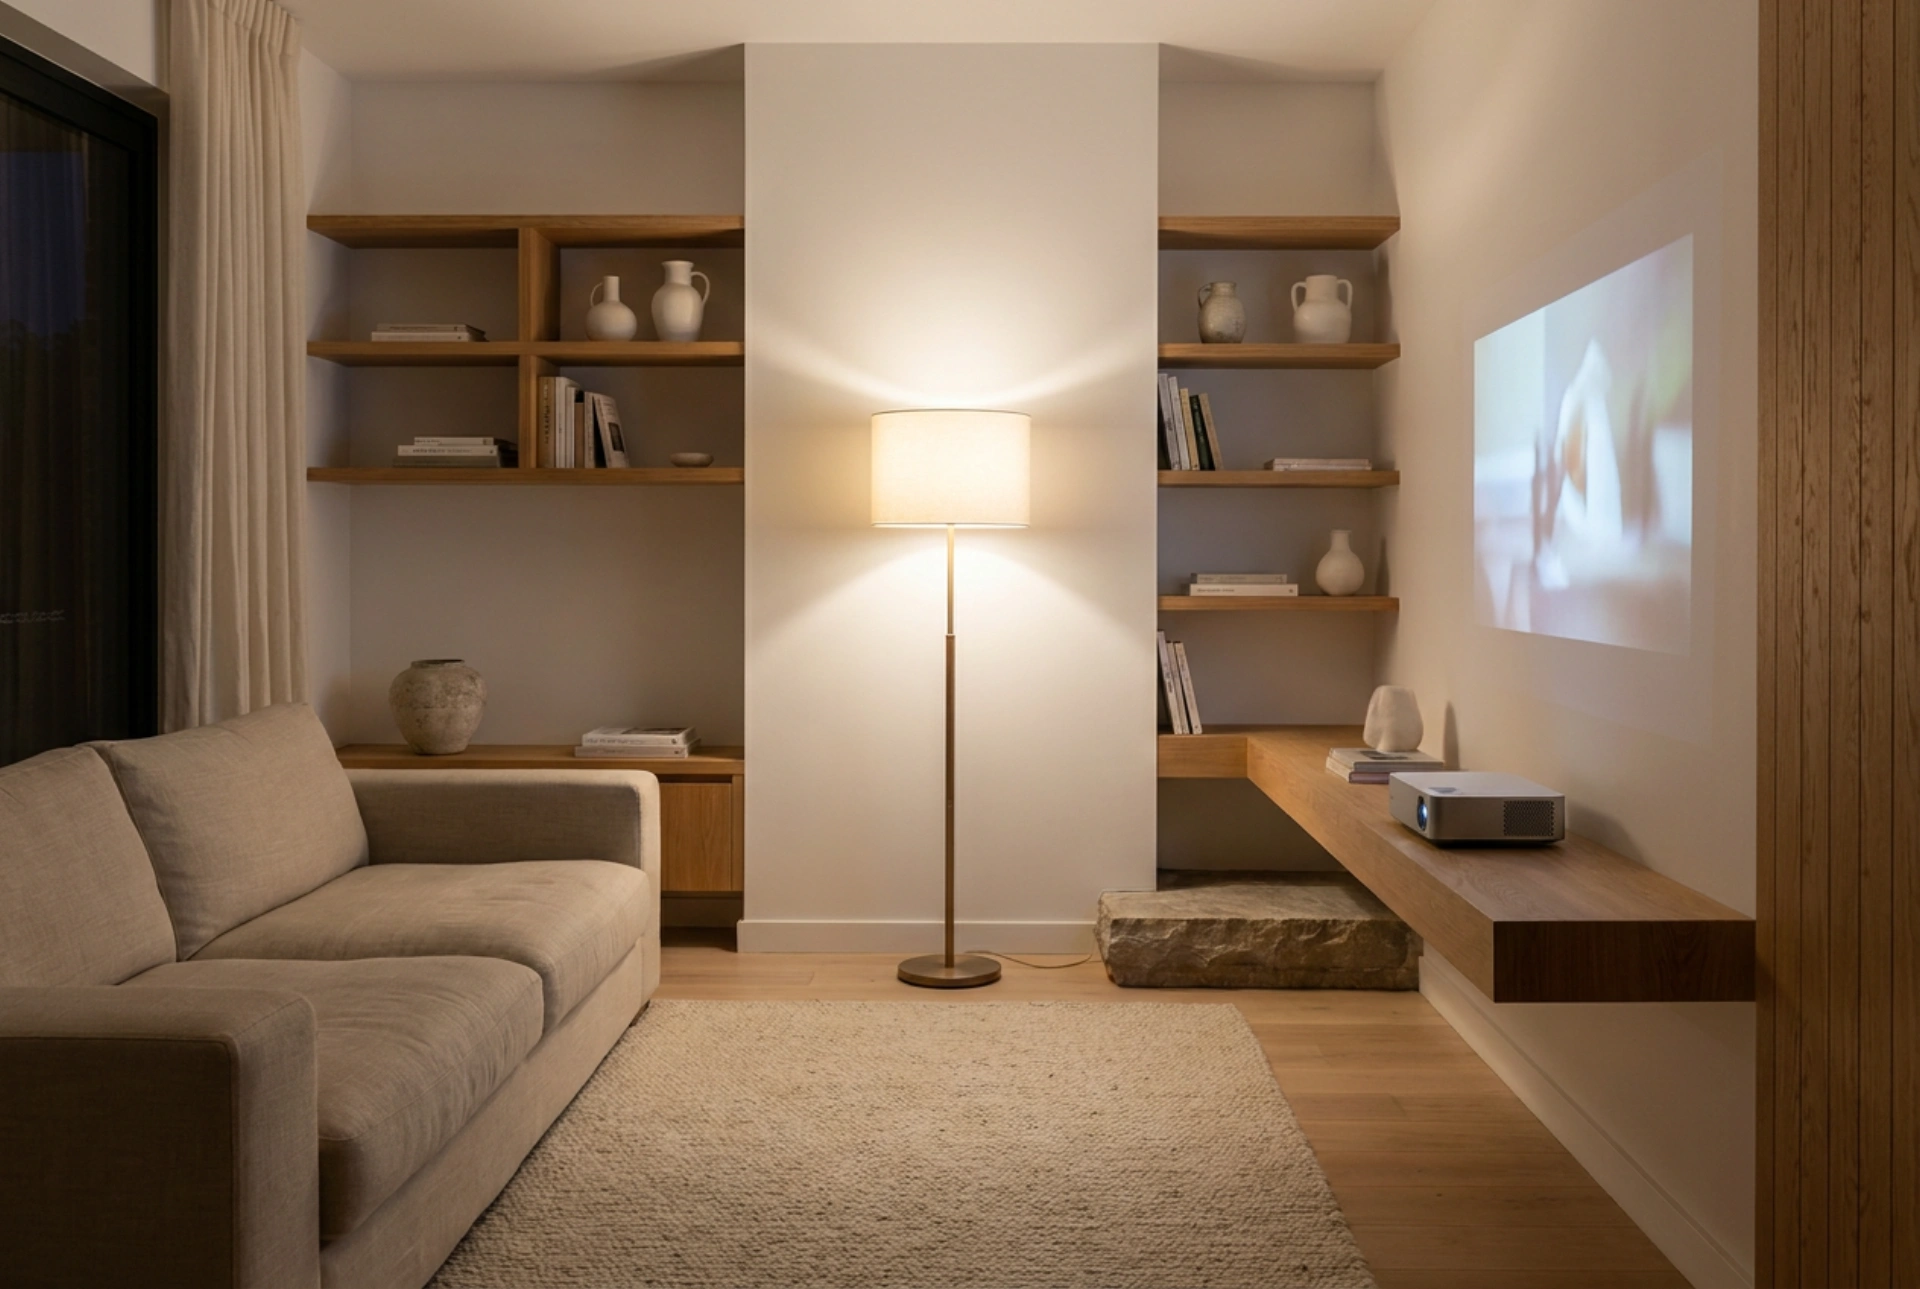


Setting up a kids' projector requires balancing optical clarity with physical and visual safety to protect young eyes and prevent accidents.
The Physics of Throw Distance and Image Size
The distance between the projector lens and the projection surface directly dictates the size and sharpness of the image. This relationship is governed by the throw ratio, which is calculated as the throw distance divided by the width of the projected image. For standard projectors, this ratio typically ranges from 1.5:1 to 2.0:1, while short-throw devices can achieve larger images from a much shorter distance, often between 0.4:1 and 1:1. Ultra-short-throw models can even sit directly adjacent to the wall, projecting upwards at an extreme angle.
To calculate the ideal placement, check the manufacturer's throw ratio specifications. If a projector has a throw ratio of 1.5:1 and you desire an image width of 1.2 metres, the device must be placed exactly 1.8 metres away from the wall or screen. Placing the unit too close results in a small, overly bright image that causes eye strain, while positioning it too far degrades contrast and brightness, forcing the device to run at maximum output, which accelerates lamp wear and heat production.
Optical Safety: Protecting Young Eyes from Direct Light
Unlike traditional television screens that emit direct light, projectors rely on diffuse reflection, where light bounces off a wall or screen before entering the eye. This is generally gentler on the visual system, but the direct light source itself poses a hazard. Children are naturally curious and may look directly into the lens, which emits high-intensity light measured in lumens.
To prevent direct ocular exposure, mount the projector at a height of at least 1.5 to 1.8 metres, well above the average height of a child. By utilising a high shelf or a secure ceiling mount, the beam trajectory remains overhead, descending at an angle to the wall. This ensures that the active projection pathway is elevated above the children's line of sight, eliminating the risk of anyone walking directly into the light path. If the projector has a keystone correction feature, use it to correct the trapezoidal distortion caused by projecting at an angle, ensuring a perfectly rectangular image without lowering the device. Additionally, maintain soft, indirect ambient lighting in the room to reduce pupil dilation, which lessens the impact of any accidental brief exposures to the projected beam.
Thermal Dynamics and Device Ventilation
Projector light sources, whether LED or traditional lamps, convert a significant portion of electrical energy into thermal energy. Proper heat dissipation is critical to prevent internal optical degradation and fire hazards. Projectors rely on internal fans to draw cool air in and expel hot air through dedicated vents.
Never place a projector on soft surfaces like carpets, sofas, or cushions, as these block the lower intake vents and trap heat. Instead, position the unit on a hard, flat surface such as a wooden shelf or metal bracket. Maintain a clearance zone of at least 15 to 20 centimetres on all sides of the device to facilitate unobstructed convective airflow. Restricting this flow causes the internal temperature to spike, triggering thermal shutdown mechanisms and shortening the lifespan of the internal optical components.
Mechanical Stability and Cable Management
The physical stability of the projector setup is essential to prevent falls caused by physical impact or cord pulling. The centre of gravity of the device must remain centered on its supporting surface. If using a shelf, choose one constructed from solid materials capable of supporting the device's weight without flexing.
Cable management must be handled systematically to mitigate tripping hazards, which can pull the projector down. Secure all power and input cables flat against the wall or along the baseboards using adhesive-backed cable channels or heavy-duty clips. Avoid dangling cords. If a cable must cross a pathway, cover it with a sloped, rubber floor cord protector to ensure it cannot be caught by a foot. Ensure the power cable has some slack near the device connection point to prevent any minor tension from tilting or displacing the projector.





