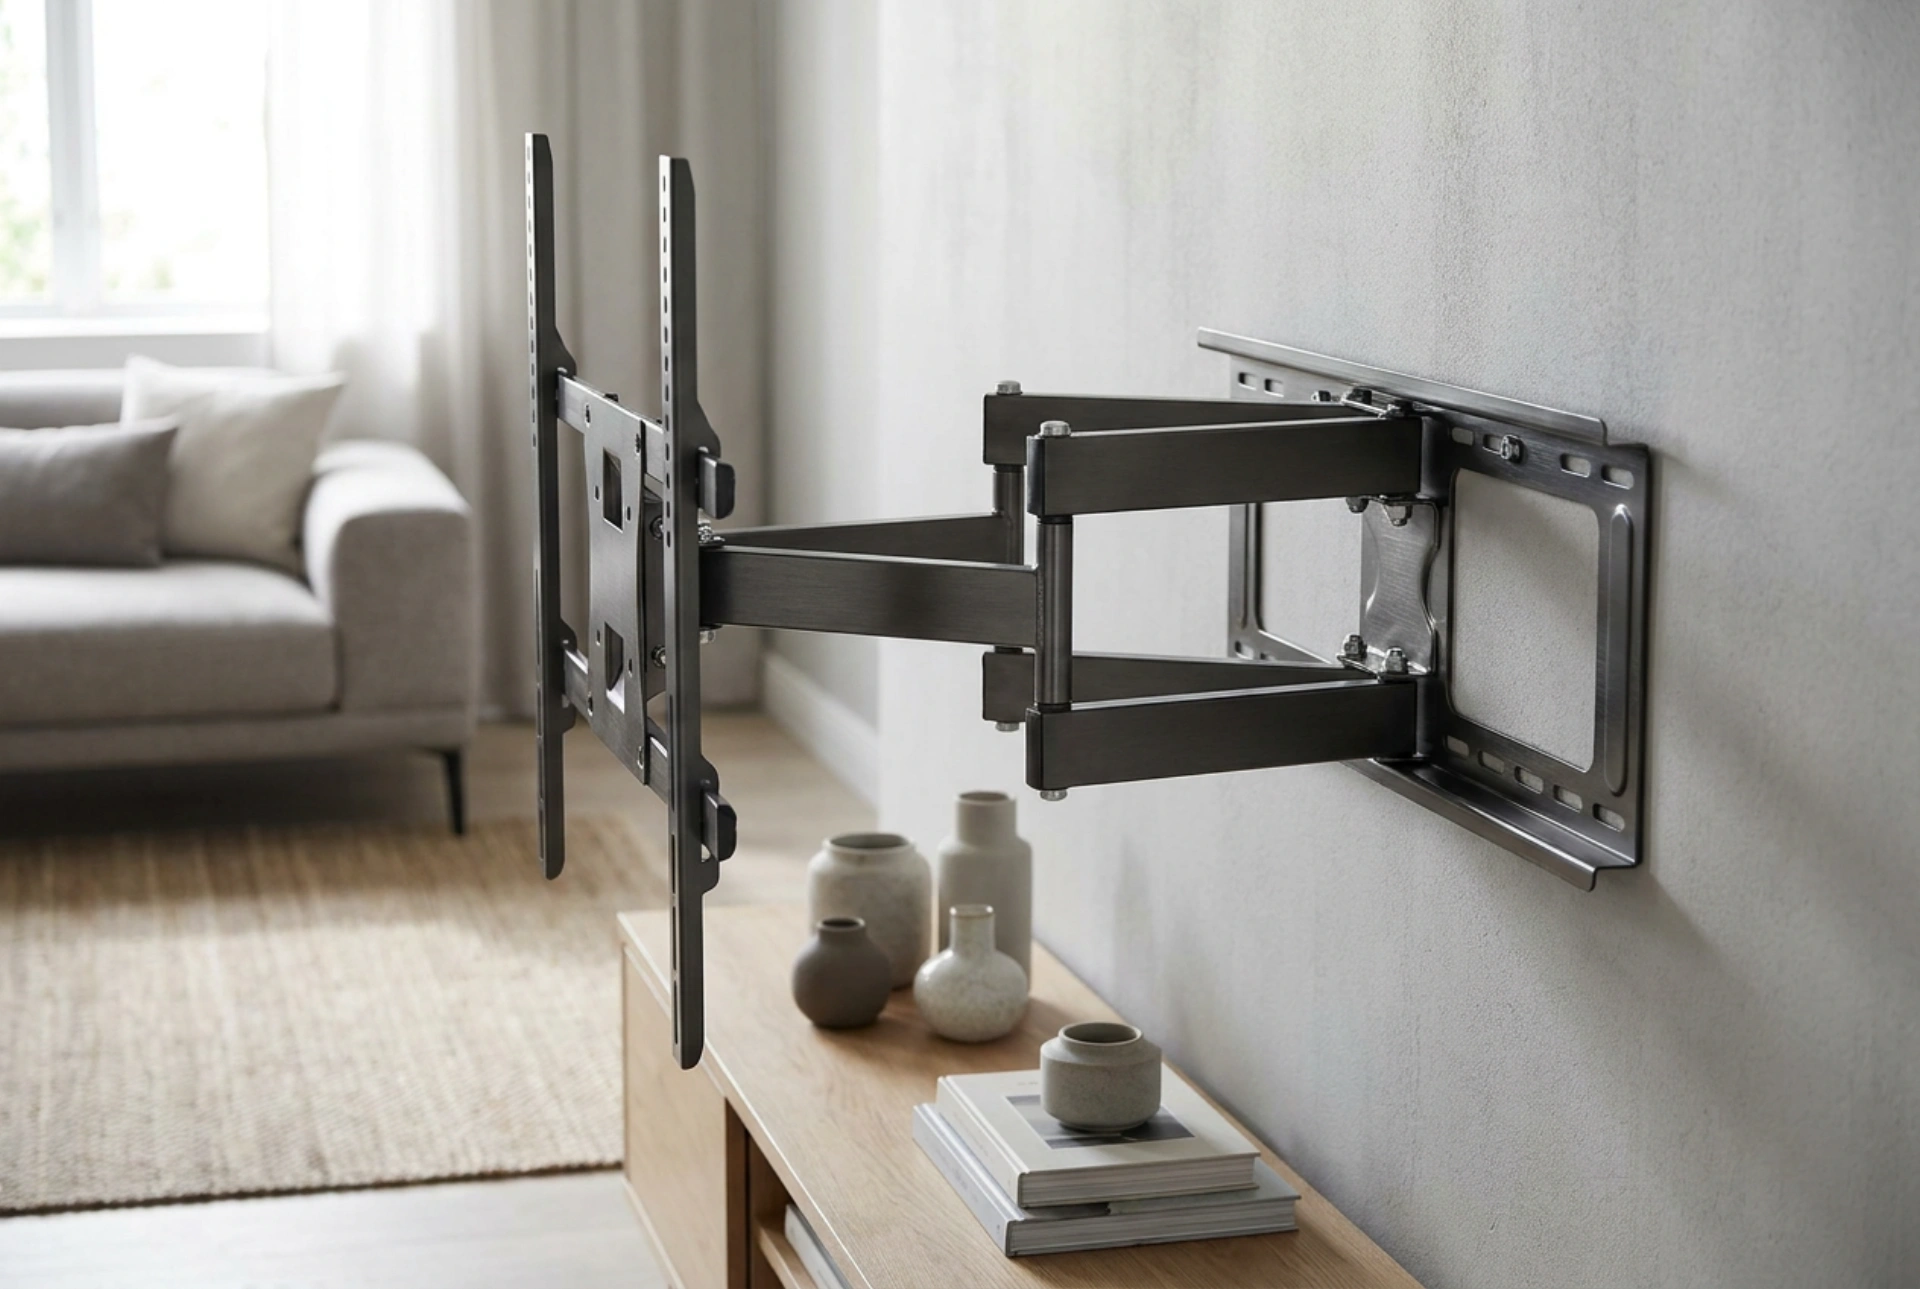


Mounting a flat-screen television to a wall is not merely an aesthetic choice; it is an exercise in applied physics and material science. To ensure a secure installation, you must precisely match the mechanical interface of the screen with the structural load capacity of your specific wall type, factoring in leverage, shear forces, and fastener mechanics.
Understanding VESA Standards and Screw Physics
The foundation of any television wall mount installation is the VESA (Video Electronics Standards Association) interface standard. This standard defines the distance, in millimetres, between the four threaded mounting holes on the back of the television, measured horizontally by vertically (such as 200x200 or 400x400). Matching these dimensions is the first step in ensuring a correct mechanical fit.
Equally critical is the thread specification and depth of the mounting screws (typically M4, M6, or M8 machine screws). Using screws that are too short limits thread engagement, concentrating the entire load onto a few threads and risking strip-out failure. Conversely, screws that are too long will bottom out in the television's internal chassis before clamping the bracket tightly, introducing mechanical play. The golden rule of thread engagement is that the screw must penetrate the threaded insert to a depth at least equal to the diameter of the screw itself, plus the thickness of the bracket plate.
Evaluating Wall Materials and Load-Bearing Capacity
The load capacity of your installation is ultimately governed by the weakest link in the system, which is usually the wall material. Different materials handle physical stresses in fundamentally distinct ways:
- Solid Concrete and Solid Brick: These materials offer high compressive strength and excellent resistance to pull-out forces. They can support almost any standard television weight, provided the correct expansion anchors are used to translate the tension into friction against the borehole walls.
- Hollow Brick and Aerated Concrete: These materials have lower density and internal voids. Standard expansion plugs will fail to grip effectively. Instead, you must use specialized injection anchors or sleeve plugs that deform and lock behind the internal chamber walls of the brick.
- Plasterboard (Drywall) on Studs: Plasterboard itself has very low shear and tensile strength. It cannot support a television mount directly. The load must be transferred directly into the wooden or metal studs behind the plasterboard using heavy-duty wood screws (lag bolts). If stud alignment does not match the bracket spacing, a bridging wooden backplate must be securely fastened to multiple studs first, and then the mount attached to this backplate.
The Mechanics of Fasteners: Shear vs. Tension
Two primary physical forces act upon wall mount fasteners: shear force (the downward pull acting parallel to the wall) and tension force (the outward pull acting perpendicular to the wall). A flat, low-profile bracket exerts almost pure shear force on the upper screws, which is easily managed by standard wall plugs. However, as soon as a tilting or articulating arm bracket is introduced, the physical dynamics change transitionally.
When an articulating arm is fully extended, it acts as a lever, multiplying the tension force on the upper wall fasteners. This rotational force (torque) can easily exceed the pulling-out resistance of standard plastic anchors. For example, a 15 kg television extended 50 cm from the wall can exert several times its actual weight in pulling-out force on the top fasteners. Therefore, full-motion brackets require robust mechanical anchors, such as steel sleeve anchors in solid masonry, or heavy wood screws driven deep into the centre of timber studs.
A Step-by-Step Installation Check
Before drilling, verify your calculations with this protocol:
- Weigh the screen: Check the manufacturer specifications for the net weight of the panel without its desktop stand.
- Check the bracket rating: Ensure the bracket's safe working load (SWL) exceeds the screen weight by at least 20% to account for dynamic forces during adjustment.
- Identify the substrate: Use a stud finder or drill a small pilot hole to verify whether you are dealing with solid masonry, hollow cavity wall, or timber frame.
- Select matching hardware: Never use the cheap, generic plastic plugs included in the box for anything other than solid concrete. Invest in high-grade nylon expansion plugs or hollow-wall anchors designed specifically for your substrate.





