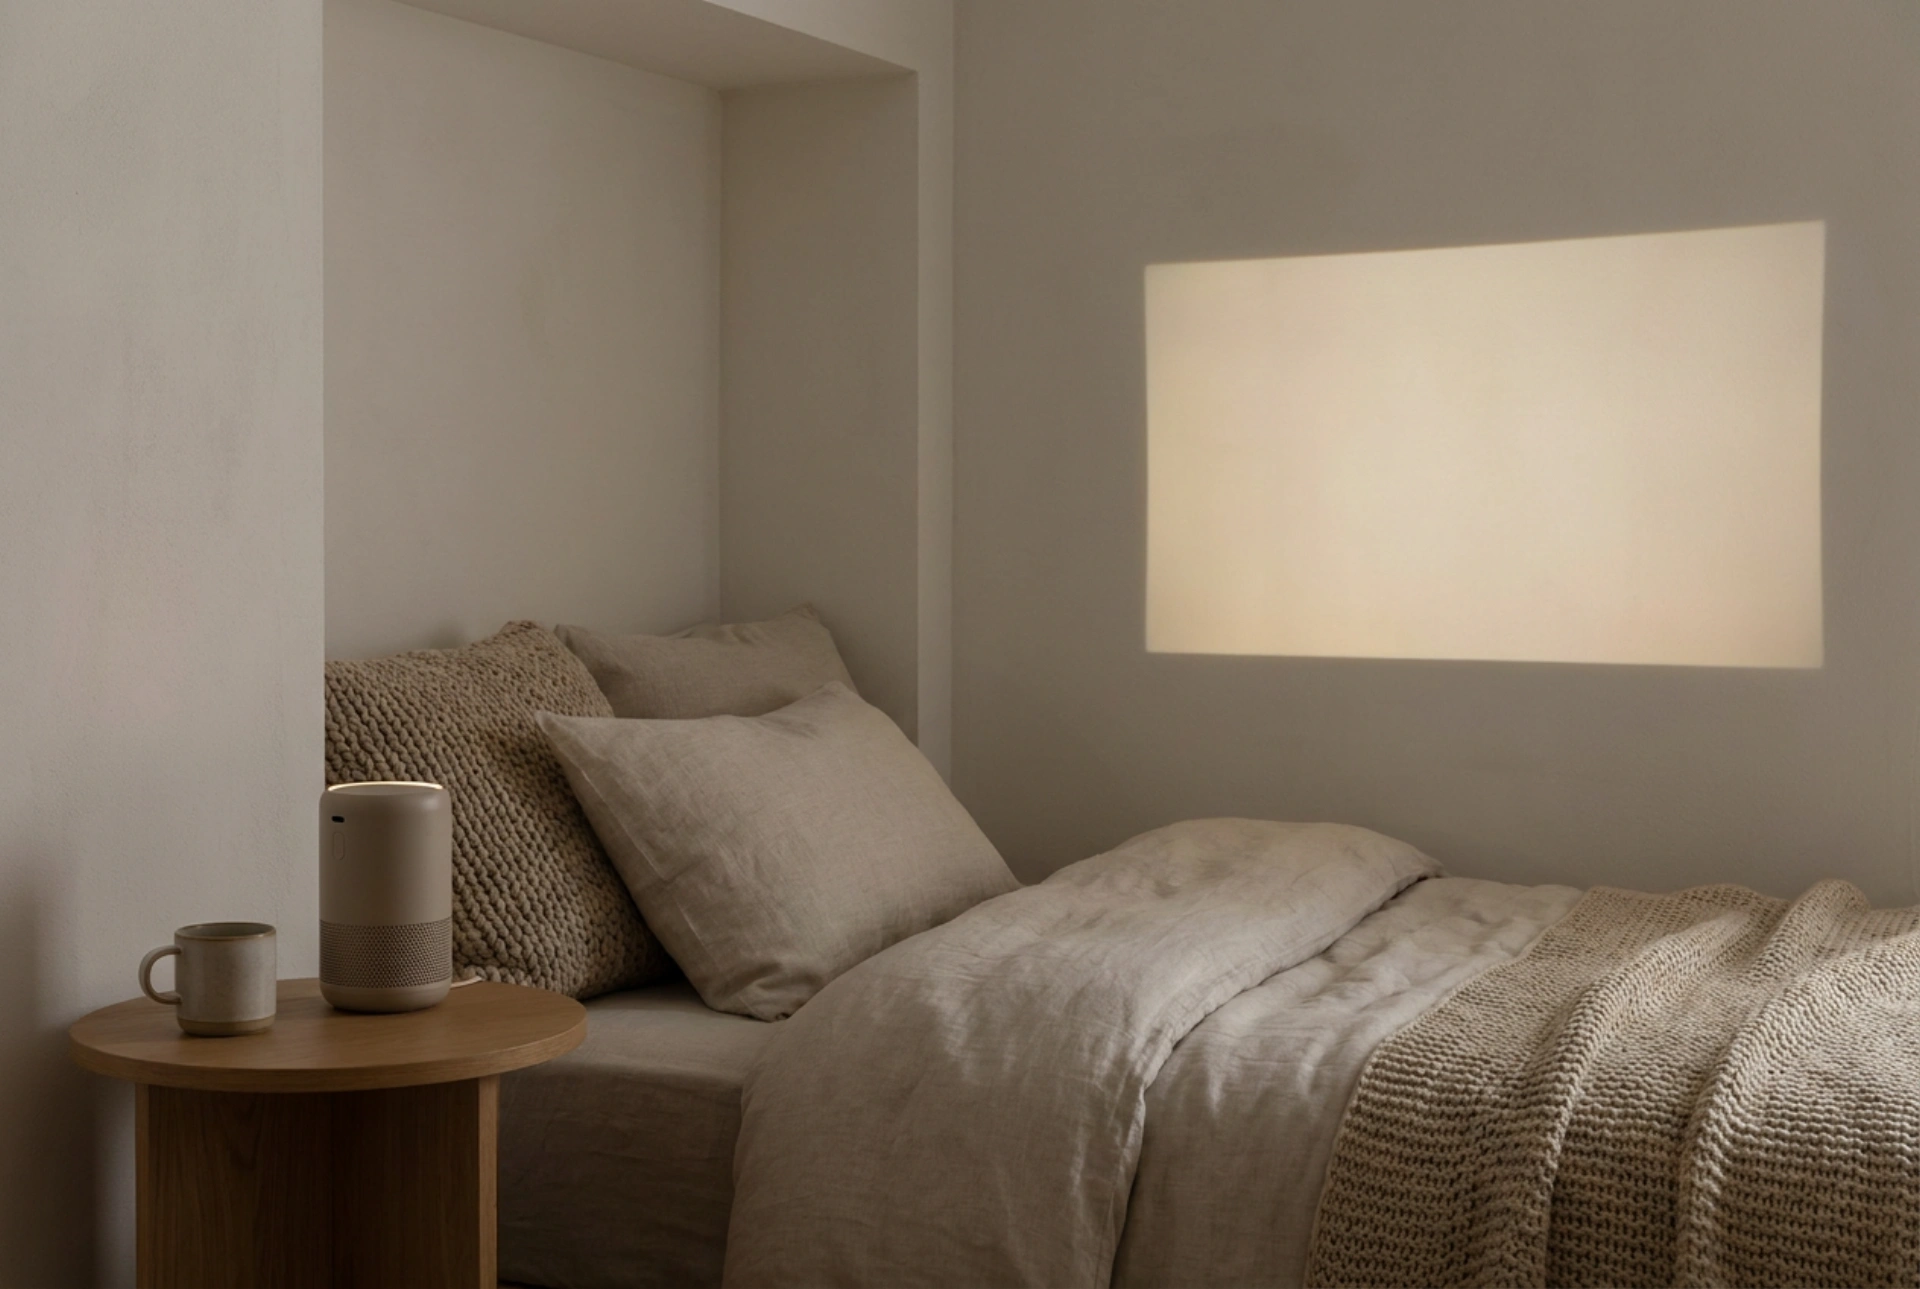


Using a projection device before bedtime can be a highly effective way to ease children into sleep, provided you understand how light emissions affect the human circadian rhythm. By controlling light intensity, colour temperature, and positioning, you can transform a standard projector into a gentle tool for evening relaxation.
The Science of Evening Light: Lumens and Colour Temperature
The primary concern when exposing children to projected images before sleep is the suppression of melatonin, the hormone responsible for regulating sleep-wake cycles. Standard screens emit a high concentration of short-wavelength blue light, which stimulates retinal ganglion cells and signals the brain that it is still daytime. To counteract this when using a projector, you must focus on two physical properties: light output (lumens) and colour temperature.
For a bedtime environment, the projector’s brightness should be kept as low as possible. In a fully darkened room, an output of 50 to 150 ANSI lumens is more than sufficient to produce a clear image without overstimulating the visual cortex. If your device allows, adjust the picture mode to 'warm' or 'eco', which reduces the overall power consumption and shifts the colour spectrum away from cool blues and towards warm yellows, oranges, and reds. These longer wavelengths have a significantly lower impact on melatonin production, allowing the child’s natural sleep signals to take effect.
Distance, Angles, and the Inverse-Square Law
The intensity of light falling on a surface is governed by the inverse-square law, which states that light intensity is inversely proportional to the square of the distance from the source. When positioning a projector in a child's bedroom, this principle can be used to your advantage. Placing the projector further from the projection surface expands the image size but also naturally diffuses the light intensity, making the visual output softer and less jarring to sensitive eyes.
However, to maintain a safe viewing environment, keep these physical setup rules in mind:
- Elevation and Keystone: Place the projector on a stable, elevated shelf or table out of reach of children. Use the device’s digital or manual keystone correction to adjust the image geometry, rather than tilting the device precariously.
- Angle of View: Projecting onto the ceiling is highly effective for bedtime, as it allows the child to lie flat in a neutral, relaxed posture. Ensure the projector is tilted safely on a dedicated mount that does not block the cooling vents.
- Cable Management: Route all power cables along walls using rigid cable tracks. Never leave loose cords hanging where they could present a physical hazard or be pulled by a child.
Surface Physics: Choosing the Right Projection Area
The quality and comfort of the projected image depend heavily on the material properties of the target surface. Highly reflective, glossy paint finishes create 'hotspots'—areas of intense, concentrated light reflection that can cause eye strain. For the gentlest viewing experience, project onto a matte, flat-painted wall or ceiling. Matte surfaces disperse light in all directions (diffuse reflection), which eliminates glare and softens the overall image.
If the bedroom walls are textured (such as woodchip or rough plaster) or painted in dark, light-absorbing colours, you can temporarily hang a plain, unbleached cotton or linen sheet. These natural fabrics have a matte weave that absorbs excess glare while providing a clean, neutral background for soft, ambient projections.
Structured Bedtime Protocol: From Motion to Stillness
To successfully integrate a projector into a bedtime routine, you must establish a clear order of operations that mirrors the natural slowing of the nervous system. The goal is to transition from active visual engagement to complete darkness.
- Phase 1: Dynamic Projection (15 minutes): Start with slow-moving, gentle narratives or slow-panning nature scenes. Keep the volume low, ideally below 50 decibels, using integrated or external speakers positioned away from the child's bed.
- Phase 2: Static Imagery (10 minutes): Transition from moving video to a static, low-contrast projection, such as a night sky constellation map or a soft abstract pattern. This reduces cognitive processing and encourages deep breathing.
- Phase 3: Lumens Reduction (5 minutes): Manually lower the brightness of the projector further, or use a sleep timer that automatically dims the lamp before shutting down completely.
By treating the projector as a transitional tool rather than an active entertainment system, you leverage the physics of light reflection to create a soothing, low-stimulus environment conducive to restorative sleep.





