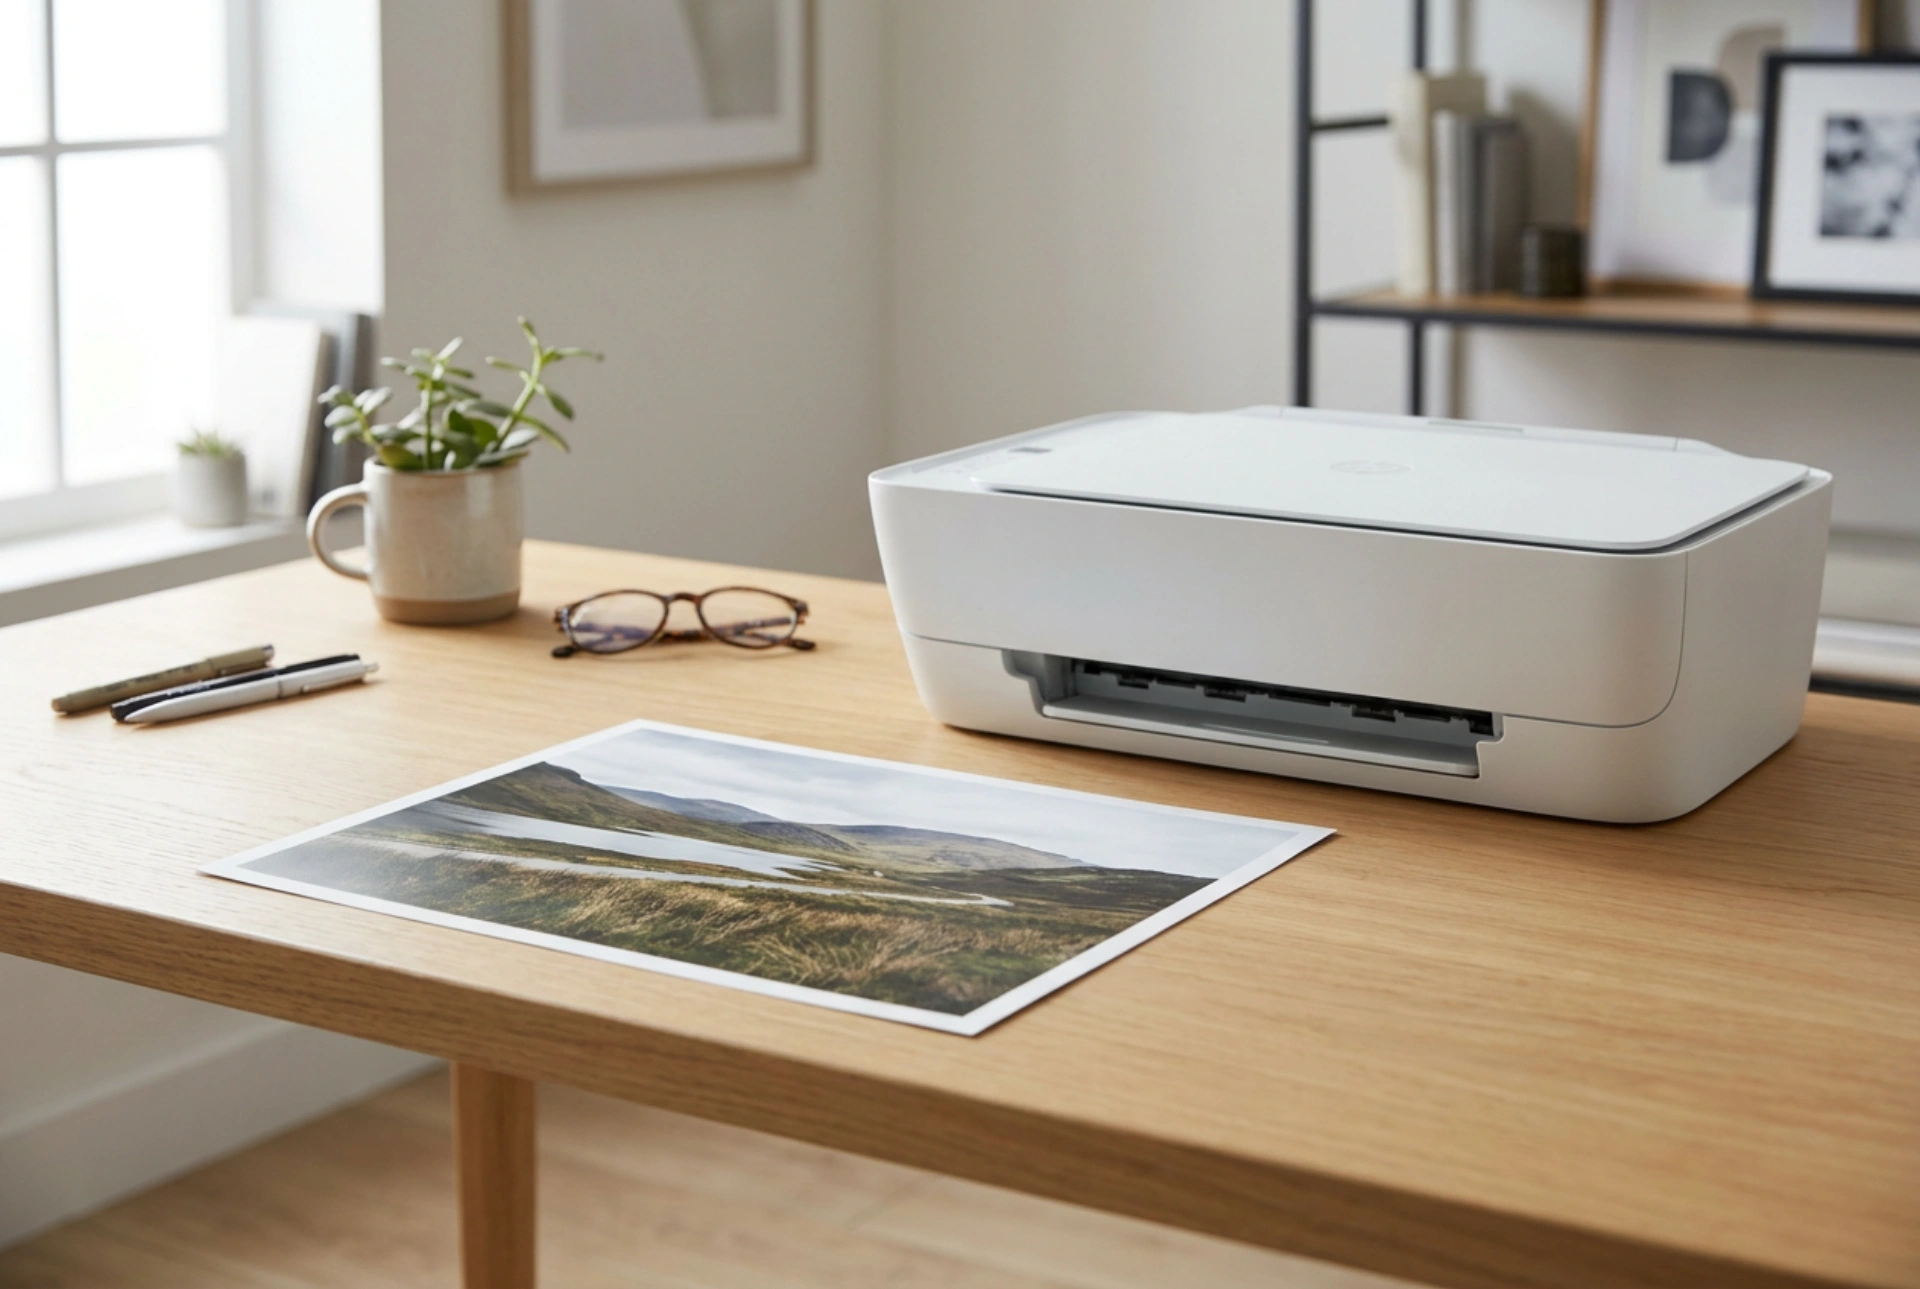


Achieving professional-grade photo prints at home requires understanding the delicate interplay between thermal energy, chemical dyes, and paper surface chemistry. Avoiding common printing pitfalls ensures your physical memories remain vibrant and resistant to degradation over time.
The Physics of Mini Printers: Dye-Sublimation vs. Zink Technology
To print photos without massive desktop machinery, modern mini printers rely on two main thermal technologies: dye-sublimation and Zink (Zero Ink). Knowing how these systems manipulate material states at the molecular level is key to troubleshooting print errors.
Dye-sublimation printers use a ribbon containing solid dyes. The print head heats up rapidly, causing the dye to transition directly from a solid to a gas (sublimation) without becoming liquid. This gaseous dye then permeates the specially coated paper polymer layer, solidifying as it cools. This process allows for continuous tone transitions, as varying heat levels control the density of each primary colour pigment.
Conversely, Zink technology eliminates the ribbon altogether by embedding colour-forming crystals inside the paper itself. The paper contains three layers of colourless crystals (yellow, magenta, and cyan). The thermal print head applies precise, localized heat pulses of varying temperatures and durations to melt and activate these specific dye crystals. A common mistake here is using incorrect paper sizes or attempting to print with incompatible thermal patterns, which leads to muddy or completely skewed colours.
The Chemistry of Photo Paper and Surface Contamination
One of the most frequent causes of failed home prints is the degradation of the paper substrate prior to printing. High-quality photo paper is not just thick paper; it is a complex, multi-layered material featuring a barrier layer, a resin-coated base, and a receptive top layer.
The top layer is highly porous—often microporous or swellable—designed to quickly absorb liquid ink or bond with sublimated gas. If you handle photo paper with bare hands before printing, natural skin oils (sebum) and sweat deposit onto this surface. These lipids form a hydrophobic barrier. When the print head attempts to apply heat or ink, the oil prevents even distribution, resulting in visible splotches, uneven saturation, or blank spots where the ink or thermal dye could not penetrate the polymer layer.
Managing Environmental Conditions and Colour Chemistry
Ambient humidity and temperature play a significant role in print quality. Paper is hygroscopic, meaning it naturally absorbs moisture from the surrounding air. If photo paper is stored in a high-humidity environment, the microscopic pores fill with water molecules. During printing, the extreme heat from the thermal head causes this trapped water to vapourise instantly, leading to micro-blisters, colour bleeding, or a loss of image sharpness.
Furthermore, colour representation errors often arise from a mismatch between digital profiles. Screen displays emit light using the additive RGB (Red, Green, Blue) colour model, whereas printers use subtractive CMYK (Cyan, Magenta, Yellow, Key/Black) pigments or dyes. Without proper calibration or translation through the printing software, bright digital hues can appear dull and muddy on paper because the physical pigments cannot replicate the high dynamic range of an emissive light source.
Optimal Workflow for Flawless Home Prints
- Acclimatise the paper: Keep your photo paper in its sealed, moisture-barrier packaging until immediately before use. If moving paper between rooms with different temperatures, allow it to reach ambient room temperature to prevent condensation.
- Handle by the edges: Always hold photo paper by its edges or use lint-free cotton gloves. This prevents skin oils from contaminating the receptive emulsion layer.
- Verify colour space profiles: Convert your digital images to the appropriate print profile (such as sRGB) before sending them to the printer to ensure accurate translation from screen to physical medium.
- Protect finished prints: Allow prints to cure in a dry, dark place for at least 24 hours before framing or stacking. UV radiation and atmospheric ozone break down dye molecules over time (photolysis), so housing prints behind UV-filtering glass or in acid-free albums is essential for long-term preservation.





