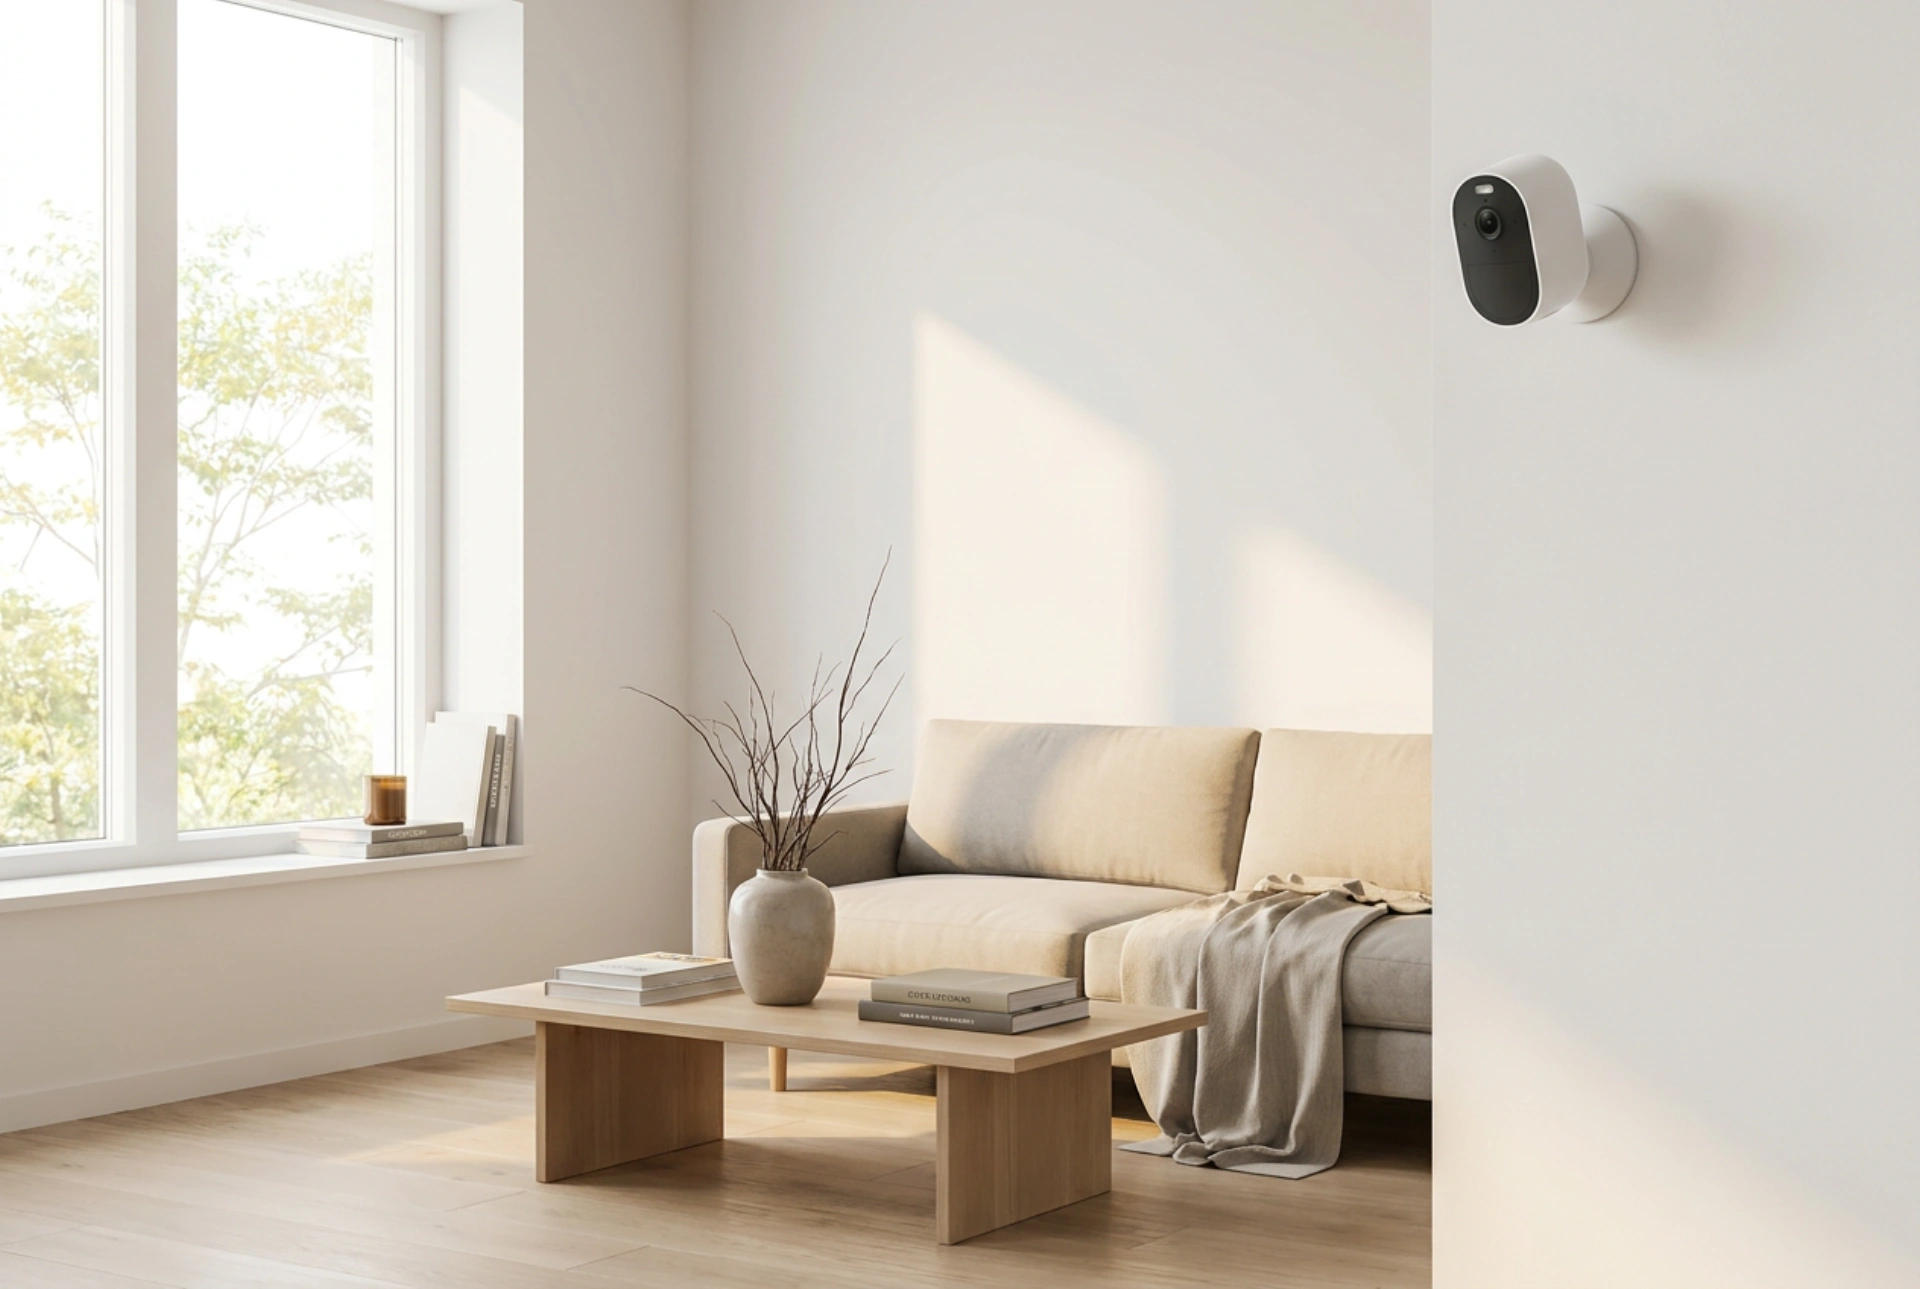


Setting up a home security camera for event-based recording ensures you capture critical footage without wasting storage space on hours of empty footage. Achieving an optimal setup requires balancing sensor sensitivity, defining precise detection zones, and configuring reliable storage pathways.
How Motion Detection Works: PIR vs. Pixel Analysis
To configure event-based recording effectively, you must understand how your camera detects activity. Home security cameras generally rely on one of two technologies: Passive Infrared (PIR) sensors or software-based pixel analysis. PIR sensors detect changes in infrared radiation, which correlates directly with body heat moving across the sensor's field of view. This physical detection method is highly reliable for outdoor environments because it ignores elements like wind-blown leaves or shifting shadows.
Software-based pixel analysis, common in indoor cameras, compares consecutive video frames to detect changes in individual pixels. While highly sensitive, pixel analysis can easily trigger false alarms from changing light levels or dust particles. When configuring your camera, identify which technology it uses. If your device relies on pixel analysis, you must actively manage sensitivity thresholds and define activity zones to prevent your storage from filling with irrelevant clips.
Configuring Activity Zones and Sensitivity Thresholds
Most modern cameras allow you to draw custom activity zones within the frame. This step is crucial for eliminating high-traffic areas, such as a busy public sidewalk or a swaying tree in the background, from the camera's trigger criteria.
- Define the Zone: Access the camera's configuration interface and use the grid tool to highlight only the areas where activity matters, such as doorways, windows, or walkways.
- Adjust the Sensitivity: Sensitivity determines how much change is required to trigger a recording. Start with a medium setting (around 50%) and test it by walking through the area. If passing cars or shifting sunlight trigger the camera, lower the sensitivity incrementally.
- Set Object Size Filters: If your camera's firmware supports it, configure minimum object size limits. This prevents small animals or insects crawling near the lens from initiating a recording event.
Choosing the Right Storage and Retention Settings
Once an event is triggered, the camera must write the video file to a secure location. You have three primary pathways: local memory cards, local Network Attached Storage (NAS), or remote cloud servers. Using local storage, such as a high-endurance microSD card, avoids external network dependencies and recurring fees. However, ensure you use cards rated for continuous write cycles, typically labeled as 'high endurance' or using TLC/pSLC flash technology, to prevent premature storage failure.
For advanced setups, configuring the camera to stream via RTSP (Real-Time Streaming Protocol) to a home NAS allows you to centralize recordings securely. This removes the risk of a physical intruder stealing the camera along with the footage. Regardless of the storage medium, configure your retention policy to 'overwrite when full' or set a strict 14-day or 30-day deletion schedule to manage space automatically. Ensure you use H.264 or H.265 compression codecs to maximize storage efficiency without sacrificing image clarity.
Network Optimization and Power Management
Event-based recording relies on a stable connection to send alerts and stream data. To prevent lag or dropped frames, configure your camera to connect to a dedicated 2.4 GHz or 5 GHz Wi-Fi band, ensuring the signal strength remains above -60 dBm. If your camera is battery-powered, keep the pre-record buffer disabled or set to a minimum, as this feature constantly processes video in temporary memory, rapidly draining battery life. For mains-powered devices, enabling a 3-to-5 second pre-record buffer is ideal, as it captures the moments immediately leading up to the motion trigger, providing valuable context.





