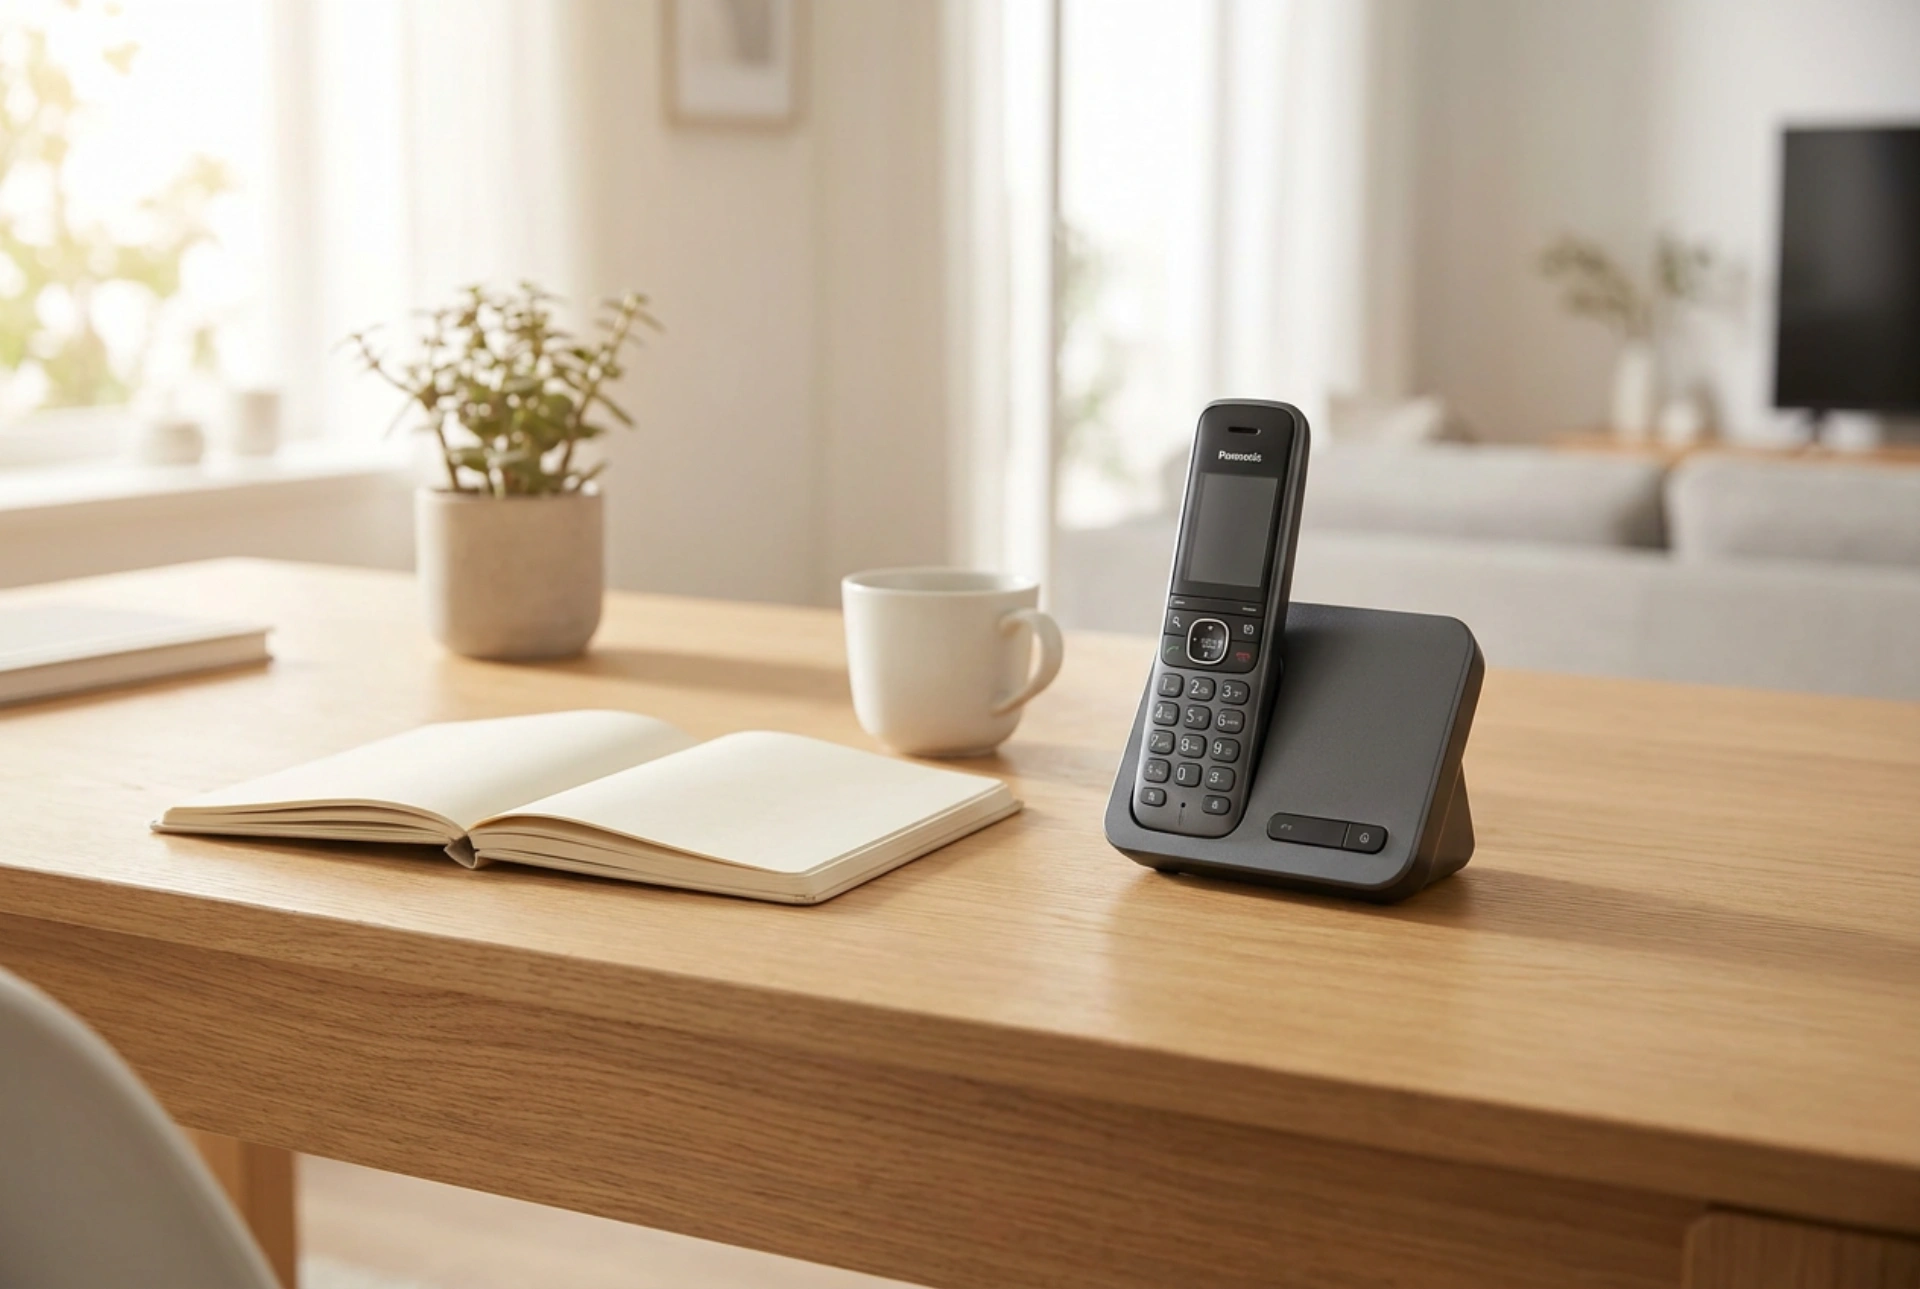


Setting up a desktop phone or base station powered by a SIM card combines the physical comfort of a landline with the cost-effective flexibility of cellular networks. Transitioning from copper-wire telephony to radio frequency transmission requires an understanding of signal propagation and device physics to secure a stable, high-quality connection inside your home.
Understanding Fixed Wireless Technology
Traditional landlines rely on physical copper pairs running from a local exchange to your property, transporting analogue signals. A SIM-card-based home phone, often referred to as a Fixed Wireless Terminal (FWT) or a desktop cellular phone, bypasses this physical infrastructure entirely. Instead, it utilizes a subscriber identity module (SIM) to authenticate with local cellular towers, converting high-frequency radio waves into standard audio signals.
The SIM card itself is a tiny microcontroller chip. When inserted into the phone, the device reads the International Mobile Subscriber Identity (IMSI) and cryptographic keys stored on the card's silicon wafer. This authentication process occurs via physical contact pins that transmit low-voltage electrical signals. Once authenticated, the device acts as a transceiver, translating digital cellular data packets into analogue voice frequencies that travel through the handset receiver.
The Physics of Signal Propagation and Device Placement
Unlike copper wires, which isolate the signal from external atmospheric interference, cellular radio frequencies (typically operating between 800 MHz and 2.6 GHz) are highly susceptible to environmental obstacles. When placing your SIM-based home phone, you must account for material attenuation—the reduction in signal strength as it passes through physical barriers.
- Reinforced Concrete and Brick: These dense materials contain moisture and metal rebar, which absorb and scatter electromagnetic waves, significantly dropping decibel signal levels.
- Low-E Glass: Modern double-glazed windows often feature a microscopic metal oxide coating designed to reflect thermal radiation. Unintentionally, this coating acts as a Faraday shield, reflecting cellular radio signals and degrading call quality.
- Electromagnetic Interference: Avoid placing the base station near high-frequency household appliances, such as microwave ovens or wireless routers operating on the 2.4 GHz band, to prevent packet loss and audible static.
To achieve the lowest signal-to-noise ratio, position the terminal on an elevated surface near an internal wall that directly faces the nearest cellular tower, or near a non-coated window. If your device features an external adjustable antenna, orient it vertically. Cellular tower signals are typically vertically polarised, meaning the waves oscillate up and down; matching this orientation maximizes electromagnetic induction in your receiver.
Step-by-Step Commissioning of the Phone
To ensure a seamless setup without software lockups, follow a precise sequence of physical assembly:
1. Deactivating the SIM PIN
Many SIM cards are shipped with an active personal identification number (PIN) lock. Because basic desktop phones lack complex user interfaces, entering a PIN on startup can be difficult or unsupported. Insert the SIM card into a standard smartphone first, navigate to the security settings, and permanently disable the PIN request before proceeding.
2. Handling and Inserting the SIM Card
Electrostatic discharge (ESD) can permanently damage the delicate integrated circuits on a SIM card. Ground yourself by touching a metallic, grounded object before handling the card. Carefully slide the SIM into the designated slot on the underside or rear of the phone, ensuring the gold-plated contact pads align perfectly with the spring-loaded pins inside the slot.
3. Installing the Backup Battery
Most cellular desktop phones include an internal rechargeable battery (usually Nickel-Metal Hydride or Lithium-Ion). This battery serves as an uninterruptible power supply during mains outages. Connect the battery terminal plug to the motherboard socket, ensuring correct polarity (red wire to positive, black to negative), before closing the battery compartment door.
4. Power Activation and Network Search
Connect the AC/DC power adapter to the mains and the device. Power on the phone. The internal receiver will initiate a network search, sweeping across available frequency bands to locate the control channel of your network provider. This initial registration can take up to two minutes as the device handshakes with the tower and updates its location register.
Maintaining Audio Quality and Battery Health
Once connected, maintaining high voice fidelity depends on codecs and power stability. Modern networks utilize VoLTE (Voice over Long-Term Evolution) or HD Voice codecs. These digital algorithms compress audio into high-bandwidth packets, delivering crystal-clear sound compared to older narrow-band standards. If your audio sounds compressed or robotic, it indicates that the terminal has dropped to a legacy 2G or 3G band due to weak signal strength, necessitating a relocation of the device.
To preserve the lifespan of the backup battery, prevent deep discharge cycles. Keep the device plugged into the mains continuously; the internal charging circuit is designed to transition to a trickle-charge state once the battery reaches 100% capacity, protecting the chemical cells from thermal degradation and swelling.





