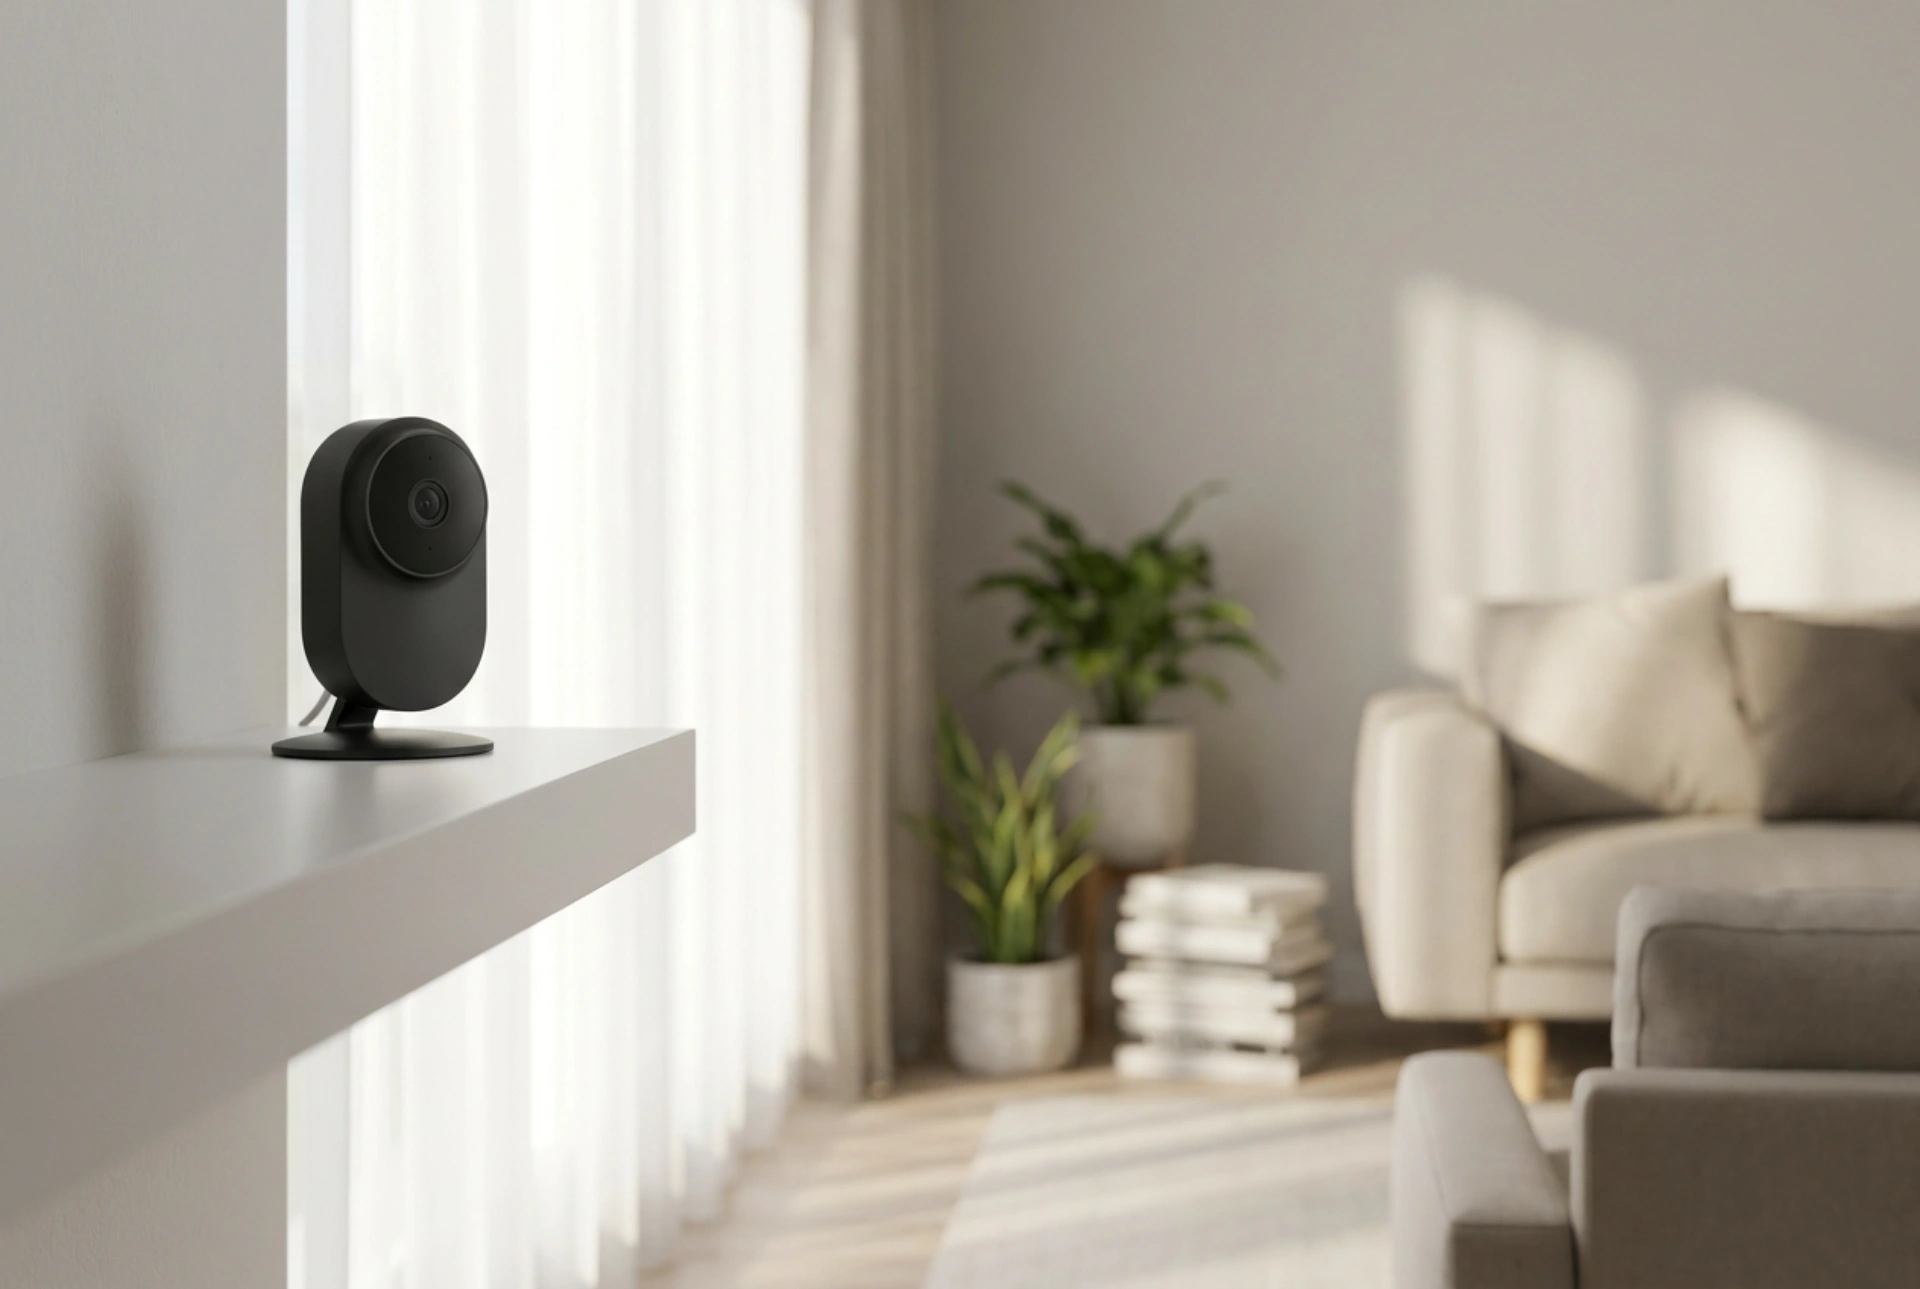


Achieving a stable wireless connection for your home security camera relies on understanding how radio frequency waves interact with physical spaces. By strategic positioning and accounting for material science, you can prevent annoying signal drops without upgrading your internet plan.
The Physics of Wi-Fi: Frequencies and Material Obstruction
Home Wi-Fi cameras typically operate on two frequency bands: 2.4 GHz and 5 GHz. While 5 GHz offers faster data transfer rates, it struggles to penetrate solid objects. The 2.4 GHz band, though slower, excels at long-range transmission and traversing walls. However, even this more resilient frequency faces severe attenuation—the reduction in signal strength—when passing through common household materials.
Every wall, floor, and object in your home acts as a physical barrier that either absorbs, reflects, or refracts electromagnetic waves. For instance, dry plasterboard has a relatively low attenuation index, causing minimal signal loss. Heavy concrete, brick, and solid timber, however, contain high density and moisture, which quickly sap the strength of a wireless signal. Metal is the absolute worst offender, reflecting Wi-Fi waves entirely and creating blind spots behind steel beams, metal door frames, or reinforced concrete structures.
Optimising Camera Height and Angle for Maximum Coverage
Placing your camera at the correct height does more than just capture a better field of view; it directly influences signal reception. Ideally, a wireless camera should be mounted between 2 to 2.5 metres above the ground. This elevation clears the clutter zone of your living space—such as sofas, tables, and human traffic—which constantly disrupt signal pathways.
When mounting a camera, avoid tucking it into tight corners or placing it directly against a wall. Concrete and brick walls absorb waves laterally, while corners can trap and scatter the radio signals, leading to high packet loss. Instead, use an adjustable mounting bracket to project the camera slightly away from the wall surface. This small physical gap allows the antenna to transmit and receive waves in a wider arc, reducing constructive and destructive interference caused by multi-path propagation, where reflected signals collide with direct ones.
Identifying Invisible Interference and Moisture Barriers
Water is highly effective at absorbing radio frequency energy, particularly at the 2.4 GHz frequency. Placing a Wi-Fi camera near large bodies of water—such as large aquariums, boiler tanks, or heavy internal plumbing lines—will create a massive signal shadow. Similarly, large mirrors reflect Wi-Fi signals because of the thin metallic backing behind the glass, turning an innocent-looking hallway mirror into an impenetrable shield.
Electronic interference is another silent culprit. Devices like microwave ovens, baby monitors, and older cordless phones share the 2.4 GHz band. If your camera's path to the router passes close to these appliances, you will experience sudden dropouts whenever they are in use. Try to maintain a clearance of at least one to two metres between your camera, its signal path, and other active electronic devices.
Step-by-Step Placement Checklist
To ensure a reliable connection, follow this systematic approach when choosing your camera's location:
- Map the direct path: Visualise a straight line between your router and the camera. Minimise the number of walls and heavy furniture that intersect this line.
- Elevate the device: Keep the camera high to clear moving obstacles and low-lying furniture.
- Avoid metallic contact: Do not mount the camera directly onto metal brackets, metallic gutters, or steel siding without a non-conductive spacer (such as wood or plastic).
- Test before mounting: Temporarily place the camera in its desired spot and run a continuous test or stream high-definition video for a few minutes to check for frame drops before drilling holes.





