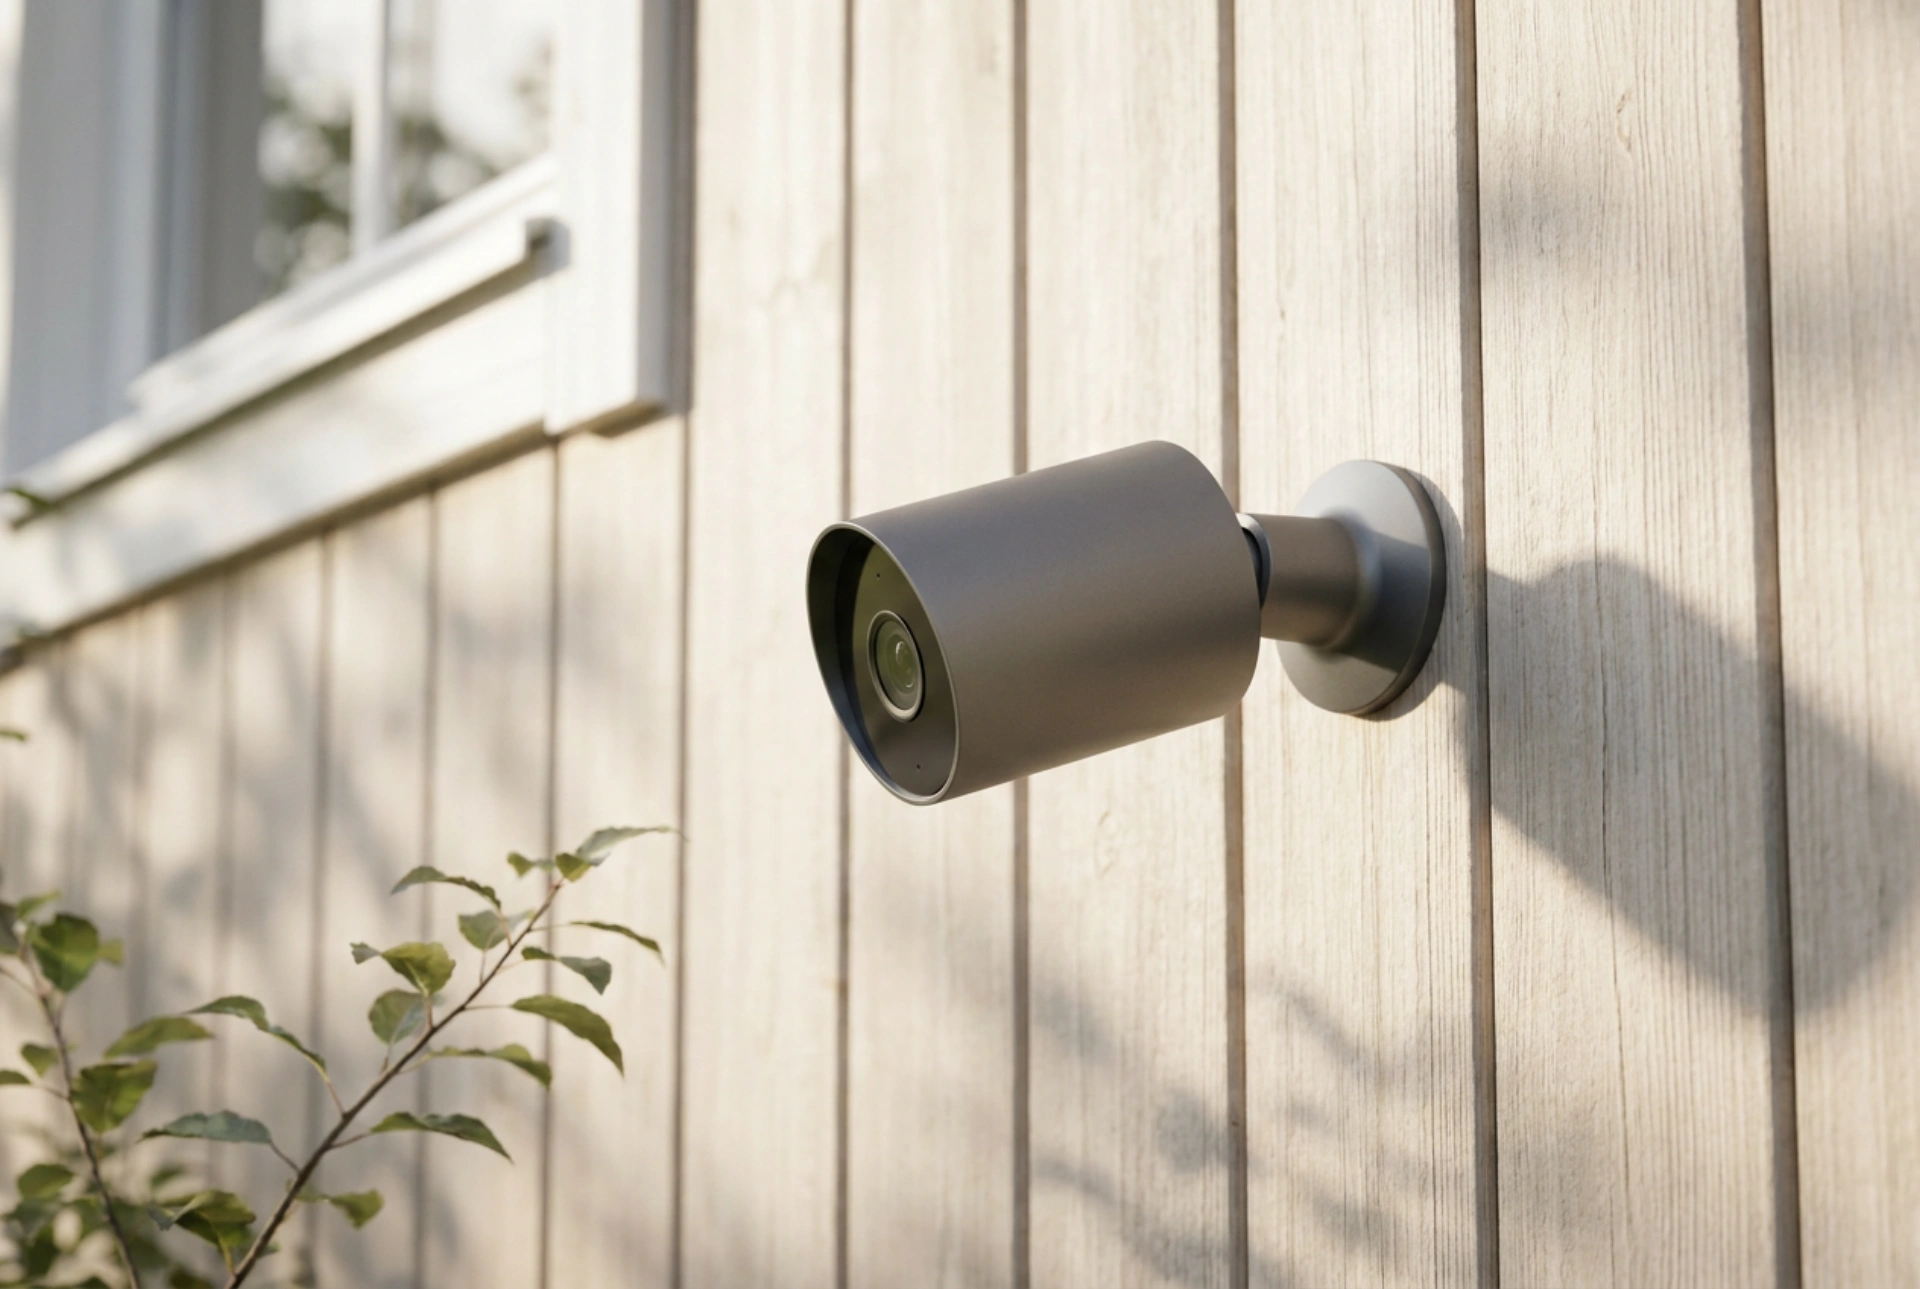


Achieving a reliable connection for an outdoor Wi-Fi security camera requires more than just screwing the bracket into a wall; it demands a basic understanding of radiofrequency physics and material attenuation.
The Physics of Wi-Fi Propagation through Building Materials
Radio waves in the 2.4 GHz and 5 GHz frequency bands behave like light waves but at longer wavelengths. When these waves encounter physical barriers, they undergo reflection, absorption, and refraction. Every material has a specific attenuation index, which determines how much signal strength is lost as the wave passes through. For instance, solid wood siding offers relatively low resistance, absorbing only about 1 to 3 decibels (dB) of signal strength. In contrast, red brick absorbs between 10 to 15 dB, while reinforced concrete can completely block the signal, absorbing up to 30 dB or more.
A particularly challenging material is traditional stucco. Stucco is often applied over a wire lath—a metal mesh that acts as a partial Faraday cage. This mesh reflects electromagnetic waves back toward the router, preventing them from reaching the camera outside. Similarly, modern double-glazed windows often feature low-emissivity (low-E) metallic coatings that reflect infrared light for insulation; these coatings are equally effective at blocking Wi-Fi signals. To ensure a stable connection, you must identify a path of least resistance through your walls, aiming the signal through glass without metallic coatings, or through timber sections rather than brick or stone.
Choosing the Optimal Height and Angle to Avoid Interference
To maximise both the camera's field of view and its wireless range, physical placement is critical. Mounting the device too close to metal objects, such as aluminium gutters, metal soffits, or downpipes, causes electromagnetic scattering and reflection, which severely degrades signal quality. Maintain a minimum distance of 50 centimetres from any metallic architectural elements.
Height also plays a major role in signal propagation. Mounting the camera between 2.4 and 3 metres above the ground provides an optimal viewing angle while keeping the device out of easy reach. However, radio waves travel in a three-dimensional elliptical area known as the Fresnel zone. If this zone is obstructed by tree branches, thick foliage, or building corners, the signal will suffer from phase cancellation. Ensure a clear, unobstructed line of sight between the camera and the nearest internal router or access point. If you must mount the camera on a brick facade, positioning it near a wooden eave or window frame can provide a cleaner path for the wireless signal to penetrate the interior space.
Mechanical Installation and Weatherproofing
Once you have identified the location with the strongest signal, the mechanical installation must ensure the camera remains stable and dry. If mounting on wooden siding, drill pilot holes slightly smaller than the mounting screws to prevent the wood from splitting. For masonry or concrete, use a masonry drill bit and high-quality wall plugs that expand inside the brick to secure the bracket.
Water ingress is the primary cause of outdoor electronic failure. Before tightening the screws completely, apply a small bead of neutral-cure silicone sealant into each drilled hole. This creates a watertight gasket around the screw threads, preventing moisture from seeping behind the siding and causing rot or electrical shorts. For the power cable—typically a low-voltage USB or DC wire—always construct a drip loop. This is a simple loop in the cable that dips below the entry point into the wall or camera housing. Gravity forces rainwater to pool at the bottom of the loop and drip safely to the ground, rather than running along the cable directly into the delicate electronic connection points.
Optimising Frequencies and Channel Widths
When configuring the camera, choosing the correct wireless frequency is vital. While 5 GHz networks offer higher data transfer speeds, their shorter wavelengths are easily absorbed by physical barriers. The 2.4 GHz band, with its longer wavelengths, is significantly better at penetrating thick exterior walls and travelling longer distances, making it the preferred choice for outdoor security applications.
To reduce interference from neighbouring networks, configure your router to use non-overlapping channels (1, 6, or 11 on the 2.4 GHz spectrum) and set the channel width to 20 MHz rather than 40 MHz. A narrower channel width increases the signal-to-noise ratio, allowing the camera to maintain a stable, uninterrupted stream even in environments crowded with competing wireless signals.





