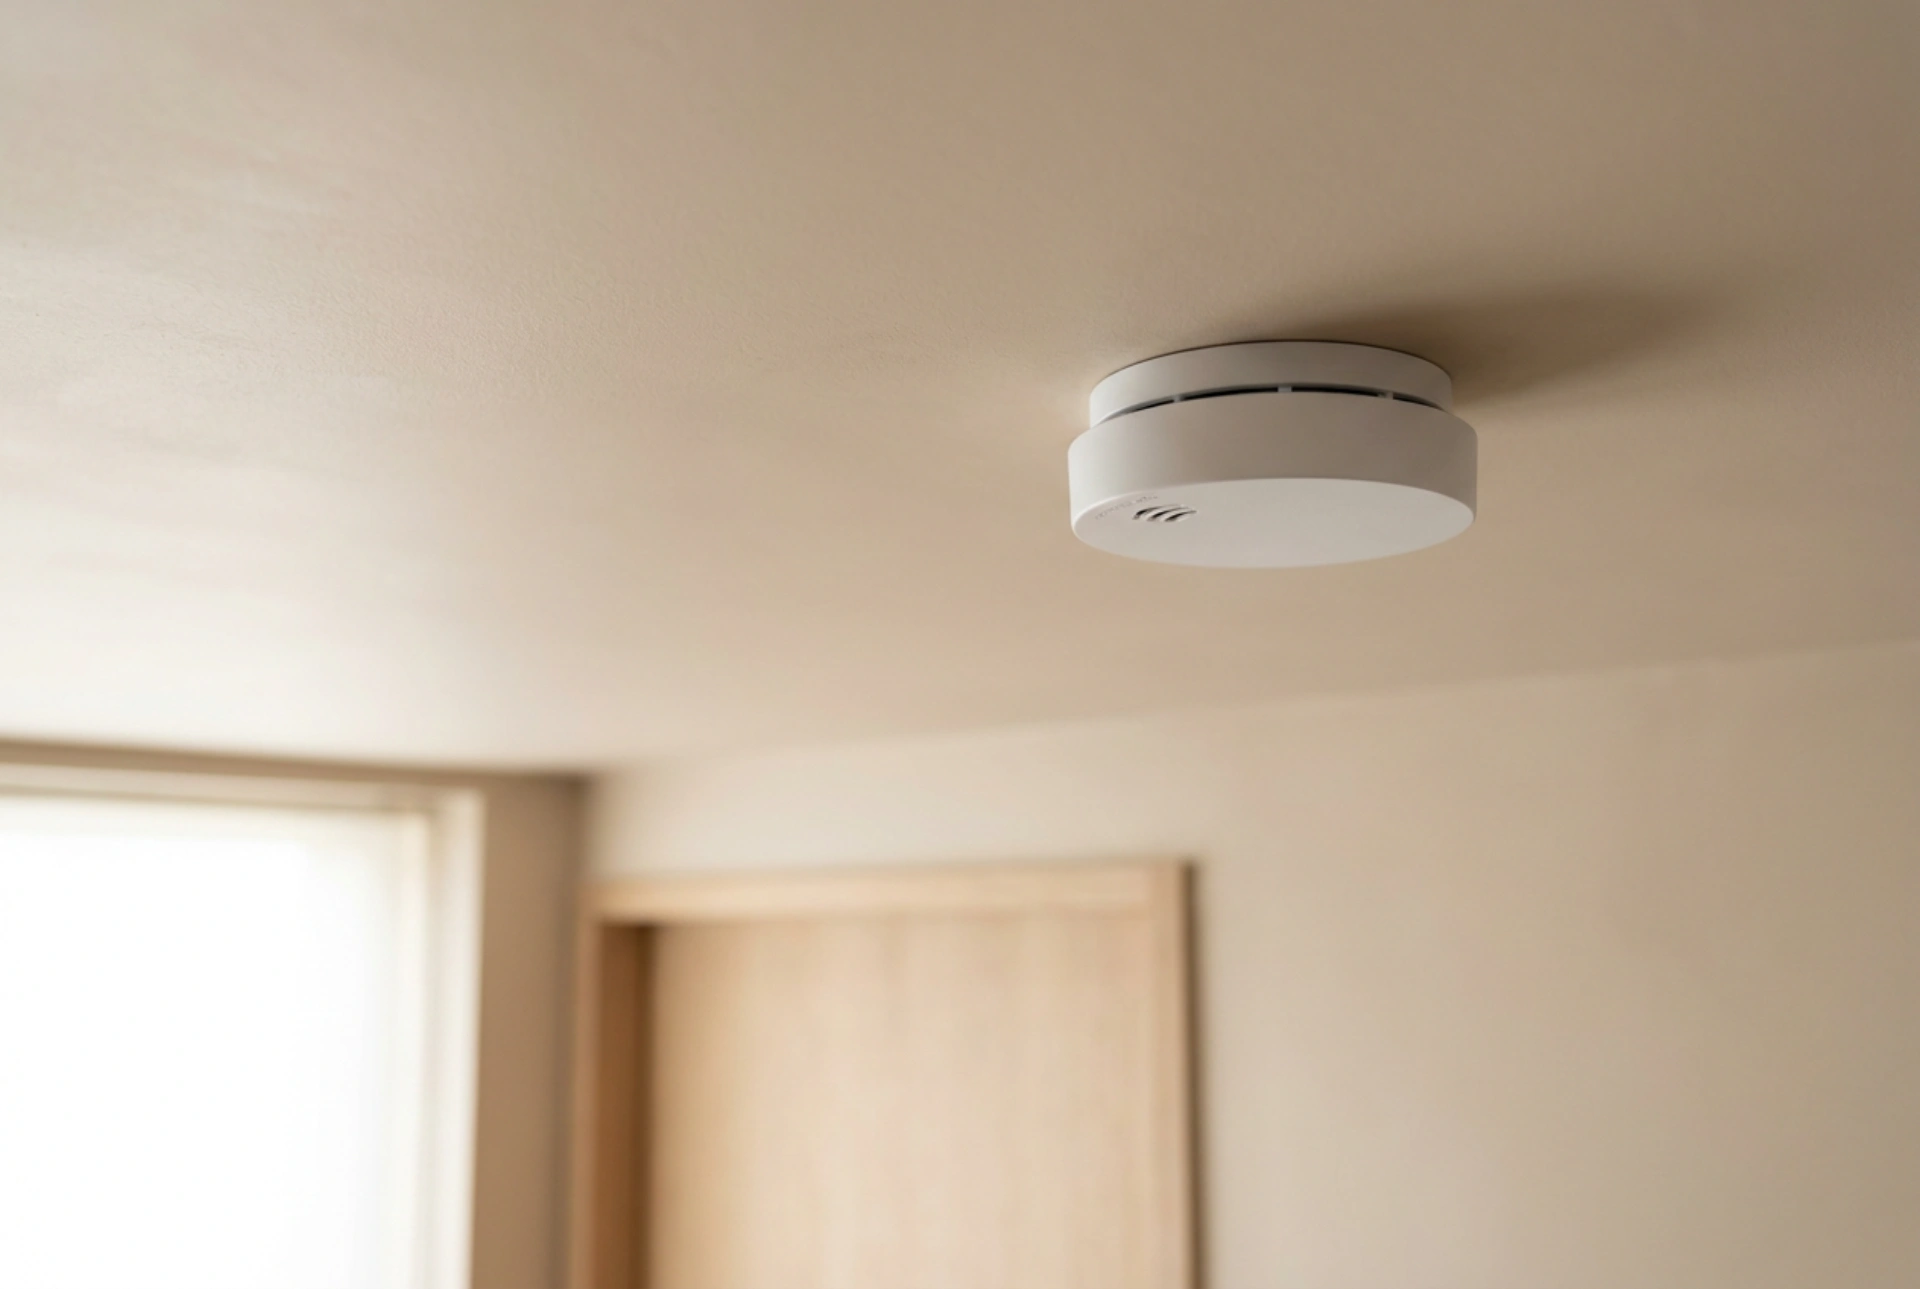


Testing smoke and carbon monoxide detectors regularly ensures that their internal sensors and circuitry are functioning correctly to protect your household. While the simple push of a button verifies the electronic components, a complete inspection requires understanding how these physical and chemical sensors interact with their environment.
The Dual Mechanism: How Sensors Actually Detect Danger
To test a detector effectively, you must first understand what is being tested. Modern home safety devices utilise two distinct technologies: optical chambers for smoke and electrochemical cells for carbon monoxide. A standard smoke detector most commonly employs a photoelectric sensor. Inside the chamber, an infrared light beam is projected away from a light receptor. When smoke particles enter this chamber, they scatter the light beam, redirecting the light rays onto the receptor, which instantly triggers the alarm horn. This physical process depends entirely on unobstructed air pathways.
In contrast, carbon monoxide detectors rely on a delicate chemical reaction. Inside the sensor, an electrochemical cell contains an aqueous electrolyte gel and catalytic electrodes. When carbon monoxide molecules penetrate the chamber, they undergo a chemical oxidation reaction at the sensing electrode, turning CO into carbon dioxide. This reaction generates a precise electrical current. The microchip measures this current; if it exceeds a preprogrammed threshold, the alarm sounds. Because this process relies on a consumable chemical electrolyte, the physical sensor degrades over time, typically requiring complete unit replacement every five to ten years regardless of battery life.
The Standard Electronic Push-Button Test
Every certified smoke and carbon monoxide detector features a physical "test" button on its exterior. Pressing this button initiates a diagnostic loop. It sends an electrical pulse through the internal circuitry to simulate the presence of smoke or gas, testing whether the microprocessor can successfully trigger the horn and flashing LEDs. To perform this test correctly, press and hold the button for several seconds until the alarm sounds. If the sound is weak, intermittent, or absent, it indicates either a depleted battery or a failing control board.
However, it is crucial to understand that the push-button test only verifies the electrical circuits and the horn. It does not prove that the physical sensor can actually ingest and detect real smoke or carbon monoxide gas. Therefore, while the button test should be performed monthly, more thorough physical checks should be conducted periodically.
How to Safely Test the Smoke Sensor Chamber
To verify that the optical chamber of your smoke detector is fully operational, you must introduce a medium that mimics smoke without creating a fire hazard. Never burn paper, matches, or candles directly beneath the unit. Doing so introduces heavy soot, oily residue, and high heat, which can permanently coat the optical lens, render the sensor useless, or melt the plastic housing.
Instead, use a generic aerosol test spray, often referred to as canned smoke. This product contains non-toxic, suspended particles that mimic real smoke without leaving a damaging residue. Stand approximately 30 to 60 centimetres below the detector and spray a short, one-second burst toward the sensor vents. The suspended particles will drift into the photoelectric chamber, scattering the infrared light and triggering the alarm within a few seconds. Once the alarm sounds, silence it and use a dry microfibre cloth or a fan to clear the remaining aerosol from the air around the unit.
Verifying the Carbon Monoxide Detector
Testing the chemical sensor of a carbon monoxide detector at home requires extreme caution. Under no circumstances should you attempt to generate raw carbon monoxide—such as by running a combustion engine in a closed garage or burning charcoal indoors. Carbon monoxide is a highly toxic, odourless, and colourless gas that poses immediate lethal risks.
The safest way to verify a carbon monoxide detector is to combine the electronic push-button test with a strict tracking of the device's manufacturing date. Because the electrochemical gel degrades predictably, manufacturers print an expiration date on the back of the casing. If your detector has reached its expiration date, the chemical sensor is no longer reliable, and the entire unit must be replaced. For active testing, you can use specialized, generic carbon monoxide test kits that include an enclosure and an extremely low-dose, controlled CO capsule, but for most residential properties, replacing the unit according to its service life is the gold standard of safety.
Preventative Maintenance for Optimal Sensor Sensitivity
Dust, cobwebs, and high humidity are the primary enemies of residential sensors. Airborne dust particles can settle inside a photoelectric chamber, either blocking the light path (making the sensor less sensitive) or constantly scattering the light (causing frustrating false alarms). To maintain optimal sensitivity, vacuum the exterior vents of your detectors once every six months using a soft brush attachment. This clears away debris without damaging the delicate internal components. Never spray water, liquid detergents, or household chemical cleaners directly onto or into the detector, as these substances can instantly ruin the chemical catalysts inside a carbon monoxide sensor.





