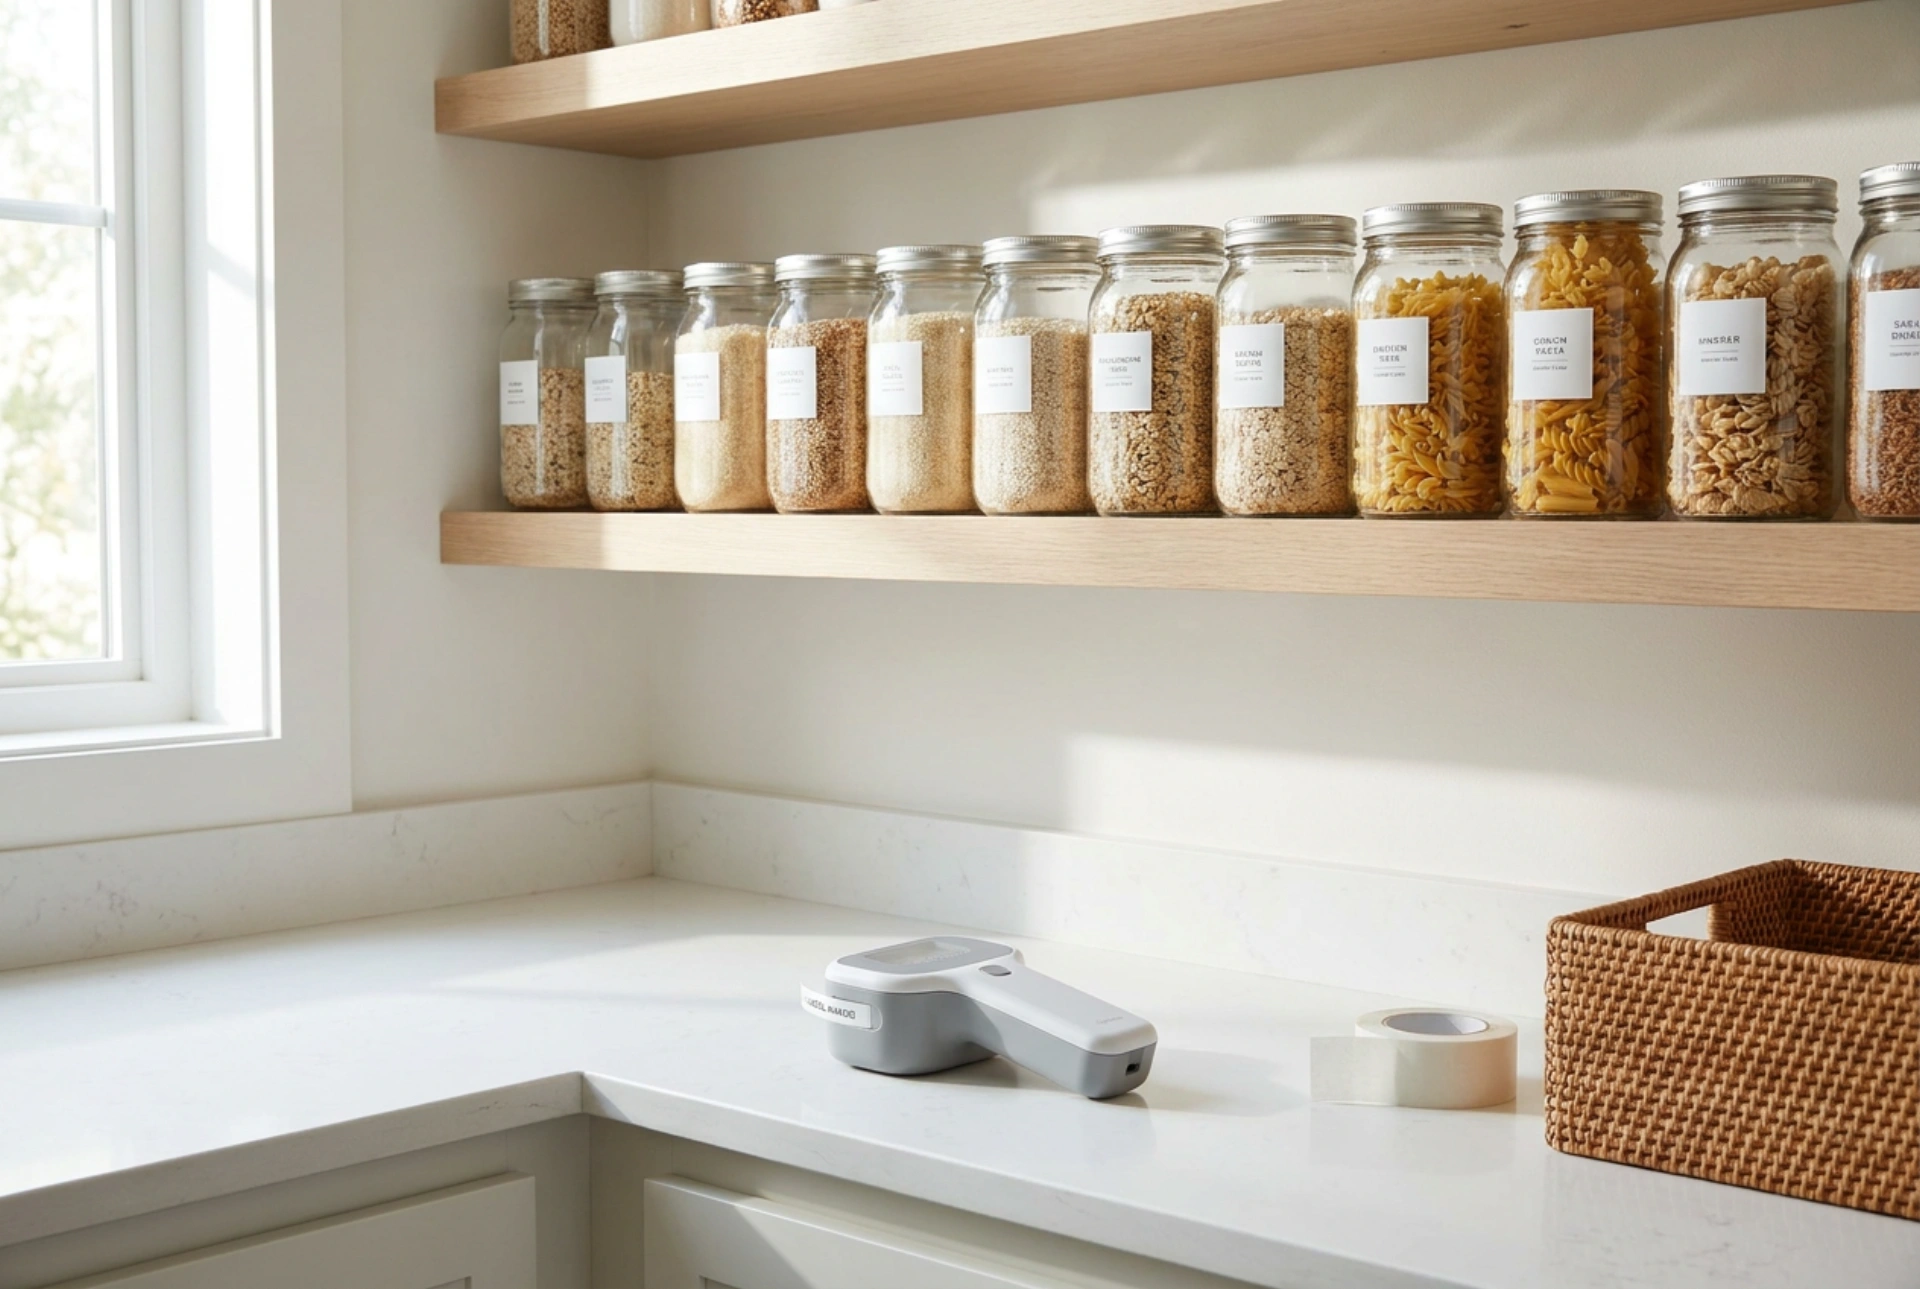


Establishing an organized shelf or pantry system relies heavily on clear, durable categorization. Utilizing self-adhesive label makers is the most effective way to maintain order, but achieving long-lasting results requires understanding the interaction between different printing technologies, adhesive chemistry, and surface materials.
Understanding Label Printer Technologies
When selecting a label maker for home organization, the underlying printing technology dictates the durability and appearance of your labels. There are three primary systems used in modern handheld devices: direct thermal, thermal transfer, and mechanical embossing.
- Direct Thermal Printing: This method uses heat-sensitive paper that darkens when exposed to the print head. Because it requires no ink or toner, it is highly convenient. However, direct thermal labels are highly sensitive to ultraviolet (UV) light, ambient heat, and friction. Over time, exposure to sunlight or warm pantry environments will cause the label to fade or turn entirely black, making this technology less ideal for long-term storage in bright areas.
- Thermal Transfer Printing: This system uses a heated print head to melt a wax- or resin-based ink from a ribbon onto the label tape. This creates an incredibly durable, crisp print that resists fading, moisture, and chemical exposure. Thermal transfer labelers often utilize composite plastic tapes (like polyester or vinyl) that can withstand kitchen humidity and regular wiping.
- Mechanical Embossing: A traditional, non-electric method where characters are physically pressed into a rigid plastic tape. The pressure causes the plastic to stretch and turn white, creating raised, highly visible lettering. These labels are waterproof, completely UV-resistant, and have a unique tactile feel, though they offer limited font options and less flexible layout designs.
The Chemistry of Adhesives and Label Backings
A label is only as reliable as its adhesive bond. Understanding the chemistry behind the adhesive tape prevents the frustrating phenomenon of peeling corners. Most self-adhesive labels utilize pressure-sensitive adhesives (PSAs), which rely on viscoelastic properties to form a bond when physical pressure is applied.
Adhesives are typically grouped into acrylic-based and rubber-based formulas. Acrylic adhesives are highly resistant to UV light, temperature fluctuations, and chemical solvents. They cure slowly, forming a stronger bond over a 24- to 72-hour period. Rubber-based adhesives offer high initial tack (they stick instantly with strength) but degrade much faster when exposed to oils, light, and oxygen, eventually turning brittle and yellowing.
The backing material also plays a vital role. Standard paper labels are cost-effective but absorb moisture, leading to structural breakdown and mold growth in humid environments like pantries or bathrooms. Polyester (PET) and vinyl labels are waterproof, dimensionally stable, and stretch-resistant, making them the superior choice for containers that undergo regular handling or washing.
Surface Science: Preparing the Substrate
The surface material of your jars, bins, or shelves directly impacts adhesive performance. Materials have varying levels of "surface energy," which determines how well an adhesive can wet the surface and spread out to form a strong molecular bond.
Glass, stainless steel, and ceramics have high surface energy, allowing adhesives to bond exceptionally well. Conversely, many modern storage bins are made of low surface energy plastics, such as polypropylene (PP) or polyethylene (PE). On these surfaces, standard adhesives struggle to spread, often causing the label to lift at the edges. For these materials, applying firm, even pressure during installation is critical to maximize the contact area.
To ensure maximum adhesion, the surface must be chemically clean. Microscopic layers of dust, oils from hands, or surfactant residues from dish soaps act as barriers to adhesive contact. Cleaning the application area with isopropyl alcohol (minimum 70% concentration) is the most effective preparation method. Isopropyl alcohol dissolves lipids and evaporates completely without leaving a film, unlike standard household glass cleaners or soapy water.
Step-by-Step Application for Maximum Durability
To achieve a professional, durable finish, follow this precise sequence when labeling your organized shelving system:
- Clean and Degrease: Wipe the target area with a lint-free microfiber cloth soaked in isopropyl alcohol. Allow the surface to dry completely for at least one minute.
- Print and Trim: Print the label with sufficient margins. When cutting the tape, round the corners slightly using scissors if your labeler does not have an automatic corner-rounder. Sharp 90-degree corners are highly susceptible to catching on cloths or fingers, which initiates peeling.
- Position and Apply: Peel the backing paper, avoiding contact with the adhesive surface to prevent transferring skin oils. Align the label, touch the center to the surface first, and press firmly outward toward the edges. This technique expels trapped air pockets, ensuring 100% surface contact.
- Cure the Bond: Leave the labeled container undisturbed at room temperature for at least 24 hours. This allows the pressure-sensitive acrylic adhesive to flow microscopically into the pores of the substrate, achieving its maximum structural bond strength before exposure to moisture or handling.





