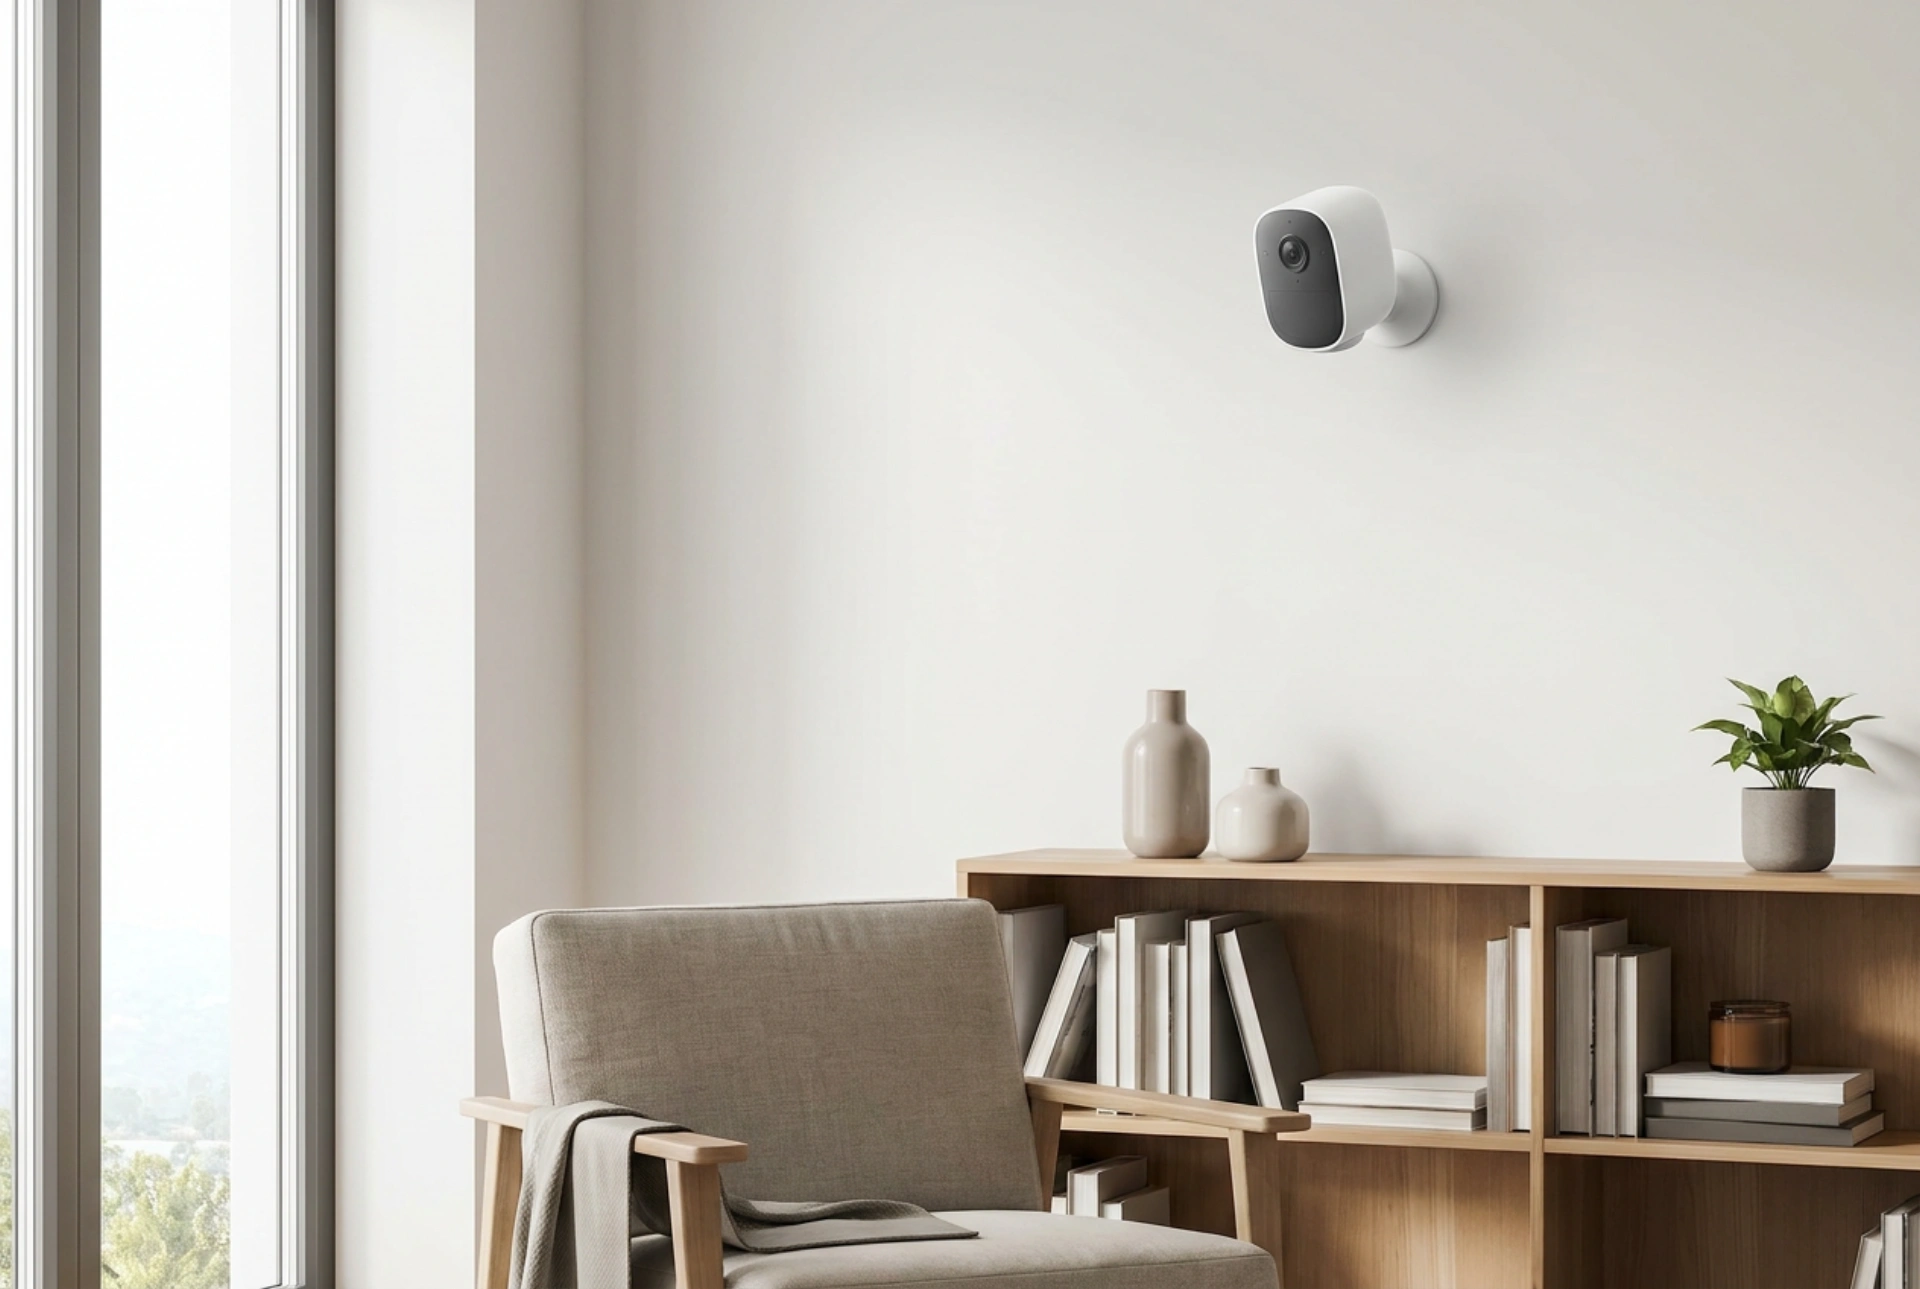


Wireless home security cameras offer unparalleled flexibility in placement, but their reliability depends heavily on understanding the physics of signal propagation and material interference. To establish a stable surveillance system, one must navigate the trade-offs between frequency bands, power sources, and the structural barriers of the home.
The Physics of Wi-Fi Propagation and Home Materials
Wireless cameras rely on radio frequency (RF) signals, typically operating on the 2.4 GHz or 5 GHz bands. Understanding how these frequencies interact with physical matter is crucial for successful installation. The 2.4 GHz band features longer waves that penetrate solid objects more effectively, making it ideal for distant or outdoor cameras. Conversely, the 5 GHz band offers higher data transfer speeds but struggles to pass through thick walls, suffering from rapid attenuation.
Different building materials absorb or reflect RF signals in varying degrees:
- Plasterboard and Wood: These present minimal resistance, causing only minor signal loss.
- Concrete and Brick: Highly dense materials that absorb and scatter RF energy. A single thick concrete wall can cut signal strength by more than half.
- Glass and Mirrored Surfaces: While standard glass is relatively transparent to Wi-Fi, modern low-emissivity (low-E) glass contains a microscopic metal oxide layer that reflects radio waves. Large mirrors act as solid metal shields, deflecting signals entirely.
- Water: Since water molecules absorb RF energy, large indoor plants, aquariums, or even heavy rainfall on outdoor cameras can degrade connectivity.
Selecting the Right Camera for Your Structural Environment
When selecting a wireless camera, the decision-making process must focus on the power delivery mechanism and data storage architecture rather than proprietary brands. Cameras generally fall into two categories: fully wire-free (battery-powered) and wireless-data (plugged into a local low-voltage power outlet but transmitting via Wi-Fi).
Battery-powered models offer absolute freedom of placement but utilize aggressive power-saving protocols. They remain in a low-power sleep state until triggered by a passive infrared (PIR) sensor. This makes them less suitable for high-traffic zones where continuous recording is needed. Plugged-in wireless cameras allow for continuous video analysis, pre-buffered recording, and faster response times, but require proximity to an outlet or a safe, low-voltage cable run.
Storage selection also impacts bandwidth. Local storage (such as an internal microSD card) keeps data transmission local, reducing continuous strain on the Wi-Fi network. Cloud-only storage requires constant upstream bandwidth, which can saturate a weak wireless connection and lead to dropped frames or delayed alerts.
Optimising Signal Strength and Camera Placement
To ensure a reliable stream, the physical positioning of both the camera and the wireless access point must be optimized. Follow these systemic steps during installation:
1. Map the Line of Sight
Before mounting the camera permanently, temporarily place it in the desired location and check the signal strength via the system interface. Visualize a straight line between the camera and the router. Minimize the number of walls this line intersects diagonally, as a diagonal path through a wall effectively increases its thickness from the signal's perspective.
2. Elevate the Router
Wi-Fi routers propagate signals slightly downward and outward. Placing the router on a high shelf rather than on the floor or inside a closed wooden cabinet reduces ground-level interference and helps clear obstacles like furniture.
3. Deploy Dedicated Access Points or Powerline Bridges
If a camera must be placed outdoors behind thick brick or concrete walls, relying on a central home router is rarely sufficient. Utilizing a dedicated outdoor access point, or a powerline adapter that transmits data through the home's existing copper electrical wiring to a nearby socket, can bridge the gap without requiring structural modifications.
Practical Installation Checklist
- Verify that outdoor cameras carry at least an IP65 rating to withstand dust and water ingress.
- Set dual-band cameras to the 2.4 GHz frequency if they are positioned more than ten metres or two walls away from the transmitter.
- Avoid placing cameras directly adjacent to metal gutters, steel beams, or aluminum siding, which cause severe signal reflection and multipath distortion.
- Ensure the camera lens is angled away from direct sunlight and highly reflective surfaces to prevent glare from blinding the optical sensor.





