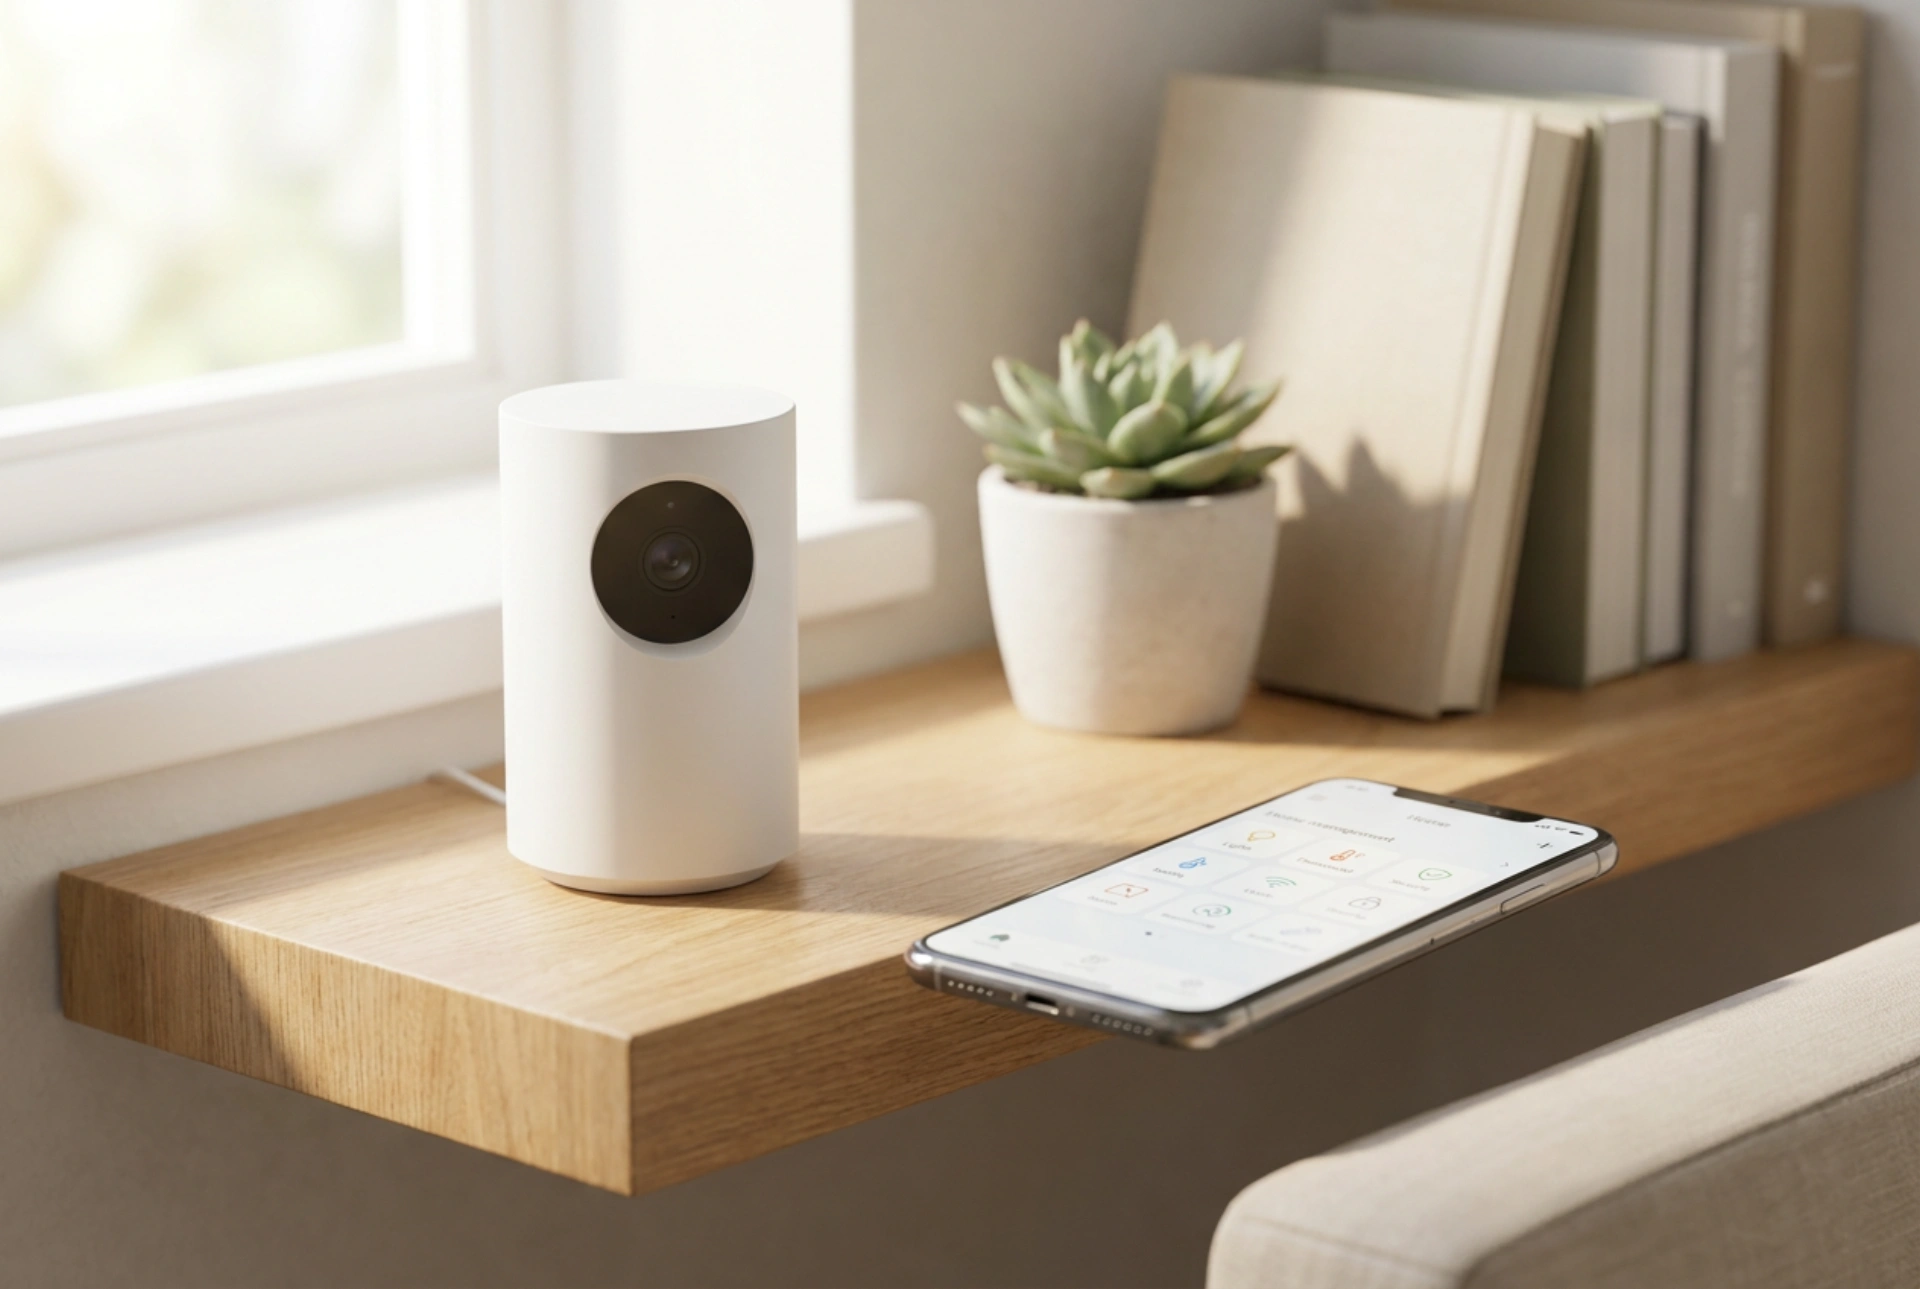


Pairing a home security camera with a mobile application relies on precise synchronization of wireless frequencies and optical alignment. Following a systematic sequence ensures a stable connection and optimal video transmission without signal drops.
Optimising the Wireless Environment: 2.4 GHz vs 5 GHz
The primary point of failure during smart camera setup is network frequency mismatch. Most wireless security cameras operate exclusively on the 2.4 GHz radio frequency band. While 5 GHz networks offer higher data transfer rates, their shorter millimetre-wave signals struggle to penetrate solid barriers like brick, plasterboard, and concrete. The 2.4 GHz frequency utilizes longer waves that easily navigate structural obstacles, making it ideal for maintaining a constant feed over distance.
Before launching the application, temporarily disable the 5 GHz band on your dual-band router, or ensure your smartphone is connected explicitly to the 2.4 GHz SSID. If the smartphone and the camera are on different subnets or bands during the initial handshake, the local discovery protocol will fail. This is because the app searches the local IP range allocated to its current band, missing the device attempting to register on the alternative frequency.
The Physics of Optical Pairing via QR Codes
Many modern cameras use an optical handshake where the camera lens scans a QR code generated on the smartphone screen. This process requires precise physical alignment and light management. The camera's image sensor relies on contrast to decode the matrix pattern. High screen reflectivity or excessive ambient glare can wash out the code, preventing the camera's optical sensor from resolving the pixels.
- Adjust Screen Brightness: Set your smartphone screen brightness to approximately 80%. Maximum brightness can cause pixel flare, while low brightness reduces the necessary contrast ratio.
- Focal Distance: Maintain a distance of 15 to 30 centimetres between the camera lens and the phone screen. Slowly move the phone back and forth along this axis to allow the camera's fixed-focus lens to find the optimal focal plane.
- Eliminate Reflections: Position the smartphone screen perpendicular to the camera lens. Avoid direct sunlight or bright overhead lights shining onto the phone screen, which creates specular reflection.
Step-by-Step Connection Sequence
To establish a stable connection, execute the setup steps in this specific order to prevent firmware hang-ups and configuration timeouts:
1. Hardware Initialization
Plug the camera into a power source using the provided adapter. Wait for the internal boot cycle to complete. This is usually indicated by a physical rotation of the lens or a specific sequence of LED colour changes. Never attempt to pair the device immediately upon plugging it in; the internal micro-controller must fully load its lightweight operating system first.
2. Initiating the Network Handshake
Open the home management app on your phone. Ensure location services and Bluetooth are temporarily enabled, as the app uses these protocols to detect the camera's local broadcast beacon. Input your 2.4 GHz Wi-Fi credentials carefully; a single incorrect character will cause the camera to time out during the connection phase, requiring a full hardware reset.
3. Hardware Reset
If the connection fails on the first attempt, perform a hard reset. Locate the pinhole reset button, press and hold it for 10 seconds using a metal pin. This clears the non-volatile random-access memory (NVRAM) and restarts the broadcast beacon, allowing for a clean slate.
Physical Placement and Avoiding Signal Attenuation
Once paired, physical installation dictates long-term stability. Avoid placing the camera directly behind double-glazed glass windows. At night, the camera's infrared (IR) light-emitting diodes will reflect off the glass pane directly back into the lens. This creates a blinding glare that renders the night-vision mode useless. Instead, mount the camera externally or disable the IR LEDs if monitoring through a window, relying on ambient outdoor lighting.





