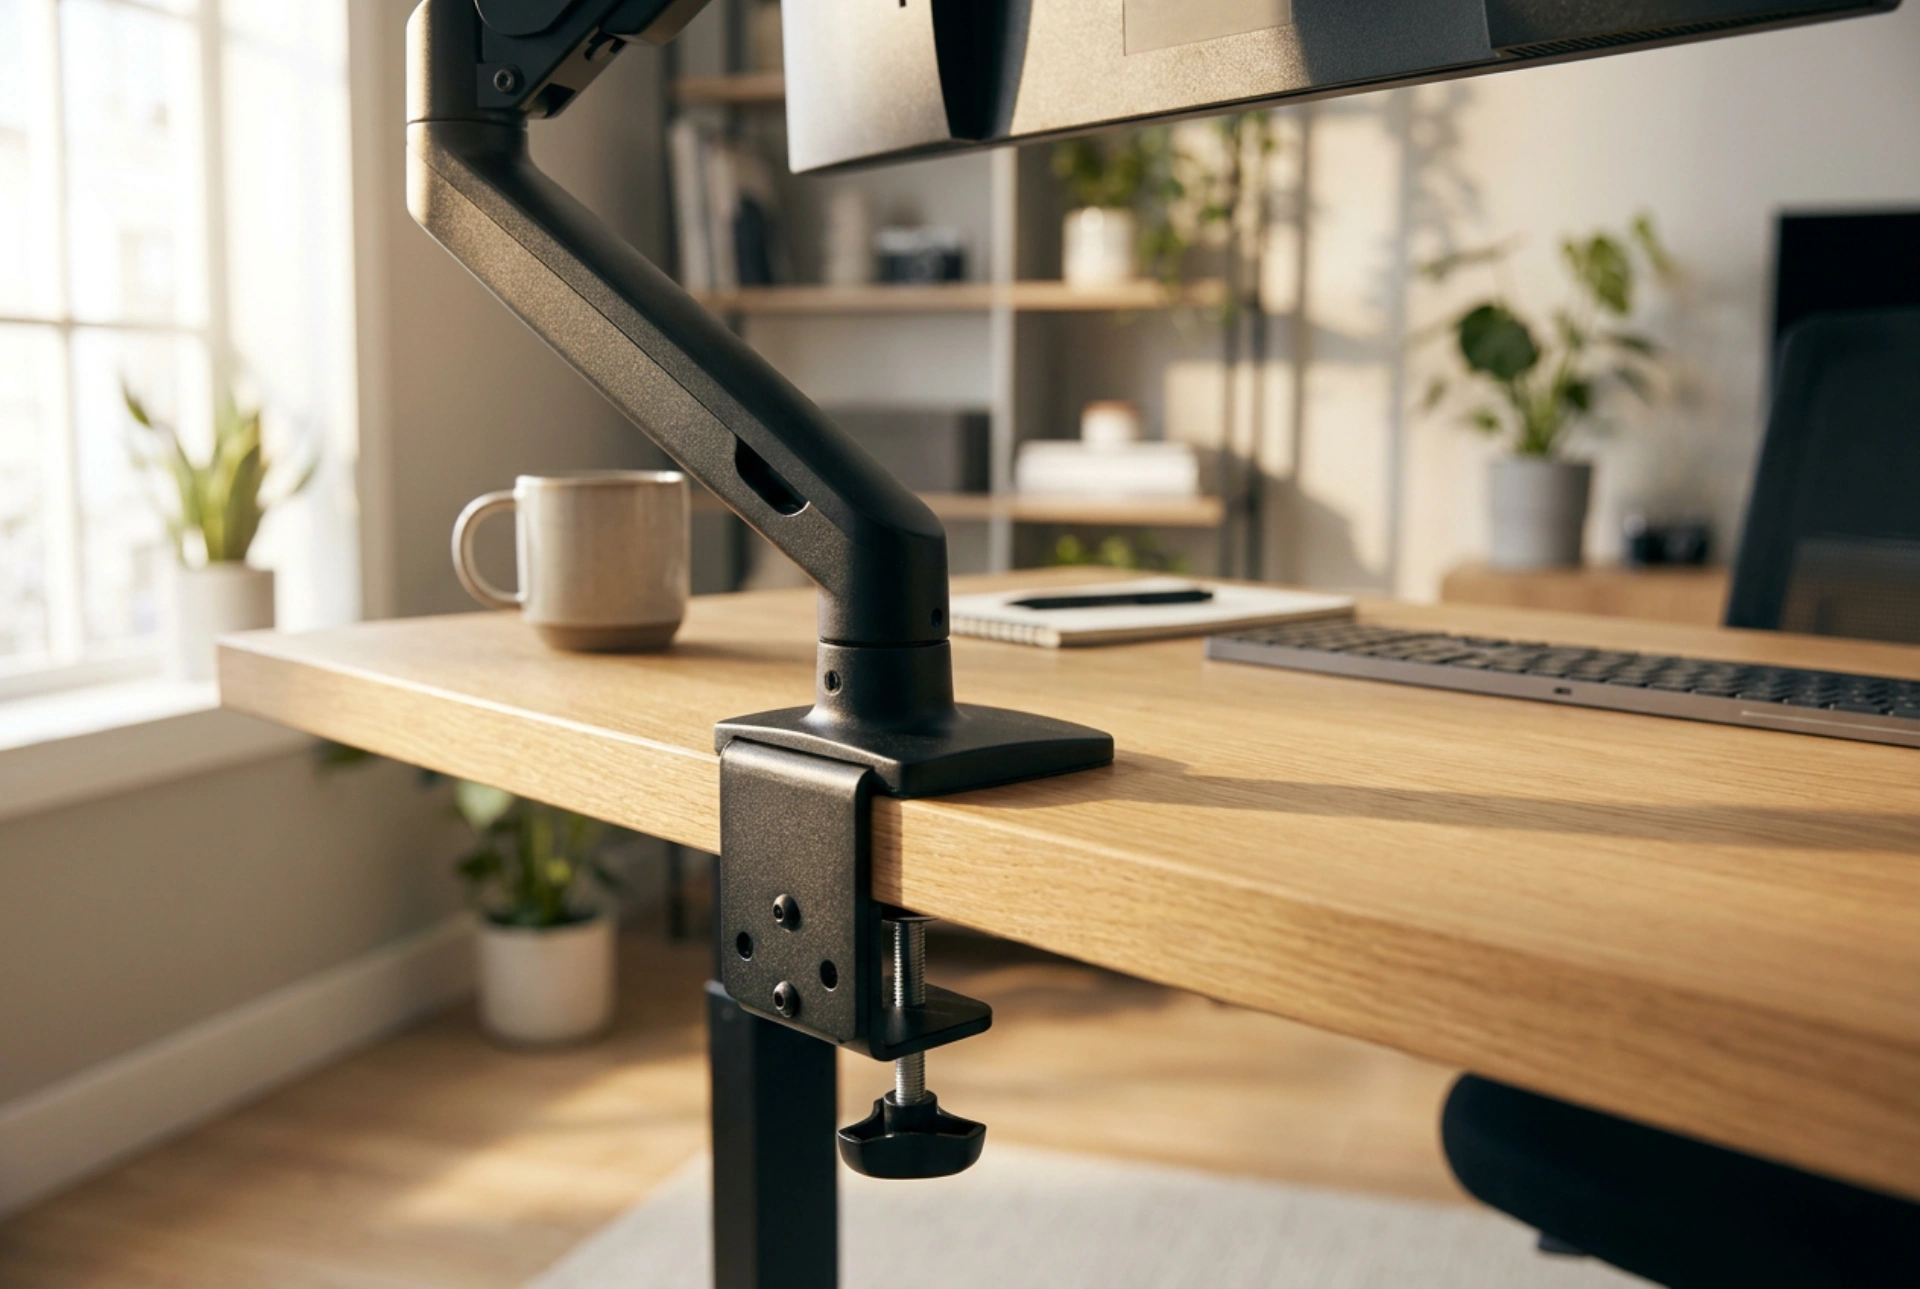


Securing a monitor arm without wobble requires understanding mechanical leverage, surface friction, and the load-bearing limits of your desk material.
The Physics of Monitor Arm Leverage and Torque
A monitor arm operates as a cantilevered system, acting as a lever that multiplies force. The weight of the monitor, combined with the extension of the arm, exerts rotational force (torque) on the mounting bracket. For instance, a monitor weighing seven kilograms extended forty centimetres from the base generates a significant turning moment at the clamp. If the clamp base is small, this force concentrates on a tiny surface area, causing the desk material to compress and the arm to tilt. To prevent wobble, you must counteract this leverage by maximizing the contact surface area and ensuring the clamping force exceeds the rotational force exerted by the screen.
Evaluating Desk Materials and Load Distribution
The structural integrity of your desk dictates the stability of the mount. Solid hardwood desks, such as oak or birch, offer excellent resistance to compression. However, modern engineered wood desks (MDF or hollow particle board with paper honeycomb cores) are prone to crushing under the concentrated pressure of a standard C-clamp. When these materials compress, the clamp loses tension, resulting in persistent shaking. To mount a monitor securely on engineered wood, you must use a load-distribution plate. Placing a thick steel plate or a solid wood block on both the top and underside of the desk edge distributes the clamping force across a wider surface area. This prevents the core material from collapsing and maintains the necessary mechanical tension.
Maximizing Friction and Thread Alignment
A stable mount relies on high friction between the clamp and the desk. Smooth laminate or varnished wood surfaces have low coefficients of friction, allowing the clamp to slide under lateral load. Utilizing high-density rubber or silicone pads between the metal clamp plates and the desk surfaces dramatically increases grip while protecting the furniture from indentation. When tightening the main clamp bolt, ensure it is aligned perfectly perpendicular to the mounting plate. If the bolt is angled, the threads will bind, creating a false sensation of tightness (static friction within the threads) while the actual clamping force remains insufficient. Lubricating the bolt threads slightly with household oil can reduce thread friction, allowing more of your physical torque to translate into useful clamping force.
The Step-by-Step Tightening and Calibration Process
Achieving a wobble-free setup requires a systematic assembly sequence. Begin by thoroughly cleaning the desk surface to remove dust, oils, or polish that could reduce friction. Position the clamp and hand-tighten the screw until the rubber pads make full contact. Before applying final torque, check that the vertical pole or mount base is perfectly perpendicular to the desk plane using a small spirit level. Tighten the clamp gradually, alternating turns if using a dual-screw clamp to ensure even pressure distribution. Once the base is rigid, mount the monitor and adjust the internal tension of the gas spring or mechanical spring arm. The joint tension must be calibrated so that the arm holds the monitor in a state of dynamic equilibrium—neither sinking under gravity nor rising due to excess spring tension. If the joints are too loose, the monitor will sag; if they are too tight, every vibration from typing will cause the arm to shake.
Mitigating Vibrational Loosening Over Time
Even a perfectly installed monitor mount can develop play over time due to micro-vibrations. Simple daily activities, such as typing, moving a mouse, or bumping the desk, transmit continuous vibrational energy through the structure. This energy causes minor microscopic shifting between the clamp threads, leading to rotational loosening. To prevent this, check the clamp tension every few months. For permanent setups, you can apply a drop of medium-strength thread-locking fluid to the clamp bolt threads. This liquid polymer cures in the absence of air, filling the microscopic gaps between the threads and preventing them from backing out under vibration, while still allowing manual disassembly with hand tools when necessary.





