

Preparing a wall for a television wall mount is a precise engineering task that relies on understanding the substrate material and the physical forces at play. A secure installation prevents structural failure by ensuring the load is distributed correctly across the wall's internal framework or solid core.
Assessing Substrate Materials
Before drilling a single hole, you must identify what lies beneath the surface plaster. Walls generally fall into two categories: solid masonry (brick, concrete, or aerated concrete blocks) and stud partition walls (plasterboard over timber or metal frames). Each material responds differently to load and requires specific anchoring chemistry.
Solid masonry offers high compressive strength. When an expansion plug is inserted, the masonry resists the outward radial force of the plug, creating a tight friction lock. In contrast, gypsum plasterboard (drywall) has low shear and tensile strength. It cannot support heavy, concentrated loads on its own and will crumble under direct compressive pressure from standard expansion plugs. For drywall, the load must either be transferred directly to the internal studs or distributed across a wider surface area using cavity-specific anchors.
The Physics of Shear and Tensile Forces
A mounted television does not simply pull straight down. It exerts two primary mechanical forces on the wall bracket: shear force and tensile (pull-out) force. The downward weight of the television creates shear force, which acts parallel to the wall, trying to slide the bracket down. The top anchors bear the brunt of the tensile force, which pulls perpendicular to the wall, trying to extract the anchors.
This tensile force increases dramatically if you use an articulating or cantilever arm. A cantilever mount acts as a lever; the further the TV is extended from the wall, the greater the rotational torque. This torque multiplies the pull-out force exerted on the upper wall anchors while pushing the lower edge of the bracket hard against the wall in compression. Consequently, the upper fixing points must always be secured into the strongest possible substrate or with high-tensile-strength anchors designed to resist pull-out forces.
Structural Mapping and Utility Safety
To prepare the wall safely, you must map the structural elements and avoid embedded utilities. Timber studs are the structural backbone of partition walls, typically spaced at 400mm or 600mm intervals. Finding the exact centre of these studs is crucial, as securing a bracket to the edge of a timber stud can cause the wood to split under load, compromising structural integrity.
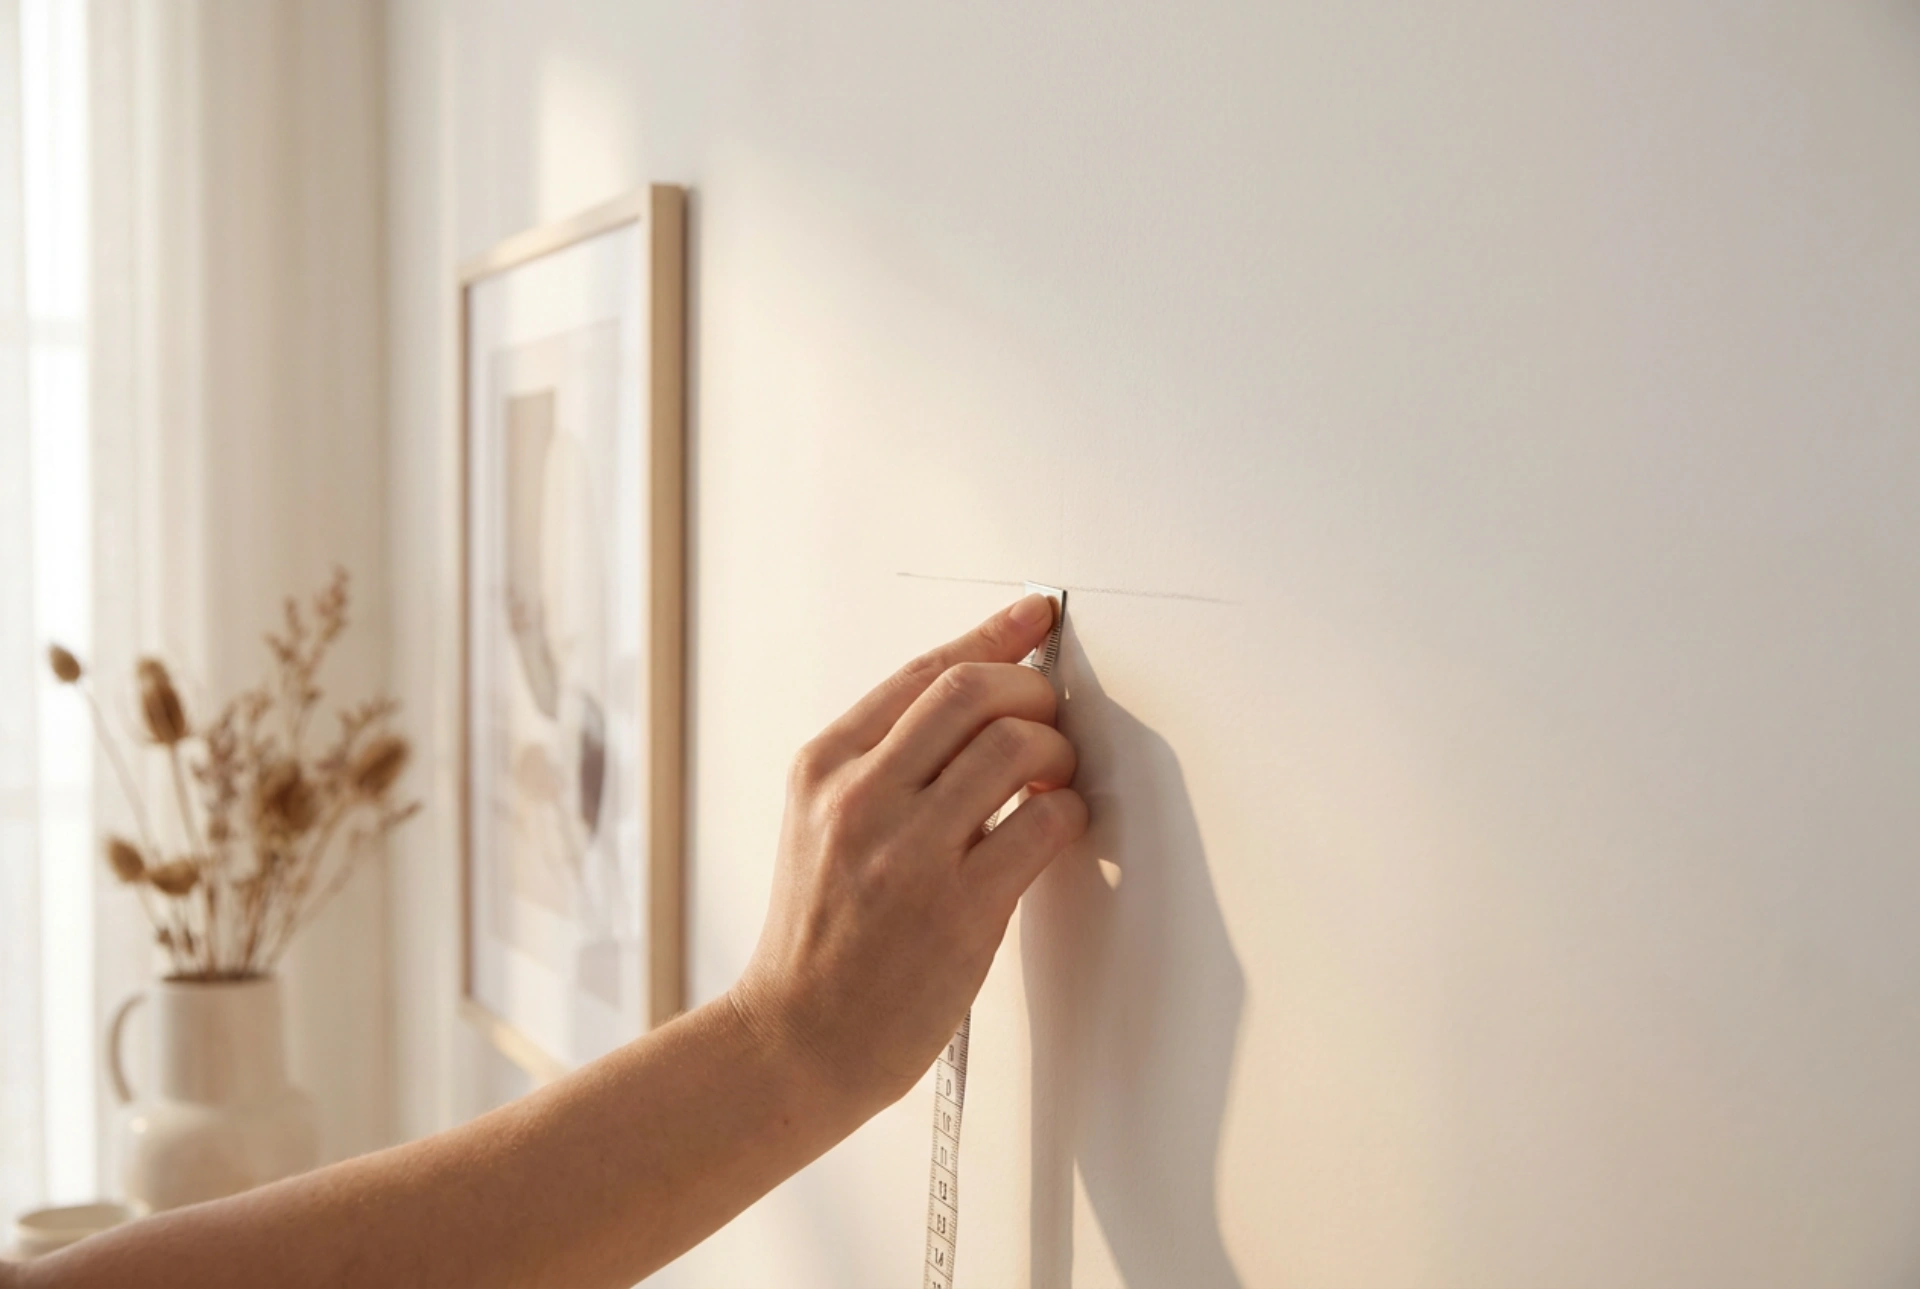
Before drilling, utilize a non-invasive multi-detector to scan the area for hidden copper pipes, plastic conduit, and electrical wiring. Electrical cables usually run vertically or horizontally from switches and sockets, but they can occasionally run diagonally. Verifying these paths prevents catastrophic contact with household infrastructure. Mark the safe zones clearly with a pencil, ensuring the bracket alignment sits perfectly within these structural sweet spots.
Selecting the Appropriate Anchoring Technology
The choice of anchor is dictated entirely by wall composition and physics. For solid concrete or brick, heavy-duty nylon expansion plugs are ideal. When the screw is driven in, the nylon splits and deforms, biting into the microscopic irregularities of the masonry hole. For aerated concrete, which is softer and more porous, specialized wide-thread air-crete anchors must be used to prevent the substrate from shearing.
For plasterboard walls where studs cannot be aligned with the bracket holes, cavity anchors are mandatory. Toggle bolts or spring toggles pass through a drilled hole and expand automatically behind the plasterboard sheet. This mechanism distributes the pulling force across a broad section of the board's rear face, relying on the tensile strength of the plasterboard's paper casing rather than the crumbly gypsum core.
Drilling Techniques and Dust Management
The physical act of drilling dictates the ultimate strength of the anchor. When drilling into brick or concrete, use a carbide-tipped drill bit. Set your drill to percussion or rotary hammer mode, but maintain a steady, moderate pressure to avoid fracturing the internal structure of the brick. For aerated concrete or plasterboard, always disable the hammer function; the high-frequency impacts will create an oversized, irregular hole, rendering expansion plugs useless.
Once the hole is drilled, debris management is essential. Plaster and masonry dust act as solid lubricants. If left inside the hole, the dust prevents the expansion plug from making direct, high-friction contact with the substrate walls, reducing its holding capacity by up to 30 percent. Always clear the hole using a manual blow pump or a vacuum nozzle before inserting the anchor.





