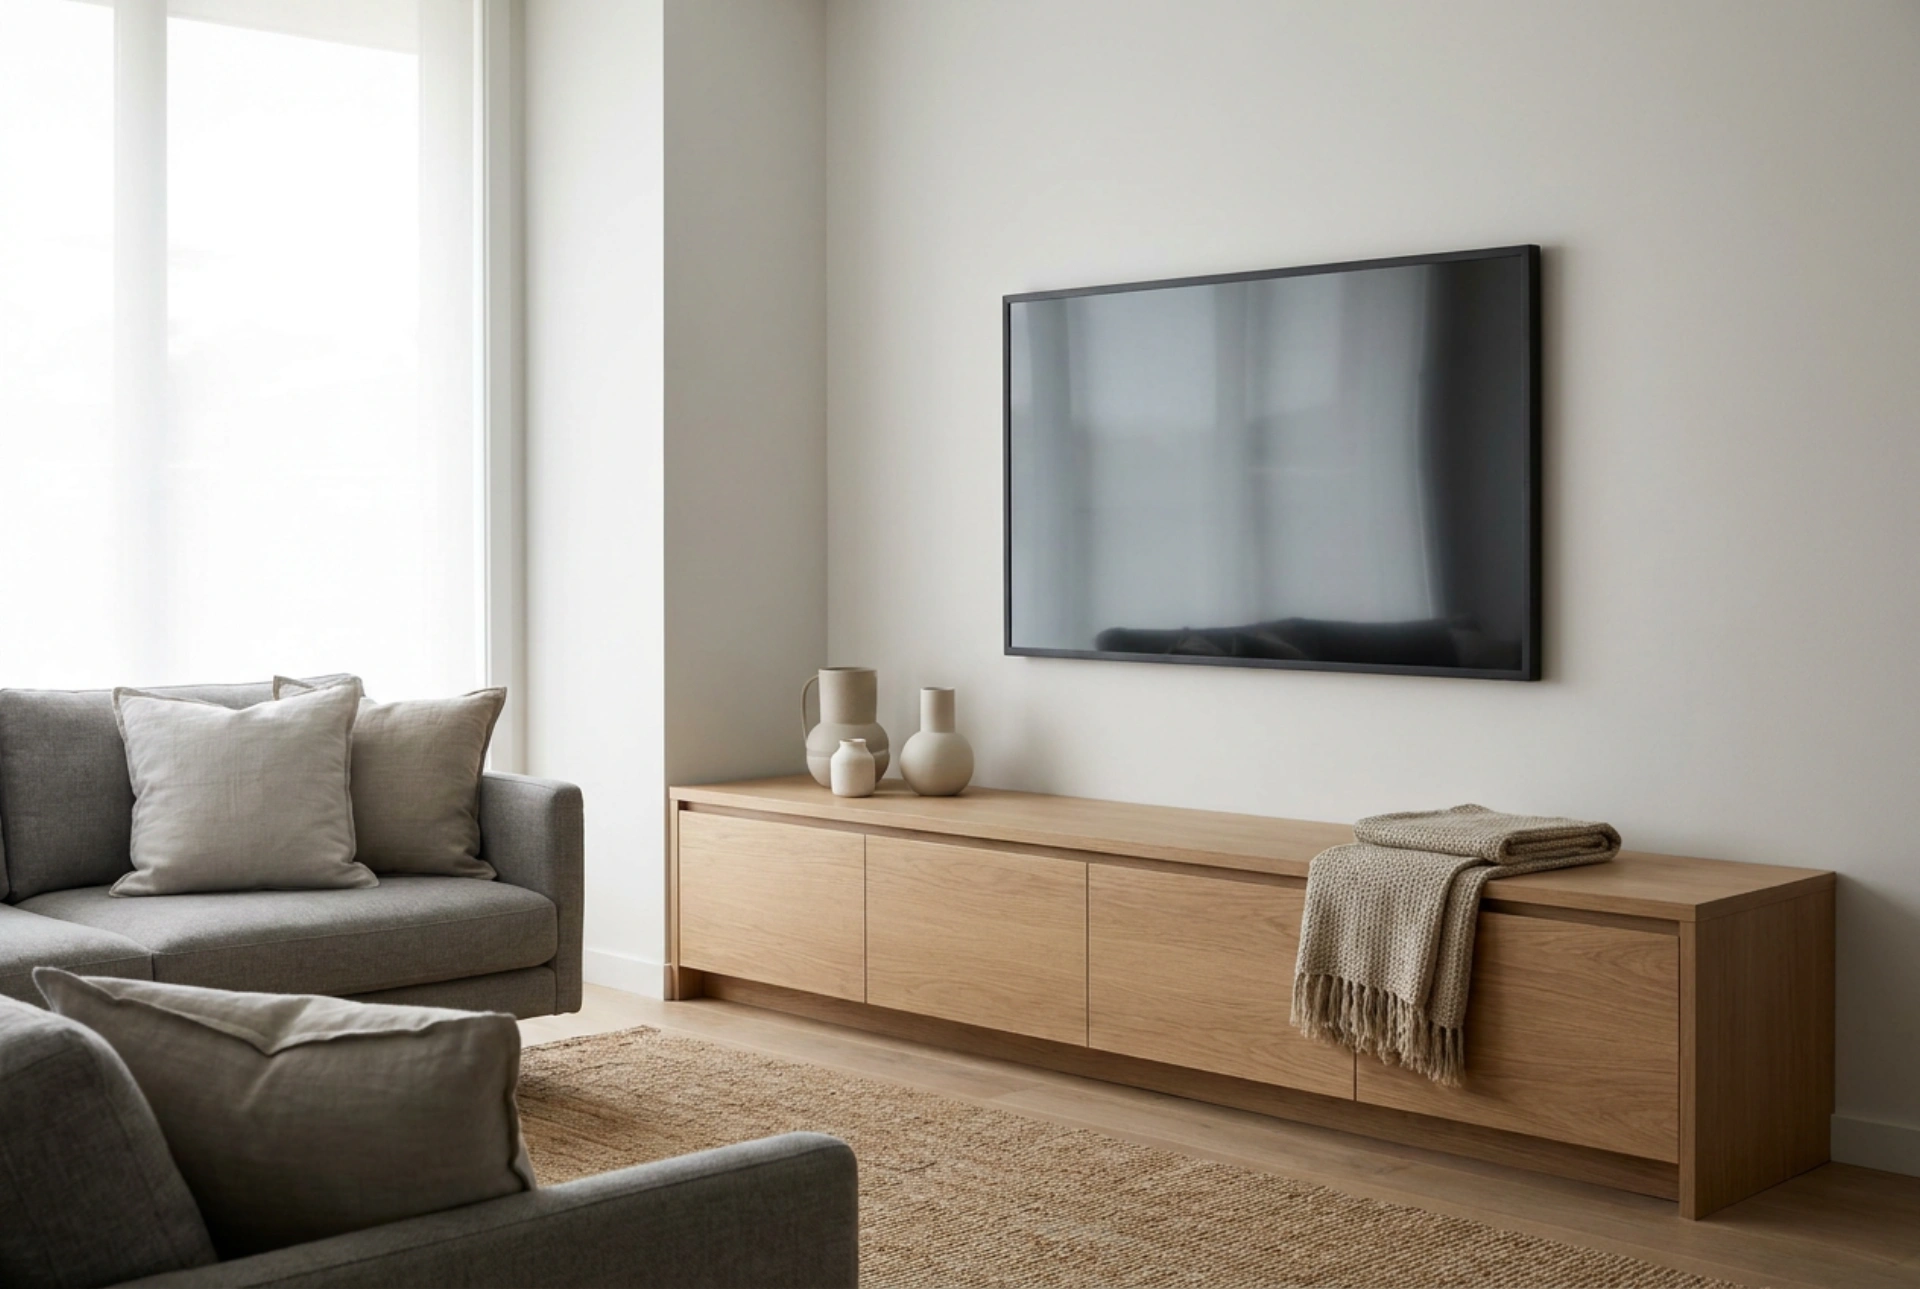


Setting up a new smart television involves more than just plugging it into the wall; proper calibration and network optimization are essential to achieve the best picture quality and system performance. Following a structured initialization process ensures your display operates under optimal thermal and electrical parameters while safeguarding your digital privacy.
Establishing the Physical and Electrical Baseline
Before pressing the power button for the first time, allow the television to acclimate to the ambient temperature of the room. If the device was transported in cold weather, bringing it into a warm living room can cause micro-condensation on internal circuit boards and behind the panel layers. Operating the television immediately under these conditions risks short-circuiting sensitive electronics. A resting period of at least two hours is recommended to let moisture evaporate naturally.
Once acclimated, ensure the power cord is firmly seated in both the wall socket and the television chassis. Loose connections create electrical resistance, which can cause local heating and voltage instability. For optimal viewing angles and to minimize structural strain, position the screen perpendicular to direct light sources to prevent specular reflection, which degrades perceived contrast and forces you to run the backlight at unnecessarily high, heat-generating levels.
Optimising Network Connectivity and Data Flow
Modern smart televisions rely heavily on continuous high-bandwidth data streams. When configuring your network, you must choose between a physical Ethernet connection and a wireless local area network (Wi-Fi). Where physical layout allows, a wired Category 6 (Cat6) Ethernet cable is the superior choice because it eliminates electromagnetic interference and packet loss, ensuring a stable bitrate for ultra-high-definition streaming.
If a wireless connection is necessary, select the 5 GHz frequency band on your router rather than the busier 2.4 GHz band. While 2.4 GHz waves penetrate walls more effectively, the 5 GHz band offers significantly wider bandwidth and suffers less interference from household appliances like microwave ovens and baby monitors. During the initial network wizard setup, you will also have the option to configure Domain Name System (DNS) settings. Manually inputting a reliable, low-latency public DNS server can decrease connection times when resolving hostnames for streaming content platforms.
Panel Calibration and Disabling Factory Presets
Upon initial boot, the system software will prompt you to select a usage profile. Always choose "Home Mode" over "Store Mode" or "Demo Mode." Retail settings maximize backlight output, saturation, and contrast to cut through harsh showroom lighting, which accelerates the degradation of light-emitting diodes (LEDs or OLEDs) and consumes excessive electrical energy.
Once the basic setup is complete, navigate to the picture settings menu to adjust the raw output parameters:
- Motion Interpolation: Often labeled as motion smoothing, this process inserts artificially generated frames between original video frames to reduce motion blur. While useful for fast-moving sports, it creates an unnatural effect for cinematic content. Disable this feature or set it to minimal levels to preserve the original film cadence.
- Color Temperature: Most default settings lean toward a cool, blue-tinted color temperature (often above 9000 Kelvin). For accurate color reproduction matching industry standards, set the color temperature to "Warm" or "Movie," which targets approximately 6500 Kelvin (D65 white point).
- Eco Mode: While energy-saving modes reduce power consumption, they often achieve this by constantly shifting the backlight intensity based on ambient light sensors. This can lead to distracting screen flickering or overly dim images in moderately lit rooms. If image consistency is preferred, disable automatic ambient dimming and set a static, comfortable backlight level manually.
Privacy Protection and Firmware Maintenance
The initial setup sequence invariably includes several user agreements. To optimize both system performance and digital privacy, read these prompts carefully rather than selecting "Agree to All." Pay specific attention to Automatic Content Recognition (ACR) policies. ACR technology analyzes the pixels displayed on your screen to identify what you are watching, sending this data back to servers. Disabling ACR reduces unnecessary background network traffic and frees up system RAM, allowing the television's processor to run local applications more smoothly.
Finally, navigate to the system settings and check for firmware updates immediately. Manufacturers regularly release patches to fix bugs, optimize system memory allocation, and close security vulnerabilities that may have been identified since the unit was packaged. Completing this update first ensures that all subsequent software configurations run on a stable, secure operating system foundation.





