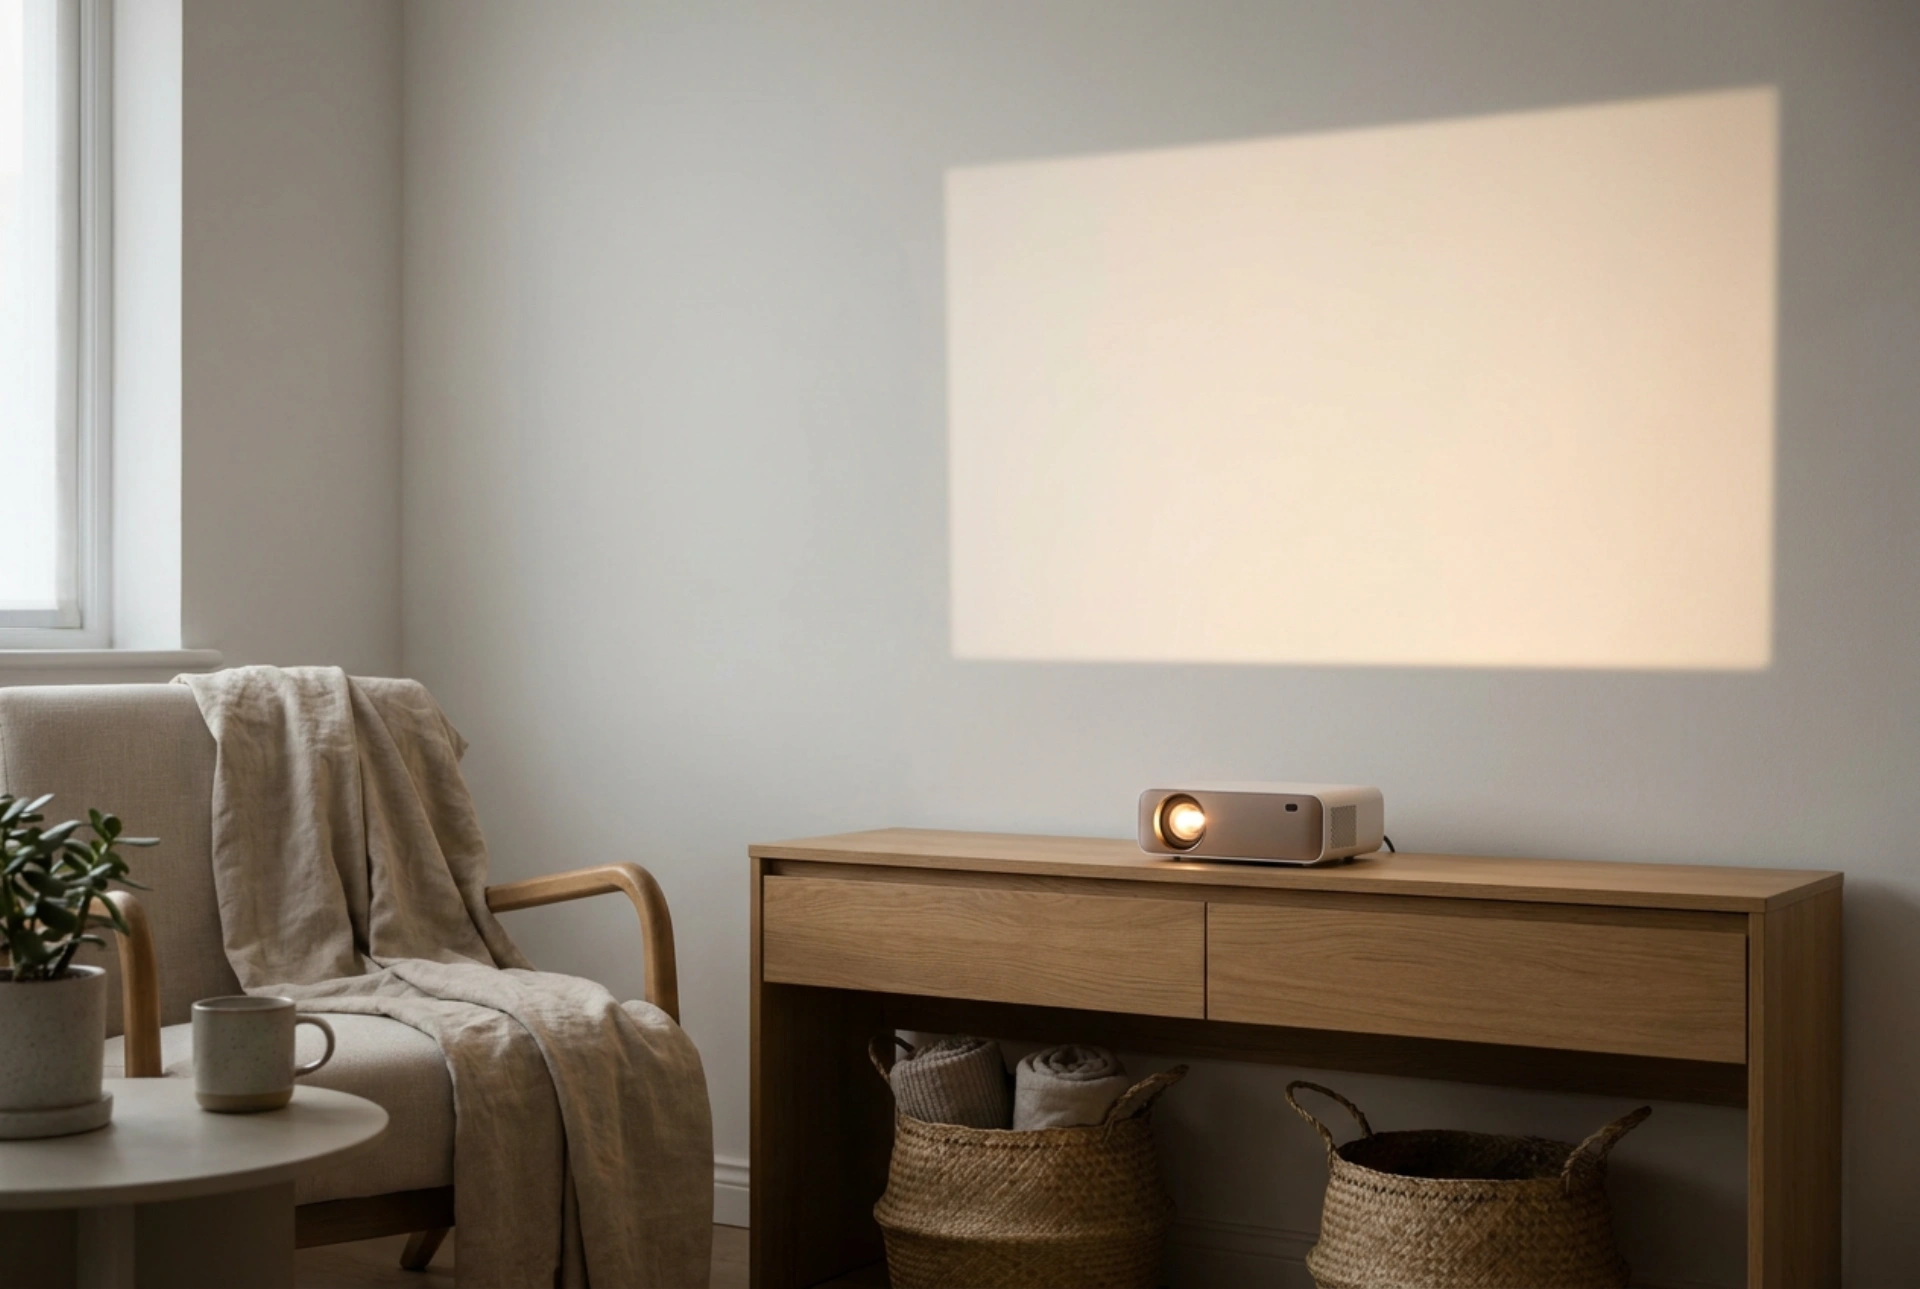


Achieving a cinema-quality image on a blank wall requires more than just pointing a projector and switching it on; it demands a precise understanding of optical physics, surface reflectivity, and geometric alignment.
The Science of the Projection Surface: Texture and Reflectivity
The quality of your projected image is directly tied to how light interacts with your wall. Standard household walls are rarely perfectly flat or optically neutral. When light hits a wall, it undergoes diffuse reflection. To maximise image sharpness and contrast, you must manage paint finish and wall texture.
- Paint Finish: Matte or flat finishes are ideal. Glossy or satin paints create hot spots—areas of intense, concentrated reflection that distort brightness and cause eye strain. A matte finish scatters light evenly in all directions, ensuring a uniform viewing angle.
- Colour and Gain: While pure white paint reflects the maximum amount of light (high gain), it can wash out black levels in rooms with ambient light. A light grey paint absorbs some of the scattered room light, significantly improving contrast and deepening black levels without sacrificing too much overall brightness.
- Surface Texture: Even minor orange-peel textures or plaster imperfections will cast microscopic shadows when struck by light at an angle, degrading image sharpness. Sanding the wall smooth and applying a dedicated high-pigment, ultra-flat projection paint is the best way to eliminate these micro-shadows.
Geometric Alignment and the Physics of Throw Ratio
To project a perfectly rectangular image without distortion, the projector’s lens must be precisely aligned with the wall. The relationship between the projector, the wall, and the lens geometry determines the clarity and shape of the image.
Understanding Throw Ratio
Every projector has a specific throw ratio, calculated as the distance from the lens to the wall divided by the width of the projected image. Before securing your projector, measure this distance precisely. Placing a projector too far away dims the image (following the inverse-square law of light), while placing it too close may prevent the lens from focusing correctly.
The Danger of Digital Keystone Correction
When a projector is tilted upwards or downwards, the image becomes a trapezoid. While most modern projectors offer digital keystone correction to square the image, this process should be avoided whenever possible. Digital correction works by compressing and scaling the pixel grid electronically, which deactivates physical pixels and reduces native resolution, causing aliasing and softer details. Instead, aim for physical alignment: position the projector at a height where the lens is perfectly perpendicular to the vertical plane of the wall.
Optimising Optical Focus and Contrast Settings
Once the projector is physically aligned, fine-tuning the optics ensures pixel-to-pixel clarity across the entire display area.
- Optical Focus: Project a high-contrast grid pattern or text menu. Focus the lens until the individual pixels are sharp in the centre. Then, check the corners. If the corners are blurry while the centre is sharp, the projector is slightly angled relative to the wall (skewed), requiring minor physical rotation.
- Brightness and Contrast Calibration: Do not rely on default factory presets, which often artificially boost saturation. Adjust the brightness so that dark grey details are visible in dark scenes without turning the blacks into a washed-out grey. Adjust the contrast so that bright whites do not bleed or lose detail.
Thermal Management and Stability
Projectors generate significant thermal energy due to high-intensity light sources. Ensuring proper airflow is critical to prevent thermal throttling, pixel degradation, or premature lamp failure. Maintain at least twenty centimetres of clearance around all intake and exhaust vents. Avoid placing the unit on soft fabrics or inside enclosed shelves that trap heat. Additionally, ensure the mounting surface is completely rigid; even sub-millimetre vibrations from footsteps or subwoofers will translate into visible, distracting image shake on a large wall.





