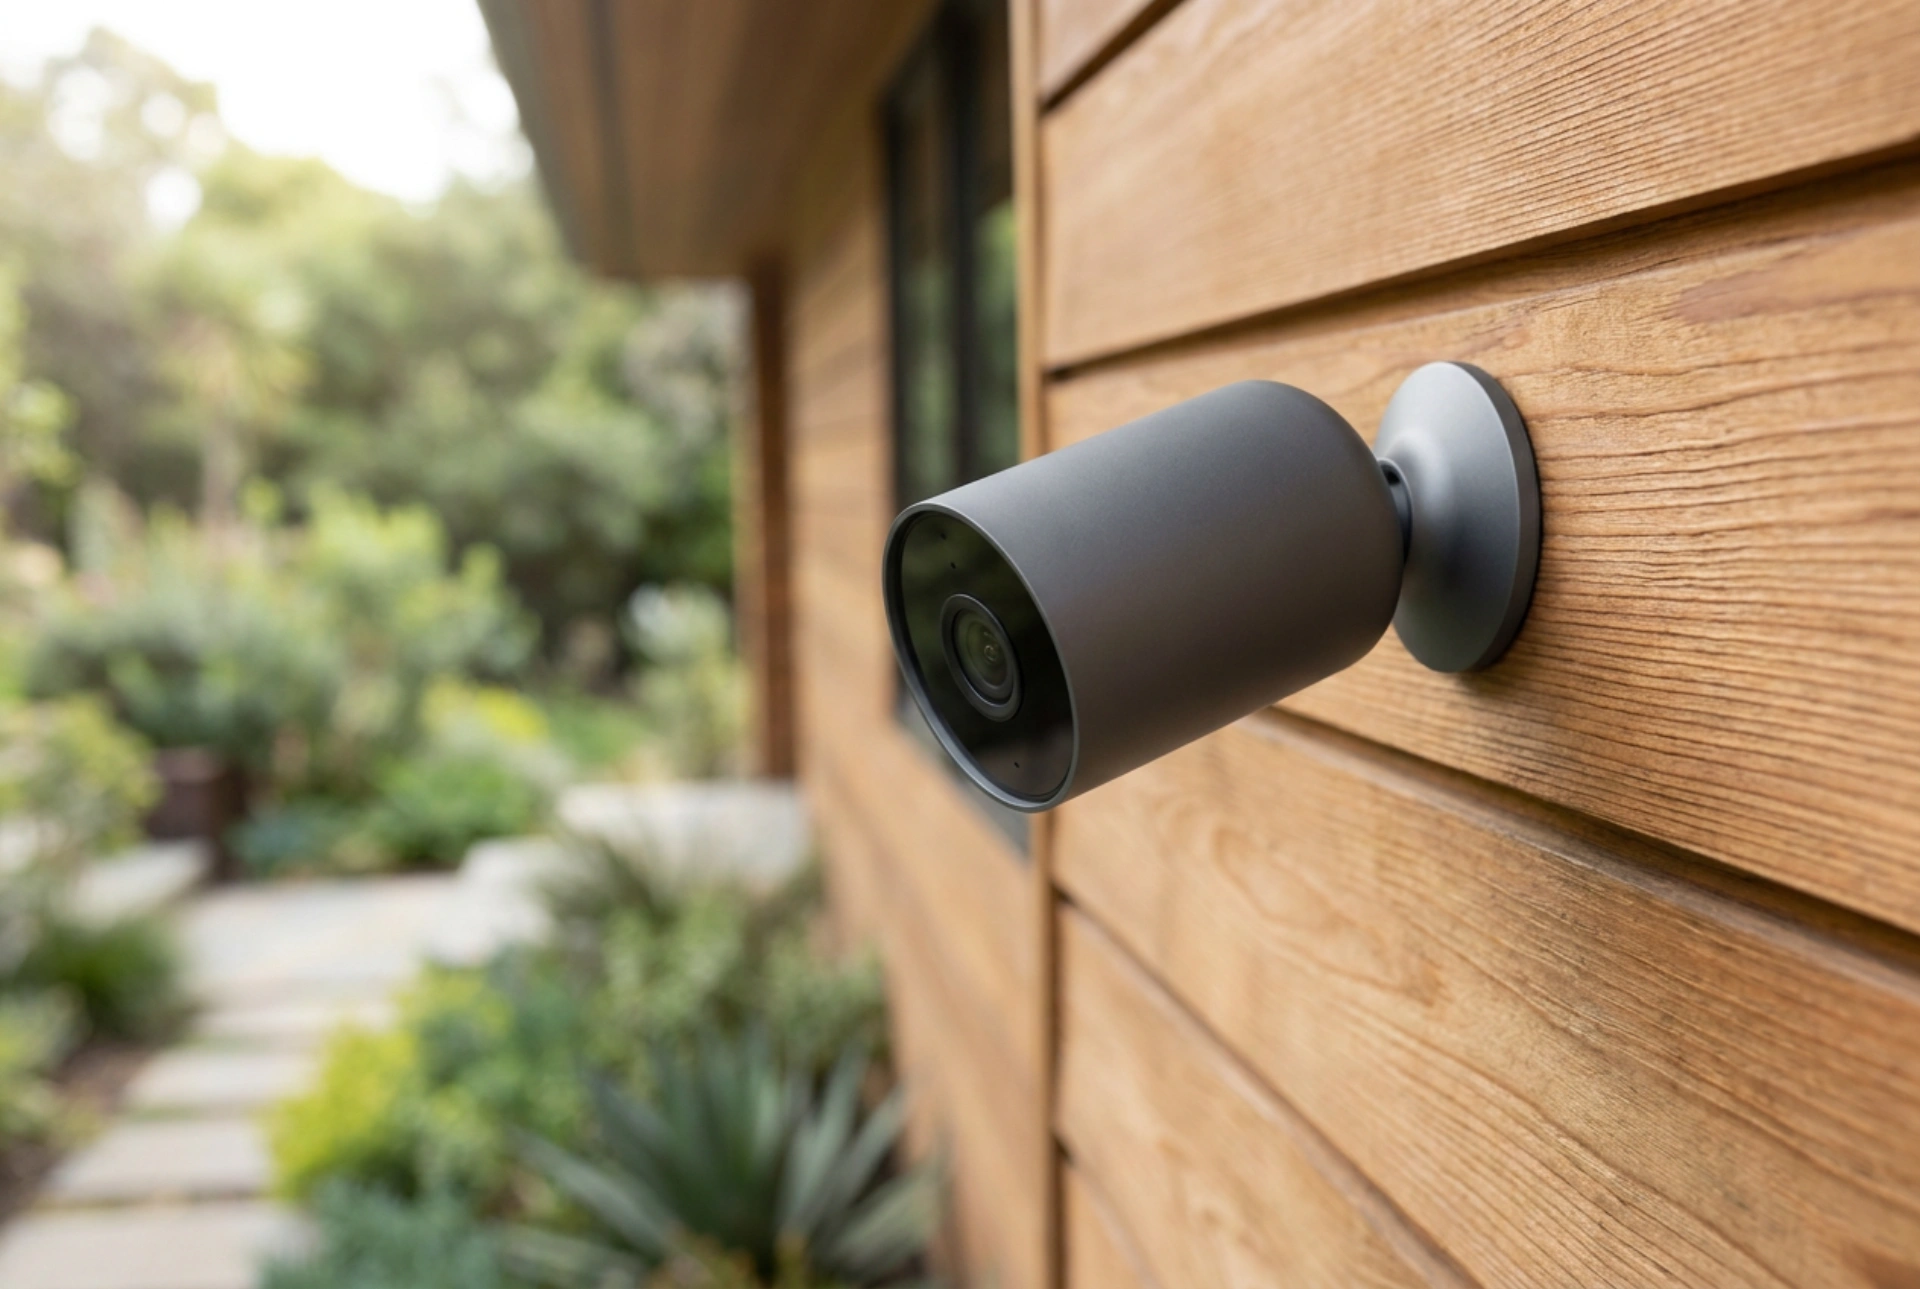


Maximising the runtime of an outdoor battery-powered security camera relies on understanding the physical factors that drain its power cell: thermal conductivity, radio frequency (RF) transmission strength, and sensor triggering mechanics. By systematically adjusting the camera's environmental placement, detection parameters, and wireless transmission load, you can significantly extend the interval between manual recharges.
Thermal Physics and Battery Preservation
Most modern outdoor cameras utilise lithium-ion or lithium-iron phosphate (LiFePO4) battery chemistries. These cells rely on the movement of lithium ions through a liquid or gel electrolyte between the anode and cathode. When ambient temperatures drop below 5°C, the viscosity of the electrolyte increases, which dramatically raises internal resistance. This chemical slowdown prevents the battery from delivering its full rated capacity, leading to premature voltage drops that the camera's microcontroller interprets as an empty battery.
To mitigate this thermal degradation, mount the camera in a location shielded from prevailing freezing winds, such as under a deep eave or soffit. This structural barrier prevents convective heat loss. If possible, choose a south-facing wall where the thermal mass of the building material (such as brick or timber cladding) can absorb solar radiation during the day and radiate gentle heat back to the camera housing at night. Avoid fully wrapping the camera body in non-breathable insulation, as this can trap internal moisture and cause condensation when the ambient temperature fluctuates rapidly.
Optimising Passive Infrared (PIR) Motion Detection
Battery-powered cameras remain in a low-power "deep sleep" state until awakened by a sensor. Most rely on Passive Infrared (PIR) sensors, which detect changes in the thermal radiation of the environment. A PIR sensor does not emit energy; instead, it monitors two or more pyroelectric slots. When a warm object (like a human or vehicle) moves across these slots, it creates a differential thermal signature, triggering the camera to wake up and record.
False triggers—such as moving branches, swaying shadows, or rising hot air from concrete driveways—quickly deplete the battery. To prevent this, mount the camera at a downward angle of 15 to 30 degrees. This positioning ensures that objects cross the sensor zones perpendicularly, which is the most efficient vector for PIR detection, rather than moving directly toward the lens. Furthermore, keep the detection zone clear of highly reflective surfaces like glass or glossy plastic, which reflect thermal energy from distant sources and cause unnecessary wake-up cycles.
Reducing Radio Frequency Transmission Power
The process of capturing video is relatively energy-efficient compared to the process of transmitting it. Wireless data transmission requires the camera's internal radio frequency (RF) amplifier to convert electrical energy into electromagnetic waves. If the Wi-Fi signal is weak, the camera's transmitter must increase its output power (up to its maximum decibel-milliwatts rating) and repeat packet transmissions to overcome signal attenuation.
To reduce transmission strain, minimise the physical obstacles between the camera and the router. Dense materials like concrete, brick, and double-glazed low-emissivity glass absorb and scatter 2.4 GHz and 5 GHz signals heavily. If repositioning the router closer to the exterior wall is not feasible, consider installing a dedicated wireless access point on the interior side of the wall directly opposite the camera. Additionally, lowering the stream resolution from 4K or 2K to 1080p reduces the payload size, meaning the transmitter operates for shorter bursts during each event.
Configuring Duty Cycles and Cooldown Intervals
The operational profile, or duty cycle, of the camera determines how long it remains active after a trigger event. To conserve energy, configure the recording duration to the shortest viable timeframe, typically 10 to 15 seconds. In high-traffic zones, a camera without a cooldown period will repeatedly trigger, keeping the processor and transmitter continuously active.
Implement a cooldown interval (often called a retrigger delay or blanking time) of at least 60 to 120 seconds. This prevents the camera from capturing multiple redundant clips of the same event. If your system supports scheduled operating modes, set the camera to disarm automatically during hours when physical security is guaranteed by occupants, such as during daytime hours when people are active in the yard, shifting the device's battery load entirely to high-risk periods.





