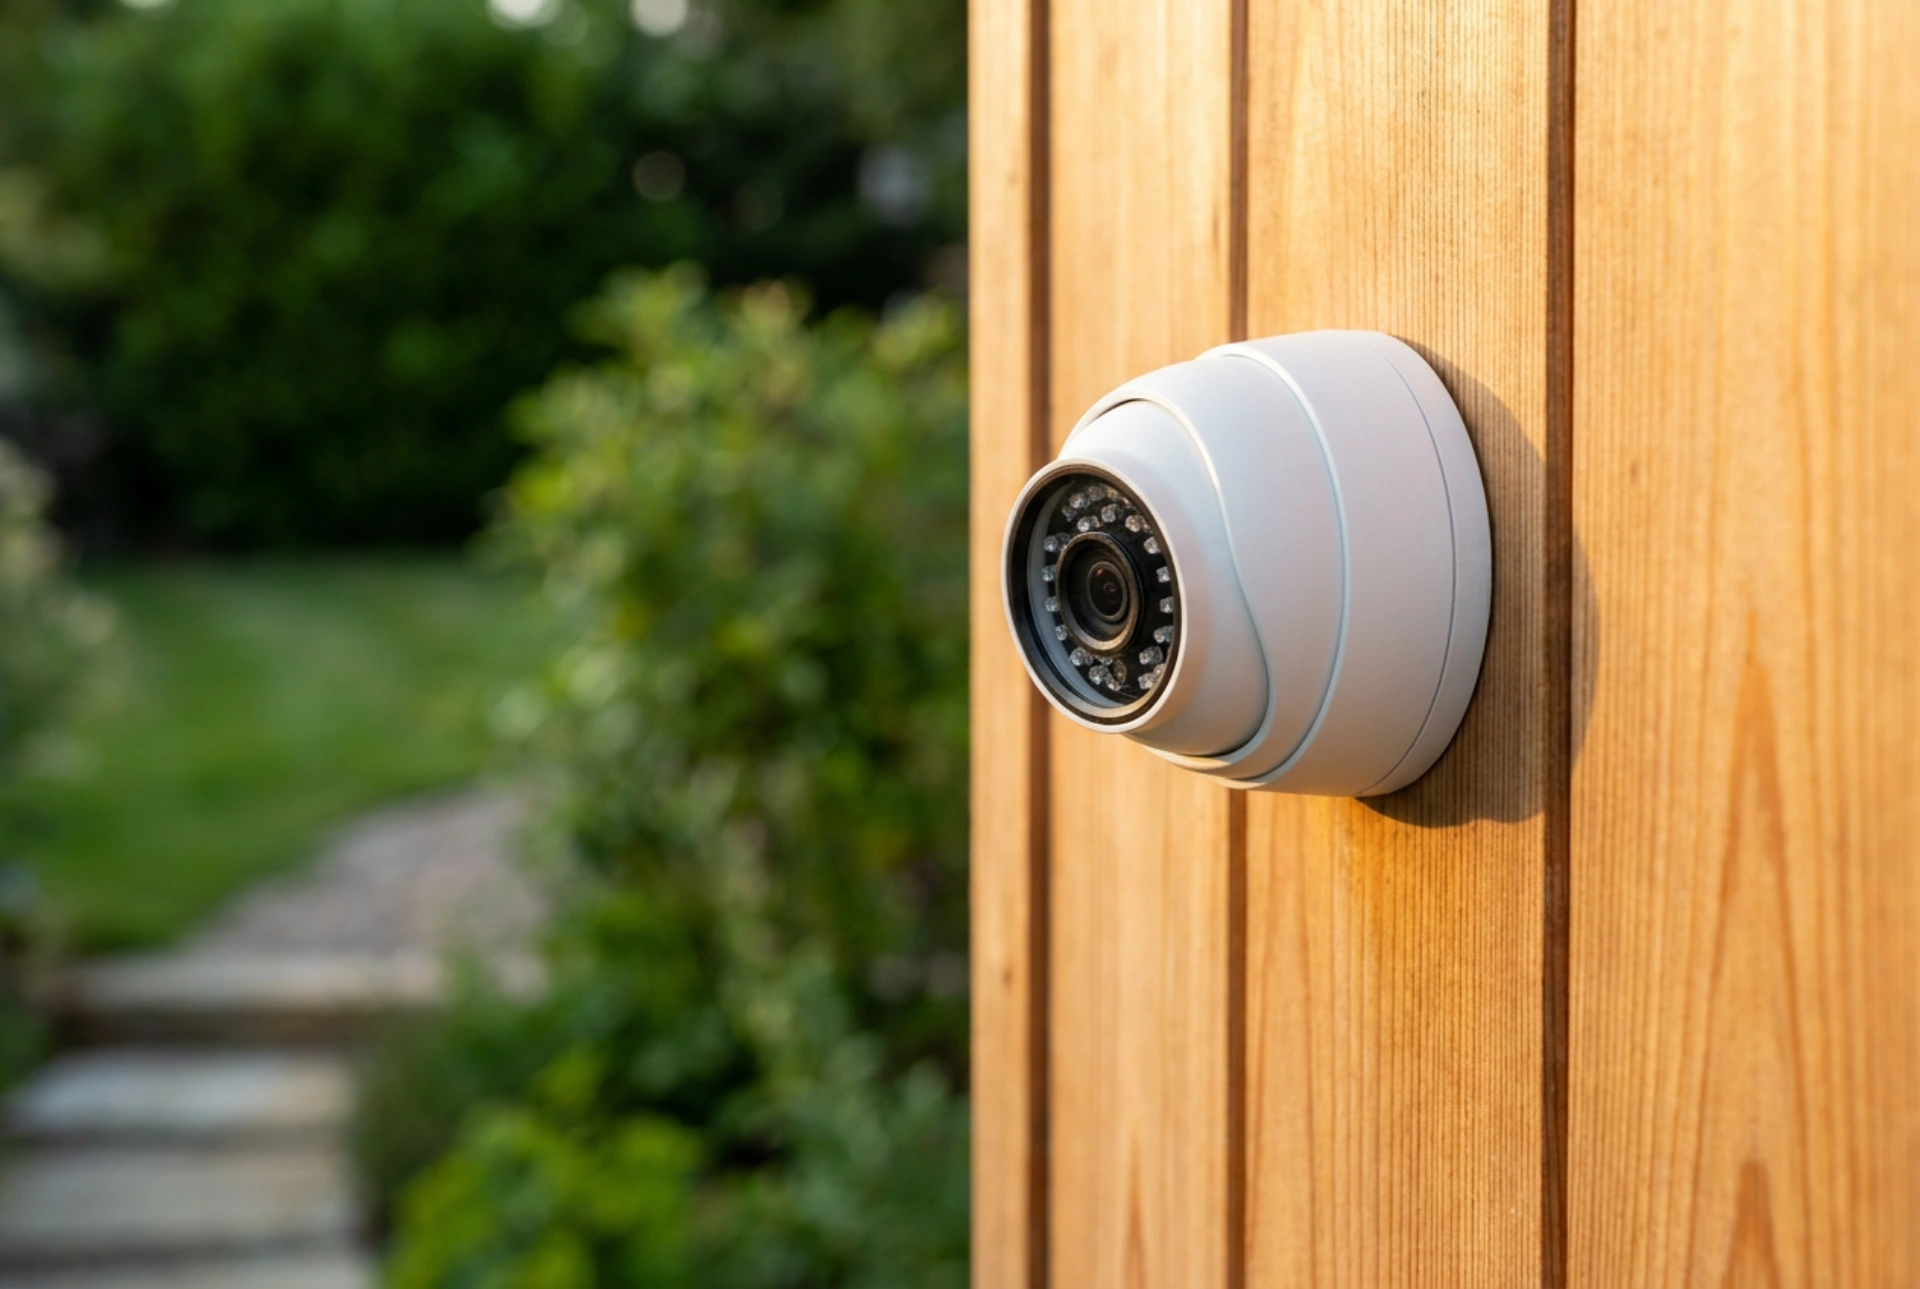


Mounting a pan-tilt-zoom (PTZ) IP camera requires a strategic understanding of optical geometry to eliminate blind zones. By calculating mounting heights, sensor angles, and structural obstructions, you can achieve continuous, comprehensive surveillance without leaving vulnerable gaps in your security perimeter.
Understanding the Cone of Blindness Beneath the Lens
Every PTZ camera has physical and mechanical limits. While these devices can rotate horizontally up to 360 degrees and tilt vertically, they suffer from an inherent optical limitation directly beneath their mounting point. This area is often referred to as the dead zone or cone of blindness. Because the mechanical tilt of most dome housings cannot exceed 90 degrees straight down, any object directly under the camera remains completely invisible to the sensor.
To calculate the horizontal span of this dead zone, you must consider the camera's height and its vertical Field of View (VFOV). If a camera is mounted at a height of 3 metres with a vertical field of view of 50 degrees, and is tilted to look outward at the horizon, a significant blind wedge is created between the wall and the closest point where the optical path intersects the ground. Minimising this wedge requires a careful balance between the physical tilt angle and the focal length of the lens.
Calculating the Optimal Mounting Height and Tilt Angle
Height is a critical variable in camera physics. Mounting a camera too low makes it susceptible to manual tampering, vandalism, and physical redirection. However, mounting it too high increases the angle of incidence relative to the ground. When the angle of incidence is too steep, the camera captures the tops of heads rather than faces, drastically reducing the forensic value of the recorded footage.
For most domestic and light commercial properties, the optimal mounting height lies between 2.5 and 3.5 metres. At this elevation, the camera remains out of physical reach while retaining an angle of view that captures clear facial features and physical characteristics. To calculate your ideal setup, use this basic guideline: the camera should be tilted downward at an angle between 15 and 30 degrees from the horizontal plane. This tilt preserves a long-distance view of the horizon while allowing the lower edge of the camera’s optical cone to cover the area closer to the building's foundation.
Overcoming Wall Obstructions and Infrared Backscatter
The physical structure of your home can act as a massive shield, creating permanent blind spots. If a PTZ camera is mounted flat against a straight wall, its horizontal panning range is immediately cut in half, as the wall itself blocks 180 degrees of the rotation. To solve this, always use a corner-mount bracket or an extended wall arm. Mounting the camera on an external corner allows the lens to sweep around a 270-degree arc, covering two complete sides of the building with a single unit.
Additionally, you must account for the physics of light reflection, specifically infrared (IR) backscatter. During night operation, built-in IR illuminators emit invisible light to illuminate the scene. If the camera is mounted too close to an overhanging eave, a nearby gutter, or a white wall, the IR light will strike these nearby surfaces and bounce directly back into the lens. This causes the camera’s CMOS sensor to overexpose, automatically stopping down the digital aperture. The result is a brilliantly lit wall or gutter, while the actual yard beyond is rendered pitch black.
Optimising Patrol Loops and Preset Positions
Unlike fixed wide-angle lenses, a PTZ camera can only look in one direction at any given fraction of a second. If the camera is actively panning to the left, it is completely blind to any activity occurring on the right. Continuous, automated sweeping tours can actually create temporary blind spots that savvy intruders can exploit if they observe the mechanical pattern.
To prevent this, configure the camera's software with smart dwell times and priority presets rather than constant, rapid motion. Set the camera to remain in its primary 'home' position—usually pointing at the highest-risk area, such as a gate or driveway—for 80% of the time. When programming patrol loops, ensure the panning speed is set to a moderate rate. If the motor sweeps too quickly, the sensor's electronic shutter cannot adjust fast enough, resulting in motion blur that makes the captured footage unusable for identification. Keep rotation speeds low and deliberate to allow the auto-focus algorithm to lock onto targets instantly.





