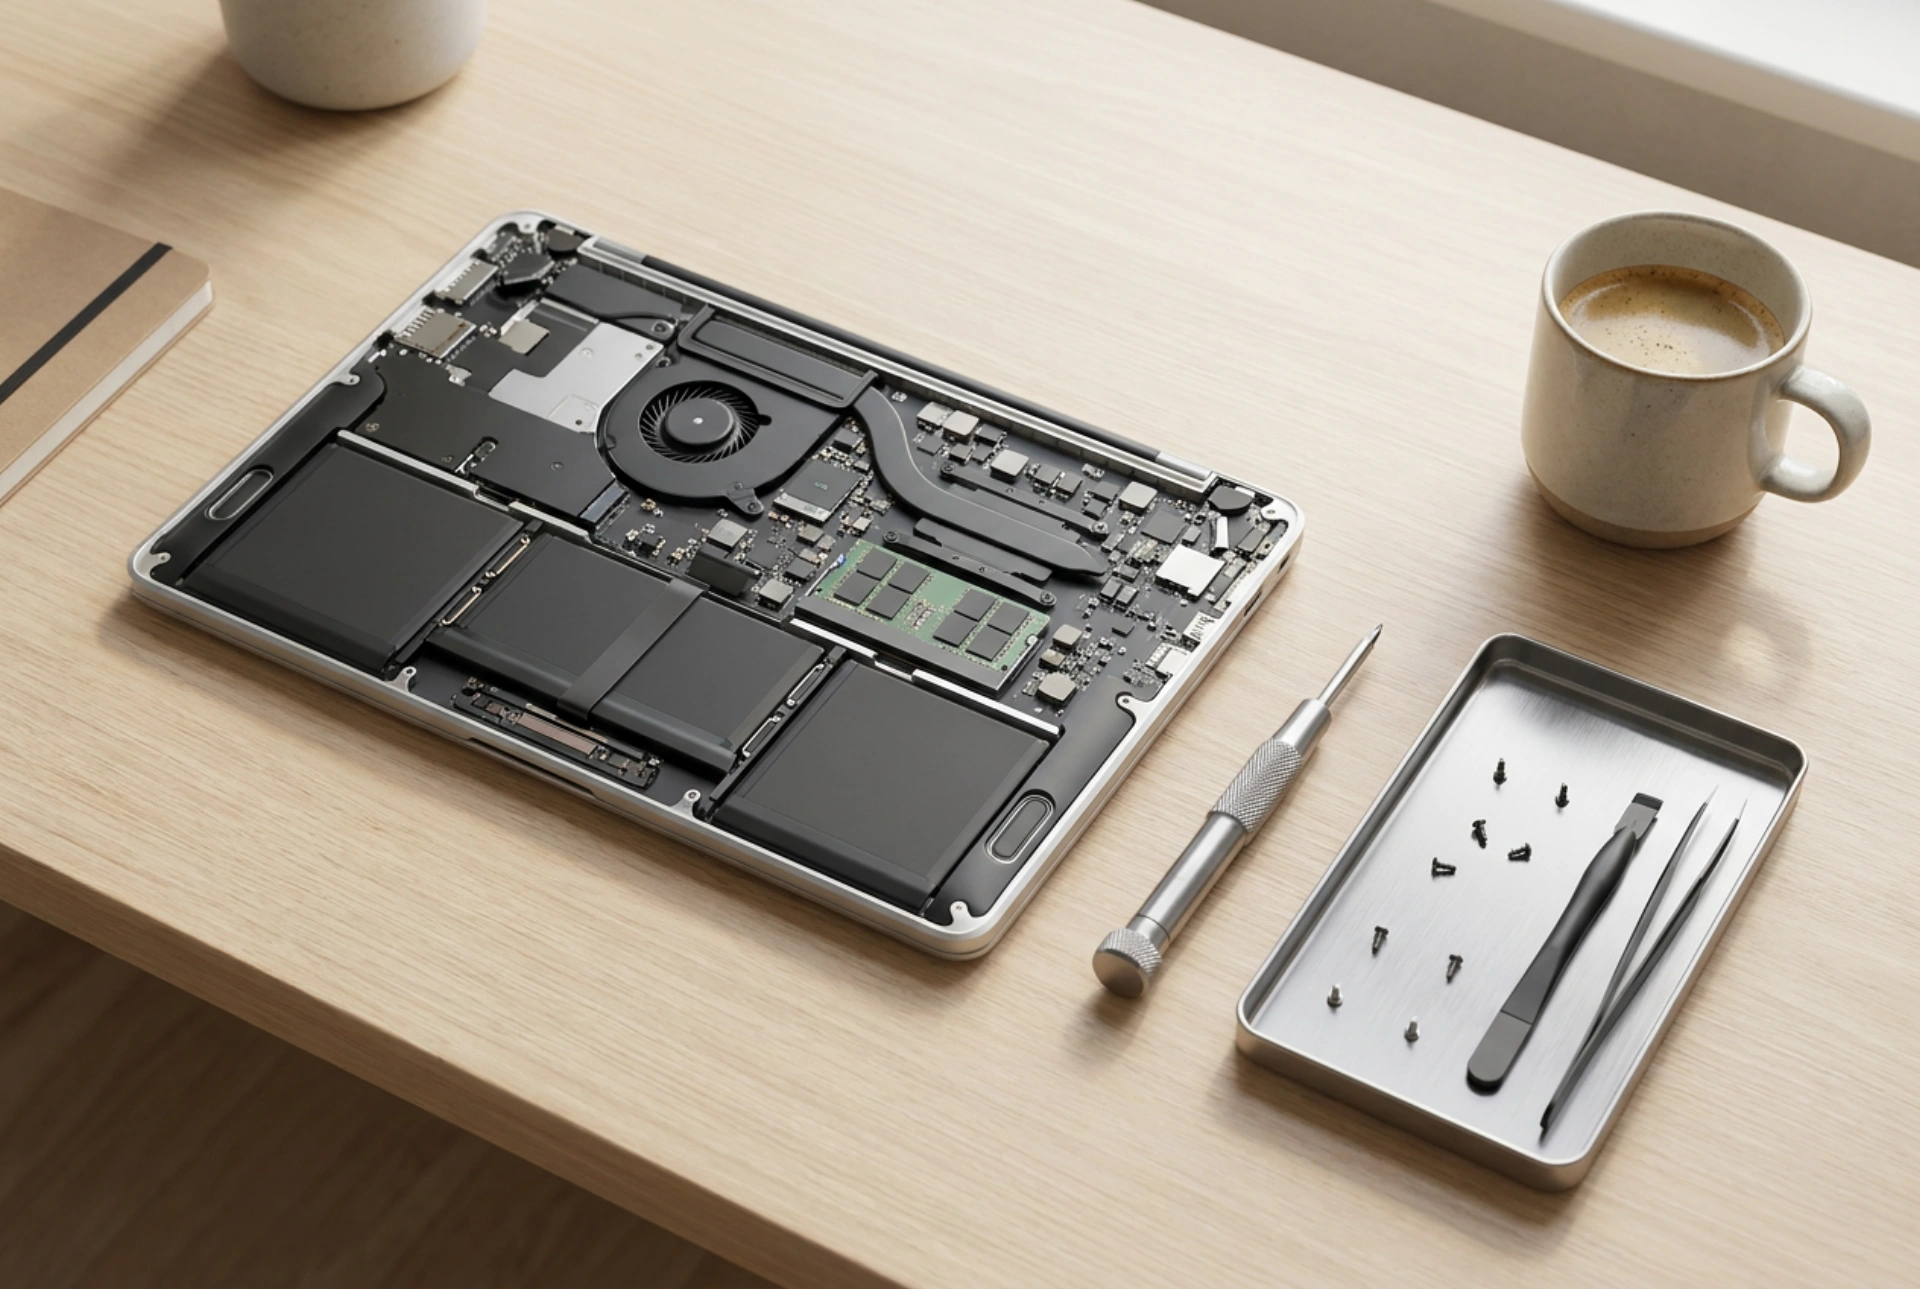


Selecting the correct Solid-State Drive (SSD) requires a precise understanding of physical form factors, interface protocols, and thermal dynamics to ensure compatibility and peak performance. Installing a drive incorrectly or choosing the wrong interface can bottleneck your system or prevent physical installation altogether.
1. Deciphering Interfaces: SATA versus NVMe
The primary division in modern solid-state storage lies between the legacy SATA interface and the modern NVMe (Non-Volatile Memory Express) protocol. SATA drives, whether in the 2.5-inch casing or the M.2 form factor, are capped by the SATA III interface bandwidth of approximately 600 MB/s. They utilise the AHCI protocol, which was originally designed for slower rotating hard drives.
In contrast, NVMe drives run over the PCI Express (PCIe) bus, bypassing the legacy controller bottlenecks. A PCIe Gen 4 or Gen 5 NVMe drive can achieve speeds exceeding 7,000 MB/s by utilizing multiple parallel lanes. When selecting a drive, you must verify your motherboard’s manual to determine which protocols are supported by each slot. Placing an NVMe-only M.2 drive into a slot wired exclusively for SATA M.2 will result in a drive that is electrically invisible to the system.
2. Form Factors and Physical Keying
While the 2.5-inch form factor uses standard SATA power and data cables, the compact M.2 form factor requires closer inspection. M.2 drives come in various lengths, represented by a four-digit or five-digit code (such as 2280, meaning 22 mm wide by 80 mm long). The 2280 size is the standard for most desktop and laptop motherboards, but compact devices may require 2230 or 2242 sizes.
Furthermore, M.2 slots are physically keyed to prevent the insertion of incompatible drives. The two main keys are:
- B-Key: Supports SATA and PCIe x2 performance, featuring a gap at pins 12 to 19.
- M-Key: Supports PCIe x4 high-speed performance, featuring a gap at pins 59 to 66.
- B+M Key: Features both gaps and can physically fit into either slot, though it typically operates at SATA or PCIe x2 speeds.
Before buying, inspect the physical layout of your motherboard's M.2 connector to match the keying profile perfectly.
3. Managing Thermal Dissipation
High-speed NVMe drives, particularly those utilizing PCIe Gen 4 or Gen 5, generate substantial heat during prolonged read and write operations. When the controller chip reaches temperatures exceeding 70 degrees Celsius, it triggers thermal throttling, drastically reducing transfer speeds to protect the silicon from degradation.
To avoid this performance drop, proper heat dissipation is essential. Many modern motherboards include integrated metal heatsinks equipped with pre-applied thermal pads. When installing the drive, you must peel the protective plastic film off these thermal pads to allow direct heat transfer. If your motherboard lacks built-in heatsinks, opt for an SSD that comes equipped with a low-profile passive heatsink, ensuring it does not interfere with surrounding components like graphics cards or CPU coolers.
4. Step-by-Step Mechanical Installation
Before handling any internal computer components, you must discharge static electricity by touching a grounded metal object or wearing an anti-static wrist strap. Electrostatic discharge (ESD) can instantly destroy the sensitive NAND flash memory controllers.
To install an M.2 SSD, locate the appropriate slot on the motherboard. Insert the drive into the slot at a shallow 30-degree angle. Gently press the drive inward until the gold contacts are fully seated. Once in place, push the rear edge of the drive down flat against the motherboard's standoff. Secure it using the specialized M.2 retention screw or the tool-free rotating latch provided by the motherboard manufacturer. Never overtighten the screw, as this can crack the drive's multi-layered printed circuit board (PCB).
For 2.5-inch SATA drives, mount the chassis into a designated drive bay. Connect the SATA data cable to the motherboard and the flat SATA power connector from your power supply unit, ensuring both click firmly into place to avoid power fluctuations.
5. Post-Installation Configuration and Partitioning
Once the physical installation is complete, the drive must be configured within the system BIOS/UEFI. Restart your computer and access the BIOS menu. Ensure that the storage controller mode is set to AHCI or NVMe, rather than legacy IDE, to enable native command queueing and optimal speeds. If the new drive is intended as the primary boot device, adjust the boot priority order accordingly.
After booting into your operating system, the drive will not immediately appear in the file explorer if it is brand new. You must open your system’s disk management utility to initialize the drive. Select the GUID Partition Table (GPT) partition style rather than the older Master Boot Record (MBR), as GPT is required for modern secure boot protocols and partitions larger than two terabytes. Finally, format the drive using the NTFS or exFAT file system to prepare it for high-speed data storage.





