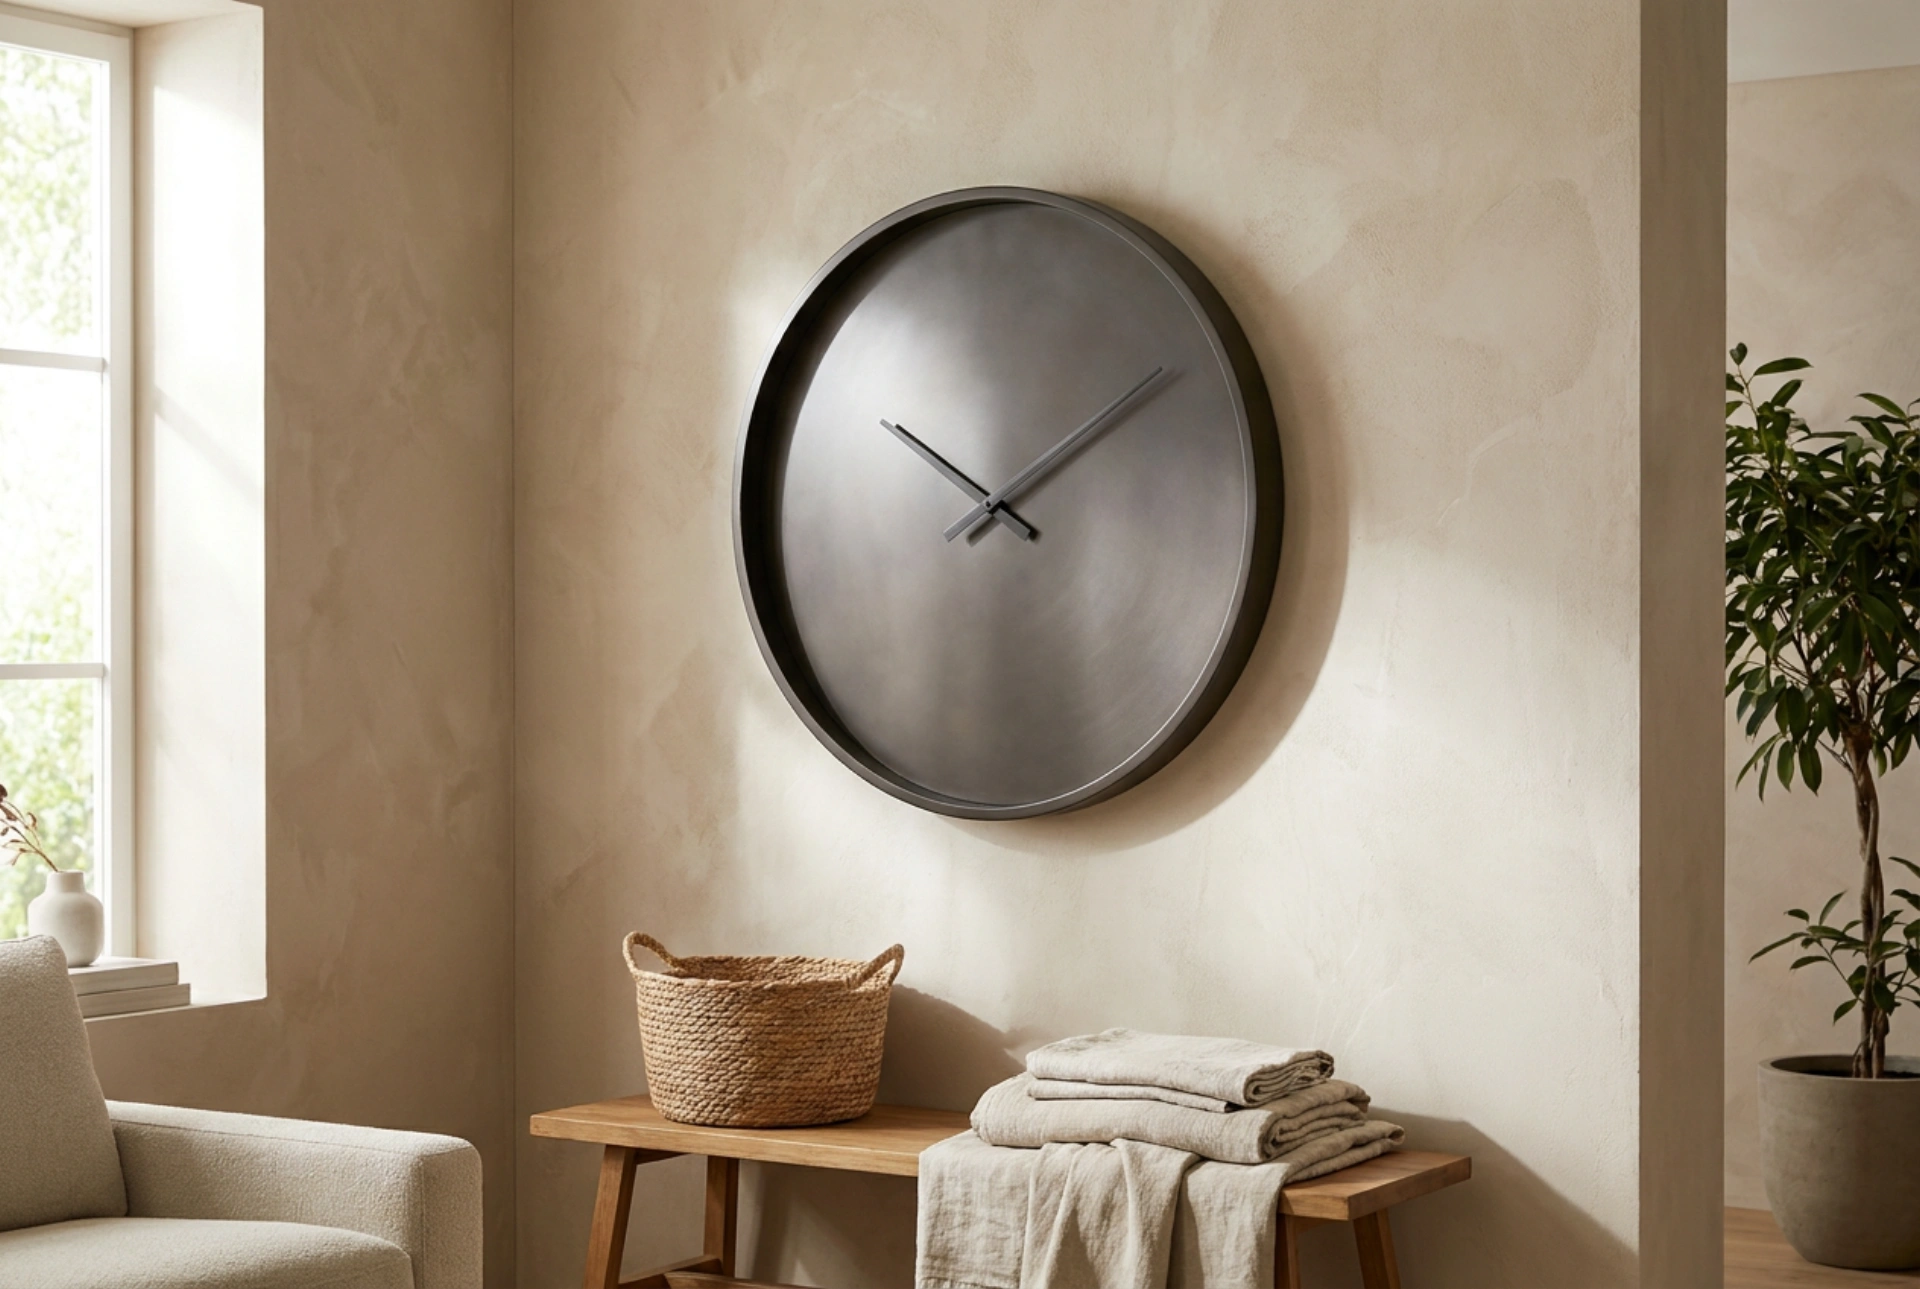


An empty living room wall often presents a design dilemma, but a large wall clock can serve as a functional anchor when you balance its physical scale, material properties, and mechanical integration with the room.
The Physics of Scale and Visual Mass
Selecting the right size for a wall clock is not merely a matter of taste; it is a calculation of visual proportions. An undersized clock on a vast, empty wall looks like an afterthought, while an oversized one can compress the perceived height of your ceiling. To find the optimal diameter, use the rule of thirds: the clock should occupy approximately one-third to two-thirds of the usable wall width, excluding furniture overlap.
Additionally, consider the "visual mass" of the clock. An open-frame skeleton clock made of thin matte metal wires has low visual density, allowing the wall texture to show through. This type of clock can be larger (e.g., 80 to 100 cm in diameter) without dominating the space. Conversely, a clock with a solid face—such as dark slate, solid oak, or cast concrete—has high visual density. For solid dials, stick to the lower end of the scale (60 to 70 cm) to prevent the wall from feeling top-heavy and unbalanced.
Acoustic Dampening and Movement Mechanics
A common error when installing large wall clocks is ignoring the acoustic properties of the room and the wall structure. Standard quartz movements operate on a stepping motor that moves the second hand in one-second intervals, producing a distinct ticking sound. When mounted directly onto a hollow plasterboard (drywall) wall, the wall acts as a soundboard or acoustic resonator, amplifying these micro-vibrations throughout the living room.
To ensure a quiet environment, look for continuous sweep quartz movements. These motors use a continuous flow of electricity to glide the hands smoothly, eliminating the mechanical impact sound. If you already have a ticking clock, you can mitigate resonance by applying small adhesive rubber or silicone pads to the back of the clock frame. These pads decouple the clock from the wall surface, absorbing the kinetic energy of the mechanism before it can vibrate the plasterboard.
Managing Light, Glare, and Contrast
The legibility of a clock depends entirely on light angles and material contrast. High-gloss finishes, polished metals, and protective glass covers reflect ambient light and direct sunlight, often rendering the clock unreadable at certain times of the day. If your living room receives abundant natural light, opt for matte, brushed, or powder-coated finishes.
The chemical and physical properties of the clock materials also dictate how they age under UV exposure. Untreated natural woods can warp or fade under direct sunlight, while cheaper plastics may yellow and become brittle. Choose materials treated with UV-resistant coatings. For optimal readability, ensure high tonal contrast between the clock hands and the face—for instance, dark charcoal hands against a pale, textured plaster dial, or brushed copper hands against a matte black surface.
Structural Mounting and Wall Physics
Large wall clocks can weigh anywhere from 3 to over 10 kilograms, meaning their installation must account for gravity and shear force. Hanging a heavy object requires matching the fastening hardware to the specific wall material to prevent structural failure.
- Solid Masonry or Concrete: Use a hammer drill to insert a standard nylon wall plug (rawlplug). The screw should expand the plug completely inside the masonry, creating high frictional resistance against pulling forces.
- Plasterboard/Drywall: Never rely on a standard screw or nail. The soft gypsum core of plasterboard cannot support shear weight over time. Instead, use metal toggle bolts or hollow-wall anchors. These expand behind the plasterboard sheet, distributing the load over a wider surface area.
- Stud Alignment: Whenever possible, locate the wooden studs behind the plasterboard using a stud finder and anchor the mounting screw directly into the structural timber for maximum load capacity.





