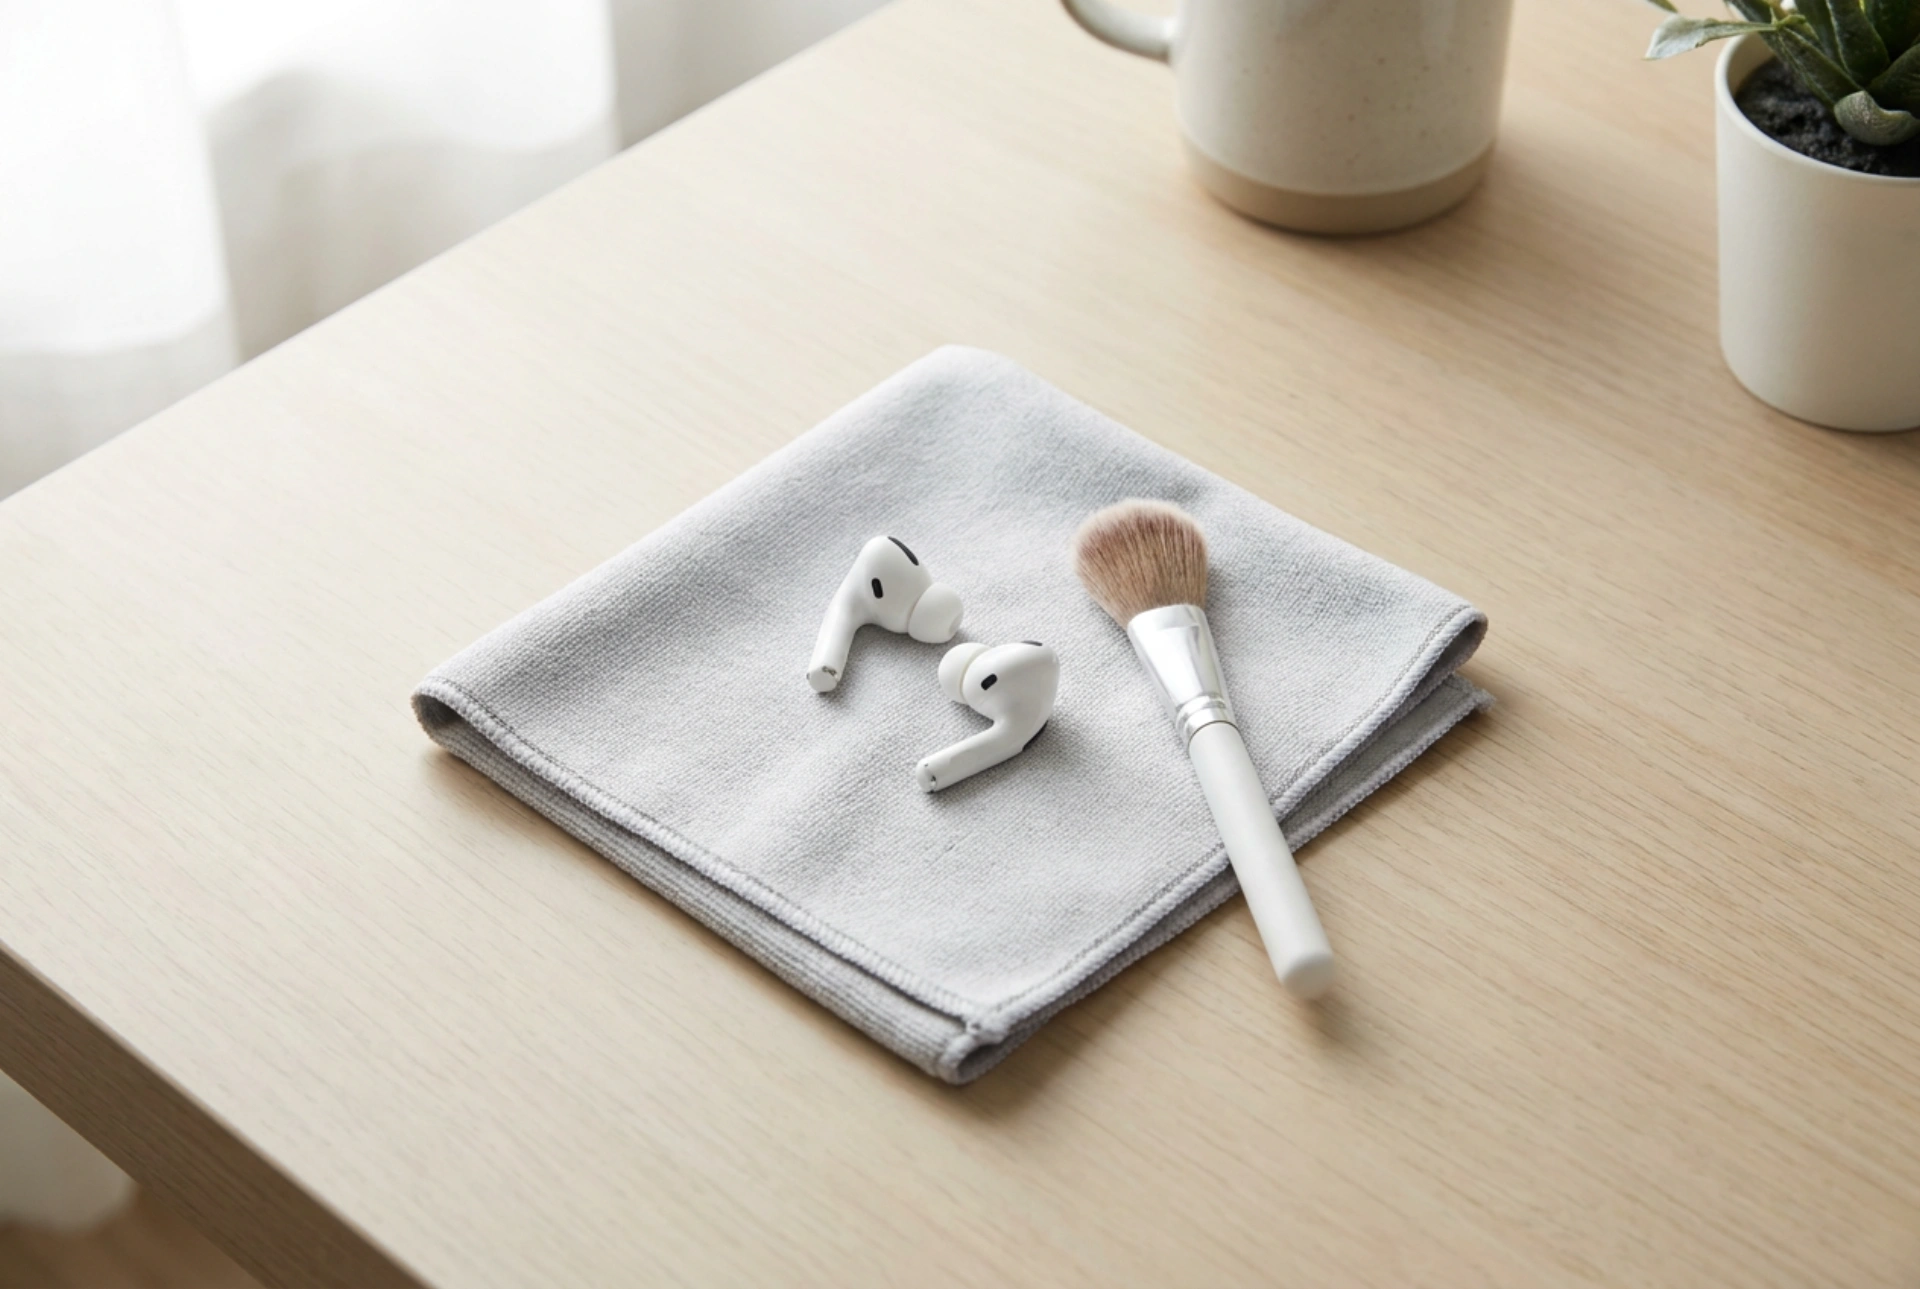


In-ear headphones and their integrated microphones accumulate a combination of earwax, skin lipids, and environmental dust, which gradually degrades sound quality and muffles voice transmission. Cleaning these delicate devices requires understanding the materials involved and avoiding moisture penetration that can destroy the internal micro-electro-mechanical systems (MEMS).
The Chemistry of Earbud Contamination
Earwax, or cerumen, is a natural substance composed mainly of saturated and unsaturated fatty acids, alcohols, squalene, and cholesterol. This lipid-rich mixture easily adheres to the fine metal or nylon acoustic meshes of earbuds. When combined with sebum (skin oil) and dead skin cells, it creates a sticky barrier that blocks sound waves. If you attempt to clean this with water, the high surface tension of water prevents it from dissolving the fats, while capillary action can draw the liquid deep into the transducer chamber, causing permanent short circuits. Understanding how to break down these lipids without damaging the adhesive seals or plastic housings is key to safe maintenance.
Choosing the Right Cleaning Agents and Tools
To safely dissolve lipids, high-purity isopropyl alcohol (minimum 99% concentration) is the standard solvent. Unlike water or lower-grade rubbing alcohols, 99% isopropyl alcohol dissolves oils rapidly and evaporates almost instantly, leaving no conductive residue behind. However, it must be used sparingly; excessive liquid can degrade certain plastic compounds or dissolve the acoustic adhesives holding the driver mesh in place. Avoid using chlorine-based detergents or strong organic solvents like acetone, which will permanently melt the polycarbonate or ABS plastic casing. For mechanical removal, use a soft-bristled brush, a wooden toothpick, and a reusable adhesive cleaning putty designed for electronics.
Step-by-Step Safe Cleaning Protocol
Step 1: Dry Debris Extraction
Always begin with dry cleaning. Remove any silicone or foam ear tips. Hold the earbud with the acoustic mesh facing downward. This positioning uses gravity to your advantage, ensuring that loosened wax falls out of the nozzle rather than being pushed further into the driver chamber. Gently sweep the mesh with a dry, soft-bristled brush in a single outward direction.
Step 2: Cleaning the Removable Tips
Silicone ear tips can be safely washed since they contain no electronic components. Submerge them in warm water mixed with a drop of neutral liquid soap. The soap molecules surround the lipids, allowing them to be rinsed away. Rinse the tips thoroughly in clean water and allow them to dry completely for several hours before reattaching them to prevent trapping moisture inside the nozzle.
Step 3: Targeted Mesh Dissolution
Moisten a fine micro-applicator or cotton swab with 99% isopropyl alcohol. It should be damp, not dripping wet. Lightly touch the mesh while maintaining the downward-facing angle. The alcohol will break down the remaining greasy film on contact. Use a clean, dry toothpick to gently lift away any softened wax deposits from the outer rim of the nozzle, taking care not to puncture the delicate mesh membrane.
Step 4: Clearing the Microphone Port
The microphone port requires extreme caution. Inside lies a highly sensitive MEMS microphone membrane. Never insert sharp objects like needles or toothpicks into the microphone hole, as this will rupture the protective acoustic membrane. Instead, use a tiny piece of adhesive cleaning putty. Press it gently over the microphone port and pull it away. The dirt and dust trapped in the opening will adhere to the putty and lift out cleanly.
Prevention and Storage Habits
Moisture from sweat and humidity is the primary catalyst for corrosion in electronic contacts. Always wipe down your earbuds with a dry microfiber cloth after physical exercise, and let them air dry before placing them back into their charging case. By keeping the protective meshes free of lipid buildup, you maintain optimal acoustic impedance and preserve the clear frequency response of both the speakers and the integrated microphone.





