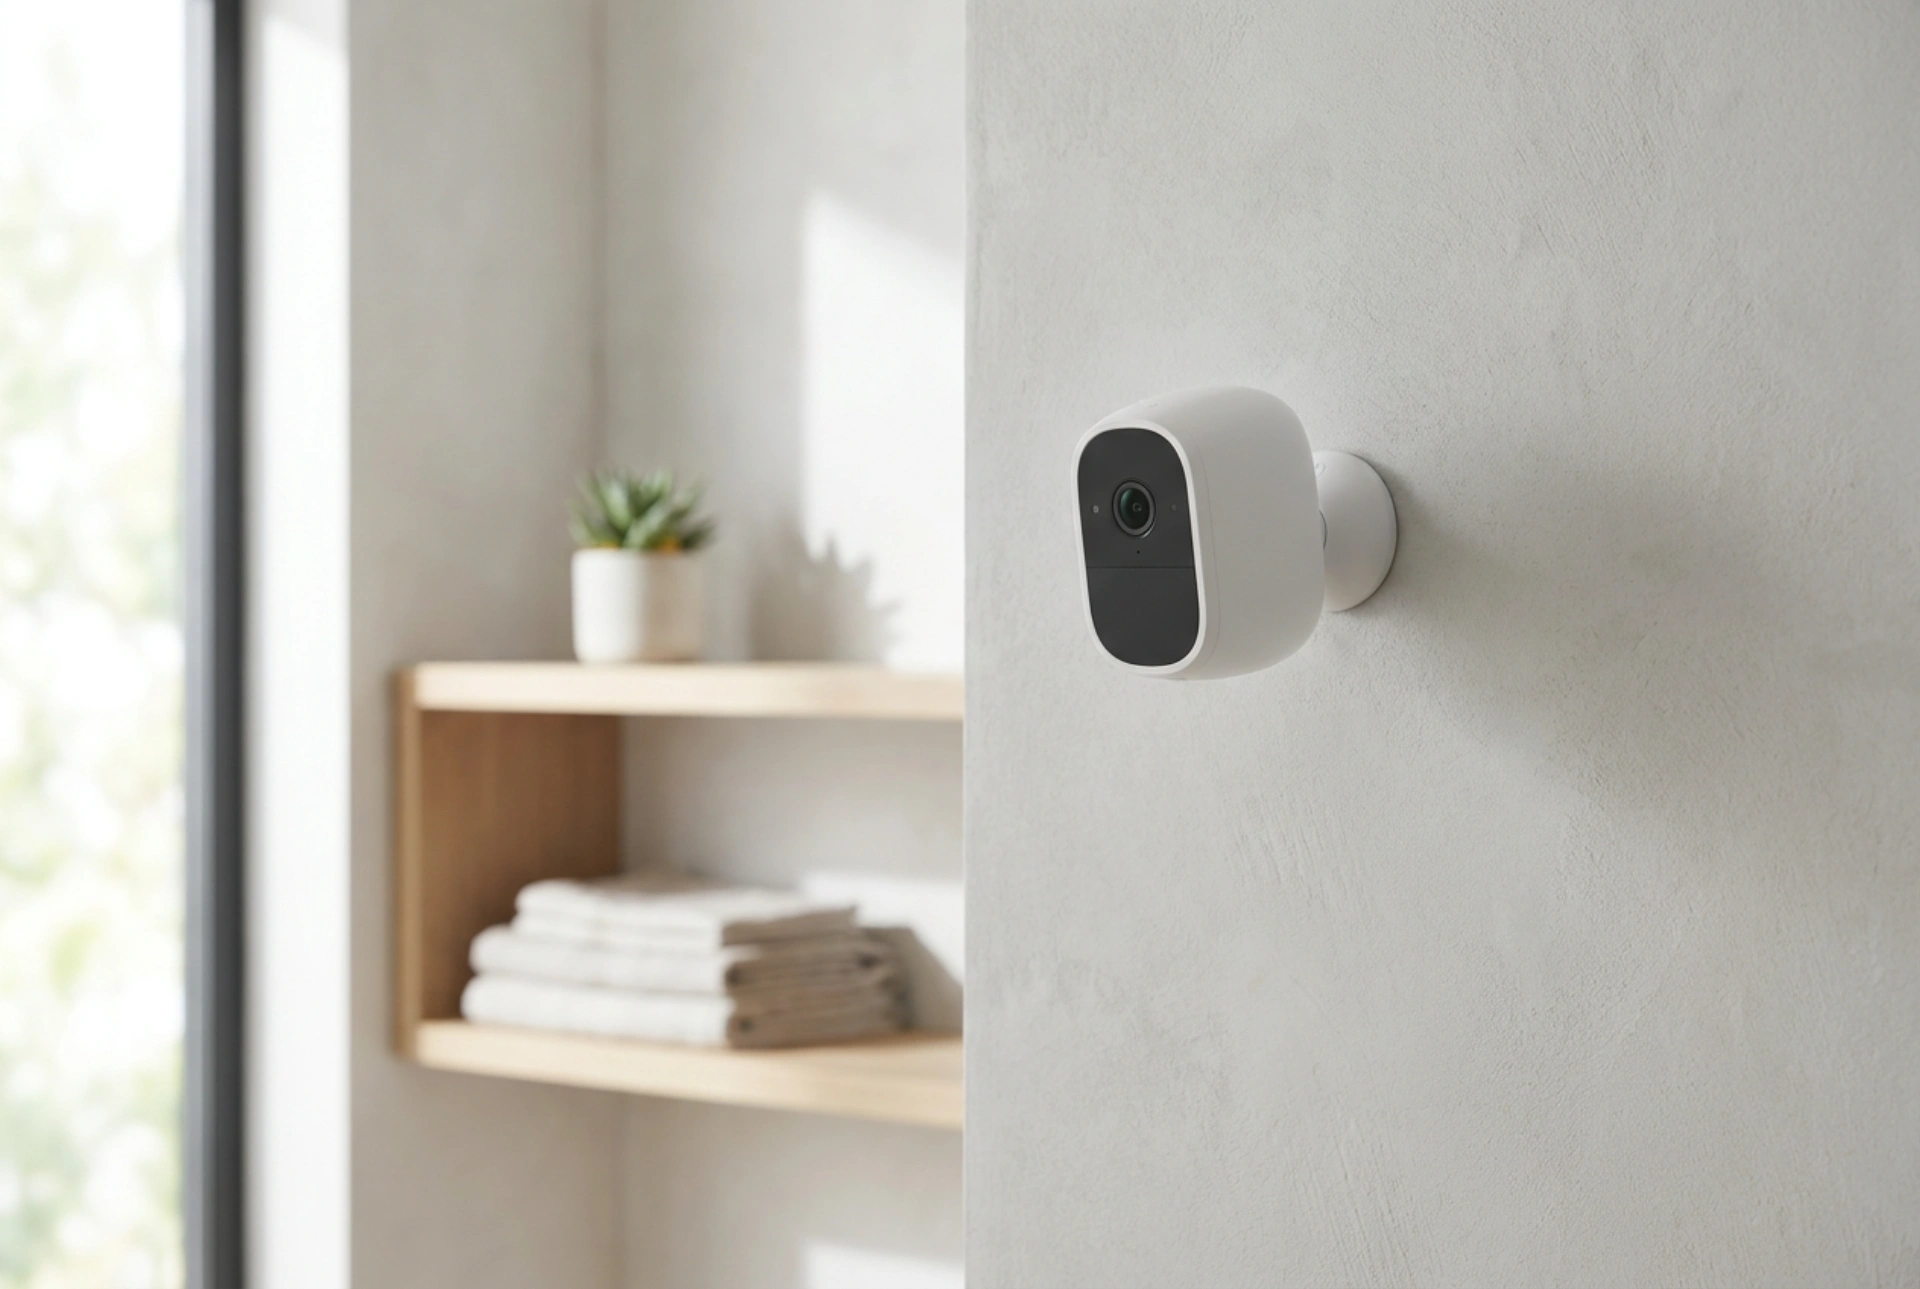


Positioning a wireless security camera is more than just finding the right viewing angle; it requires a basic understanding of radio frequency propagation to prevent constant signal drops. By optimizing the physical path between your camera and the wireless access point, you can maintain a high-definition stream without annoying lag or disconnects.
Understanding Wi-Fi Frequencies: 2.4 GHz vs. 5 GHz
Most modern wireless cameras operate on one of two radio frequency bands: 2.4 GHz or 5 GHz. Knowing which band your camera uses is crucial for proper placement. The 2.4 GHz band operates at longer wavelengths, allowing it to pass through solid obstacles like drywall and wooden doors more effectively. However, it is highly congested because many household appliances, baby monitors, and older routers share this frequency, leading to packet loss and signal interference.
In contrast, the 5 GHz band offers higher data transfer rates and less congestion, but its shorter wavelengths struggle to penetrate solid objects. A single brick wall can completely block a 5 GHz signal. If your camera supports both bands, use 2.4 GHz for outdoor or distant cameras that must transmit through exterior walls, and reserve 5 GHz for indoor cameras with a relatively clear path to the router.
How Building Materials Attenuate Your Signal
Every obstacle between your router and the camera absorbs or reflects a portion of the radio wave energy—a process known as attenuation. To position your camera effectively, you must map the invisible barriers in your home. Different materials have vastly different attenuation values:
- Wood and Drywall: These cause low attenuation, meaning the signal passes through with minimal loss. However, multiple stud walls will still accumulate signal degradation.
- Concrete and Brick: These dense materials cause high attenuation. A single concrete firewall can cut your signal strength in half, requiring you to position the camera closer to a window or an interior wooden door frame.
- Metal and Mirrors: Metal is a near-impenetrable barrier for radio waves. Avoid mounting cameras directly onto metal siding, aluminum gutters, or near large mirrors, which act as electromagnetic shields and reflect the signal away from the receiver.
- Water: Since water absorbs 2.4 GHz radio waves exceptionally well, large aquariums or heavy plumbing pipes inside walls can create significant blind spots.
Avoiding Electromagnetic Interference (EMI)
Even if the physical path is clear, electromagnetic noise can disrupt the wireless handshake between your camera and router. The most common source of interference in residential environments is the microwave oven. When operating, a microwave leaks tiny amounts of radiation in the 2.4 GHz spectrum, which can temporarily blind nearby wireless cameras.
To mitigate EMI, maintain a minimum distance of three meters between your camera, its signal path, and other wireless transmitters. This includes Bluetooth speakers, baby monitors, and cordless phones. If you experience signal drops at specific times of day, correlate these drops with household activity to identify the source of interference.
Optimizing Antenna Polarization and Mounting Height
The orientation of your camera's internal or external antenna dictates how the radio waves propagate. Most router antennas are omnidirectional, radiating signal outward in a donut-shaped pattern perpendicular to the antenna pole. For optimal signal capture, align your camera's antennas parallel to the router’s antennas (typically vertical). If the camera is mounted high on a wall and the router is on the ground floor, tilting the camera antenna slightly can align the polarization planes and boost signal reception.
Additionally, avoid mounting your camera deep in tight corners or under heavy eave overhangs. These positions create multipath propagation, where the radio signal bounces off nearby surfaces and arrives at the receiver at slightly different times, causing phase cancellation and a weaker connection.
The Step-by-Step Installation Order of Operations
To guarantee a stable connection, always test the signal quality before permanently mounting the camera to your wall. Use this systematic approach:
- Step 1: Check the RSSI. Temporarily hold the camera in the exact desired mounting spot. Open your camera's management interface and look for the Received Signal Strength Indicator (RSSI), measured in decibels (dBm). A value between -30 dBm and -60 dBm is excellent. Anything below -70 dBm will lead to frequent disconnections.
- Step 2: Check the feed latency. Walk through the camera's field of view and check for lag. If there is a delay of more than two seconds, adjust the angle of the camera relative to the wall to minimize signal reflection.
- Step 3: Secure the mount. Once the optimal position with a stable RSSI is confirmed, secure the bracket. Ensure no metal plates or heavy structural elements are directly behind the mounting bracket.





