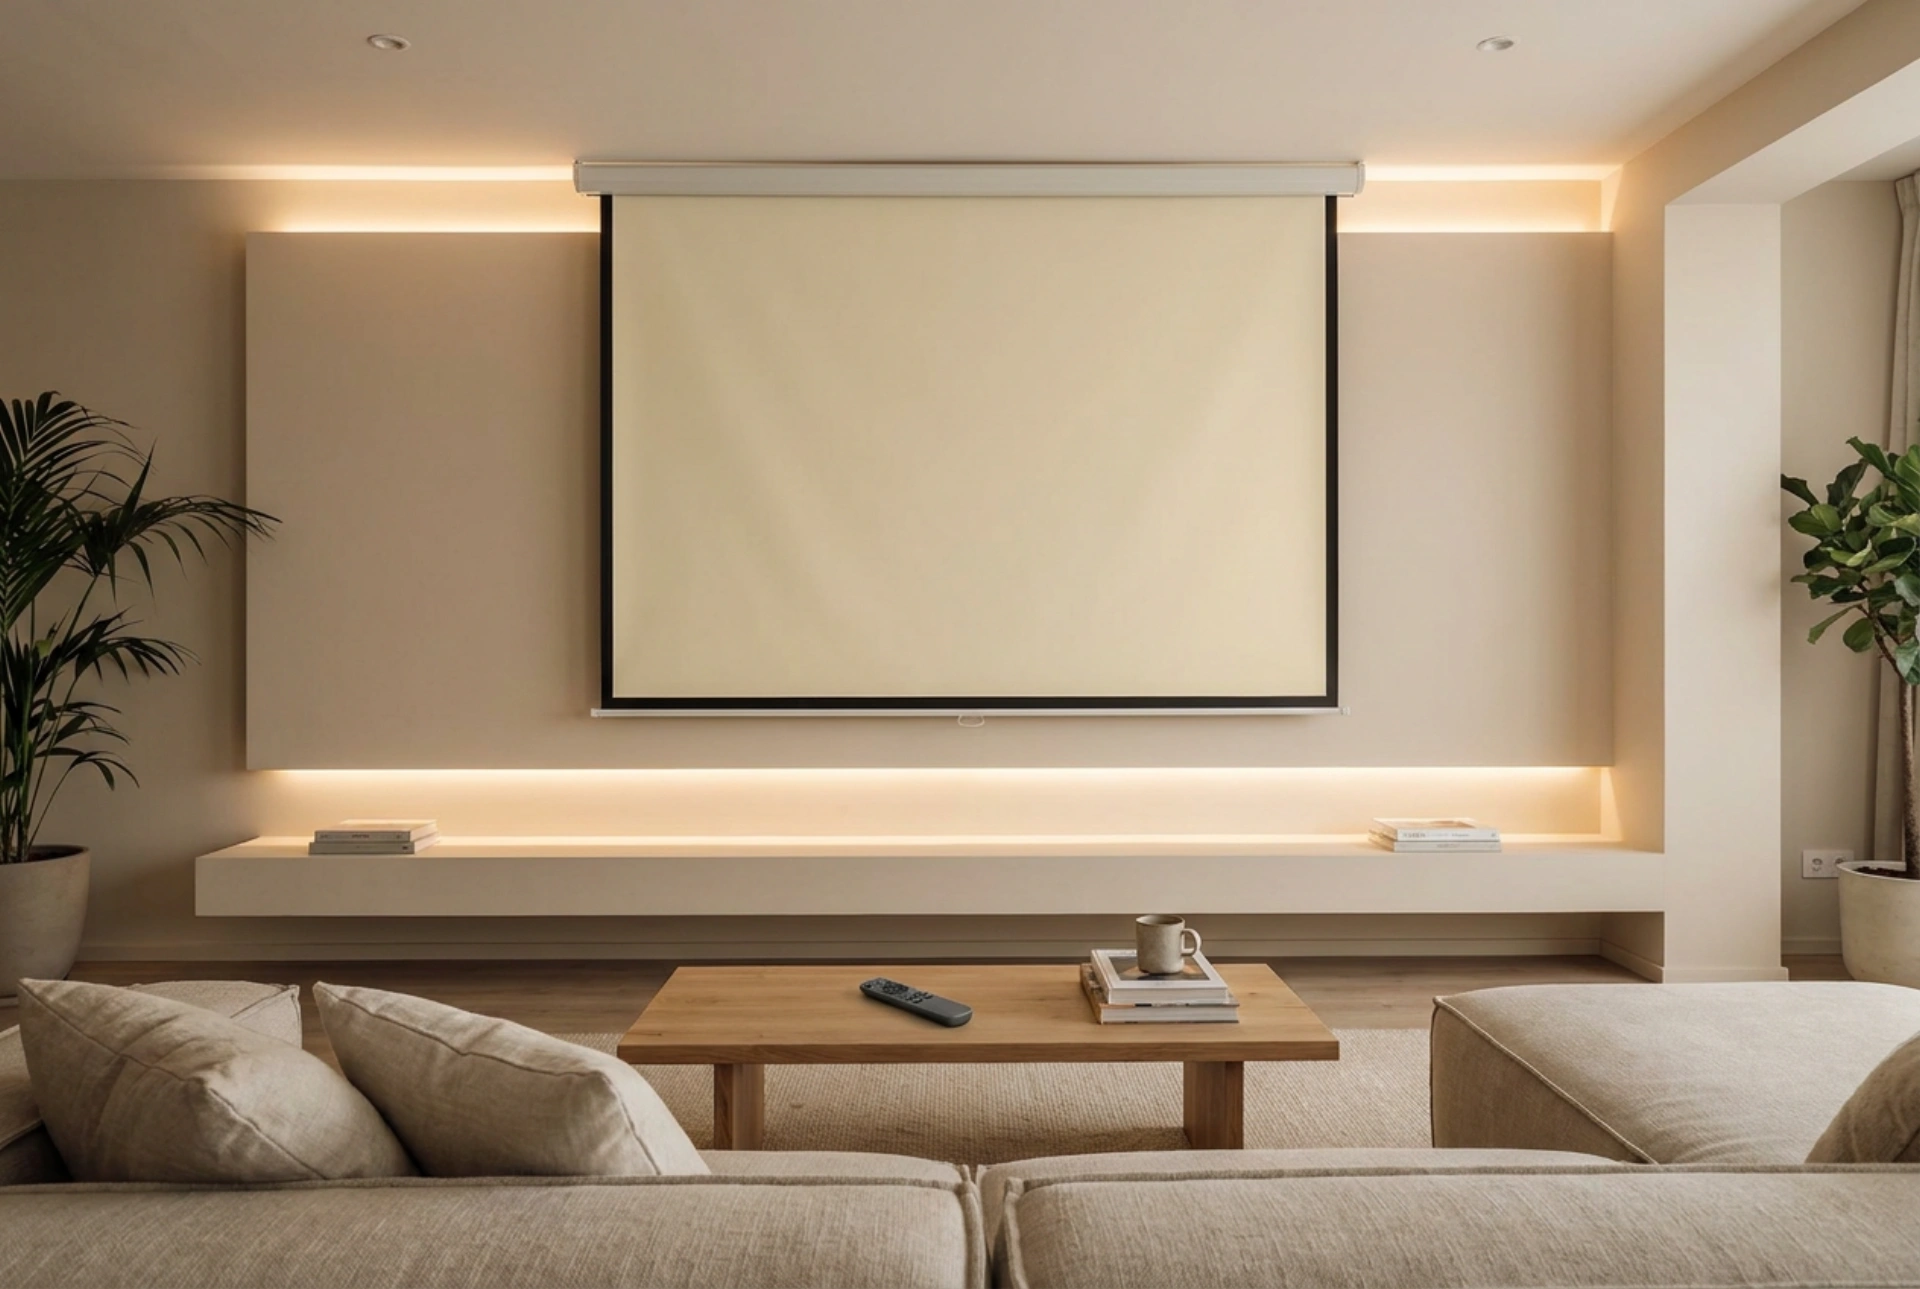


Integrating a motorised projector screen into a home cinema or living space requires an understanding of reflective physics, material mechanics, and control signal integration. Selecting and setting up the screen involves balancing light reflection properties with mechanical durability and seamless automation.
Understanding Screen Materials and Reflective Physics
The screen material, or substrate, is not merely a white fabric; it is an engineered optical surface. The primary characteristic of any projection surface is its gain factor, which measures its reflectivity relative to a standard barium sulphate reference board. A standard matt white screen has a gain of 1.0, diffusing light evenly in a 180-degree hemispherical pattern. This is ideal for dark, light-controlled rooms where ambient light is minimal.
In environments with ambient light, grey screens or Ambient Light Rejection (ALR) surfaces are employed. Grey screens with a gain of 0.8 or lower absorb a portion of the ambient light, improving black levels and contrast. ALR screens utilise microscopic optical triangular structures or physical filters to reflect light coming from acute angles, such as ceiling lights, away from the viewer. Meanwhile, they selectively reflect light originating from the projector directly towards the seating area. Understanding these optical properties ensures that the screen matches the room ambient light profile.
The Role of Tab-Tensioning in Flatness Longevity
Non-tensioned motorised screens rely solely on the weight of the bottom bar to keep the fabric taut. Over time, changes in indoor temperature and relative humidity cause the vinyl or fibreglass-backed substrate to stretch unevenly, leading to edge-curling or waves in the middle of the screen. These physical distortions warp the projected image, particularly during panning shots.
To prevent this deformation, tab-tensioning systems use a continuous high-tension cord running through tabs along the outer vertical edges of the screen fabric. This lateral tension pulls the screen flat horizontally, while the heavy bottom roller maintains vertical tension. When investing in a motorised system, a tab-tensioned model ensures that the physical surface remains planar throughout decades of thermal expansion and contraction cycles.
Motor Mechanics and Thermal Protection
Inside the upper metal housing of the screen lies a tubular motor. These motors are typically asynchronous, offering high torque in a compact cylindrical form factor. During installation, it is crucial to understand that these motors are designed for intermittent use. They feature an integrated thermal cut-out switch to prevent damage from overheating. Continuous operation, such as lowering and raising the screen multiple times during setup, will trigger this safety switch, requiring up to 45 minutes of cooling before the motor operates again.
Limit Switches and Drop Calibration
To ensure the screen stops precisely at the correct height every time, motorised screens utilise mechanical or electronic limit switches inside the roller tube. Adjusting these switches, usually via small hex screws accessible through the casing, dictates the upper and lower stopping points. Precise calibration prevents the screen from over-rolling, which can tear the fabric from the roller, or failing to clear obstacles on the wall or ceiling.
Signal Integration and Automation Control
For a truly integrated experience, manual operation via a wall switch should be replaced with automated triggers. The most reliable method is the 12-volt trigger. When the projector powers on, it outputs a low-voltage DC signal through a dedicated port. This current is received by the screen controller, which automatically activates the relay to lower the screen. Powering off the projector cuts the voltage, prompting the screen to retract.
For smart home environments, dry contact relays or radio frequency (RF) modules can be integrated into the control loop. Unlike infrared (IR) controllers which require line-of-sight propagation, RF signals and smart relays allow the screen casing to be completely recessed into a ceiling cavity, maintaining a minimalist aesthetic without compromising signal transmission.





