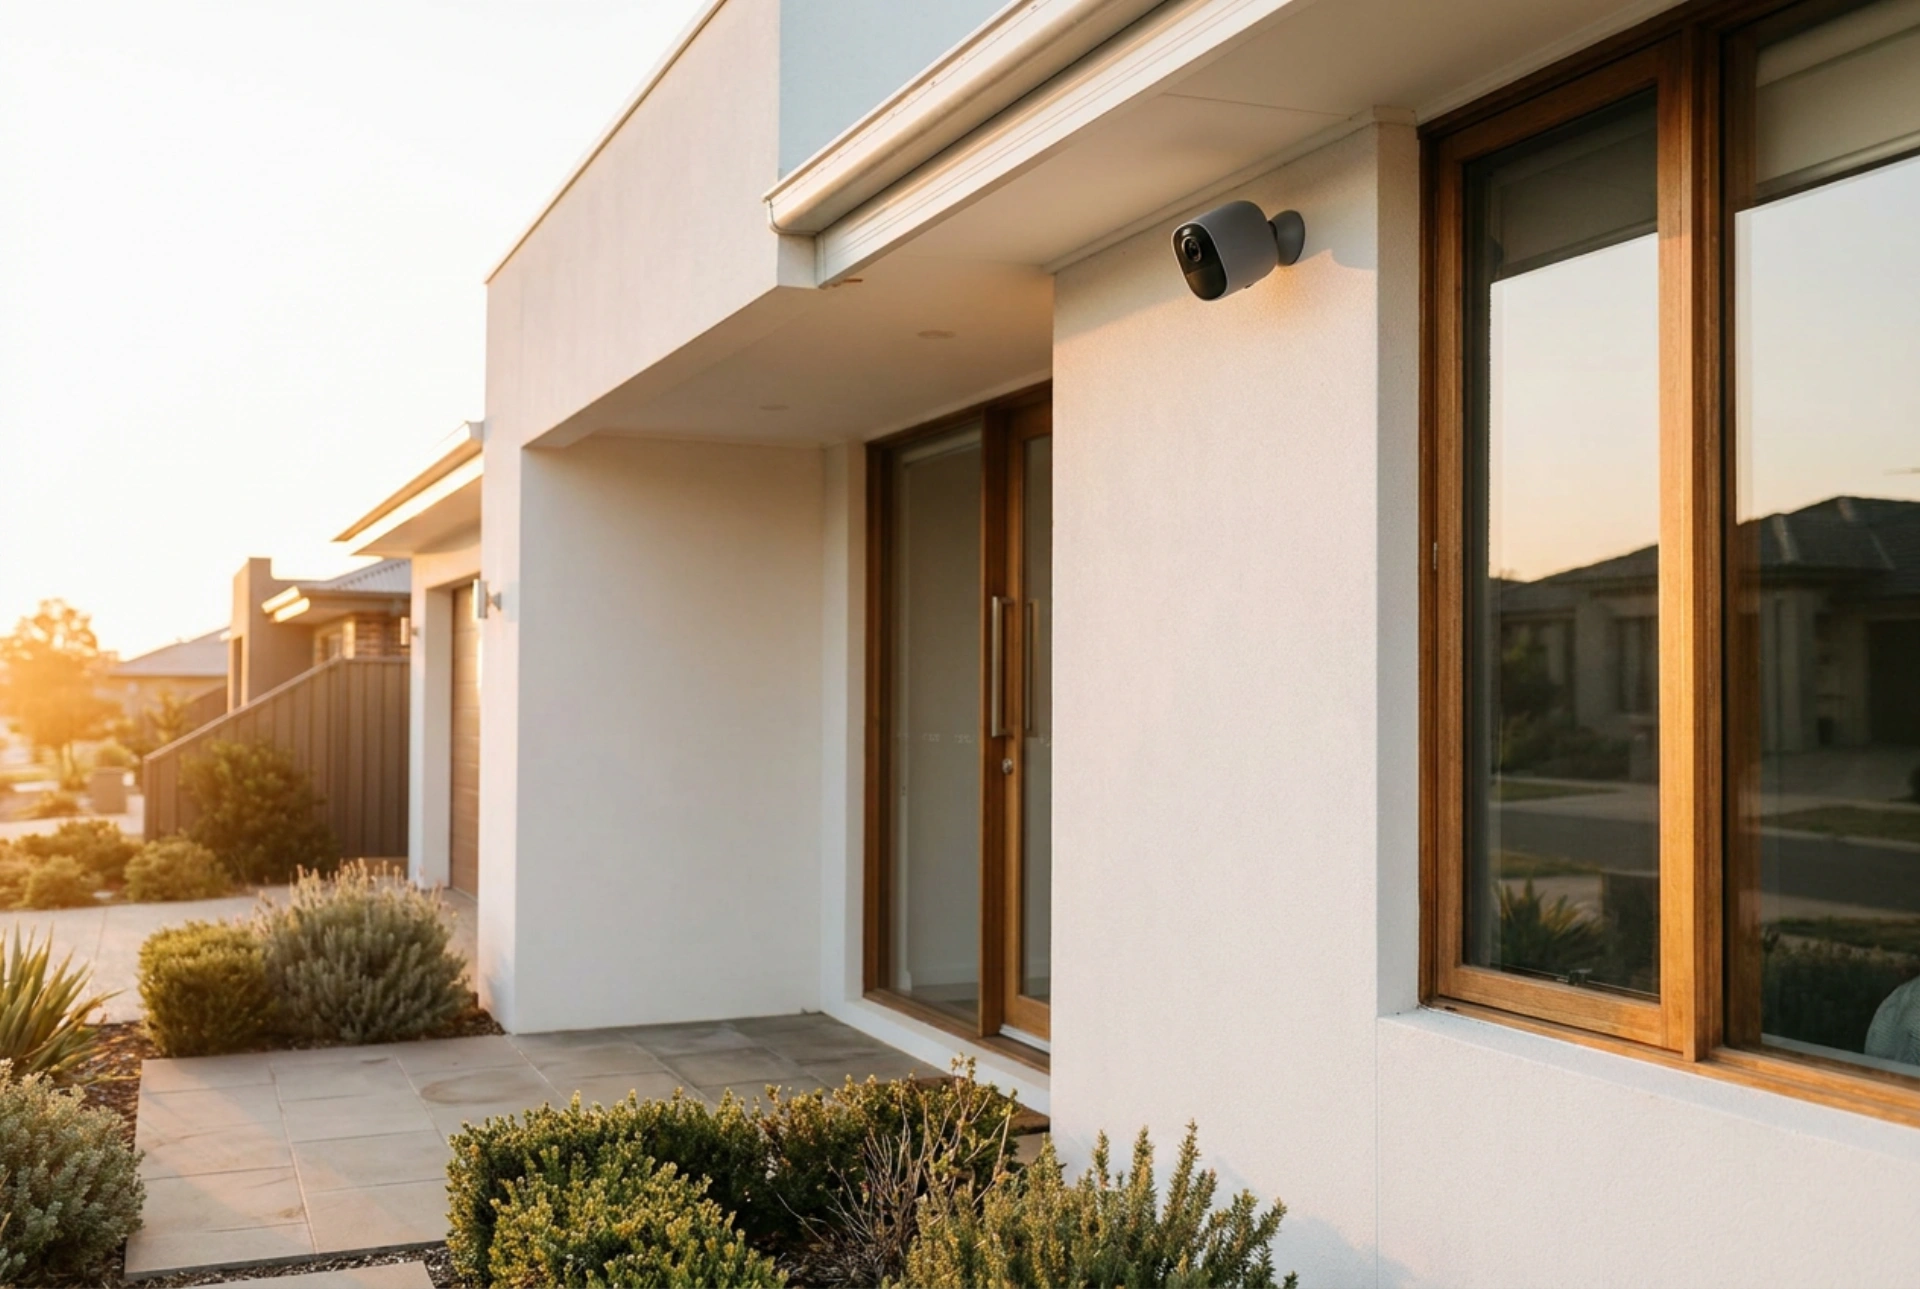


Positioning outdoor wireless security cameras requires balancing optimal optical coverage with the physical limitations of Wi-Fi signal propagation and sensor mechanics. Strategic installation ensures consistent connectivity and clear footage without blind spots or false triggers.
Understanding Wi-Fi Signal Propagation and Attenuation
Wireless security cameras rely heavily on the radio frequency (RF) spectrum, typically utilising either the 2.4 GHz or 5 GHz bands. To ensure a stable video feed, you must account for how signal strength degrades as it passes through various building materials, a process known as attenuation.
While the 2.4 GHz band offers better penetration and range, it is highly susceptible to interference from household electronics. Conversely, the 5 GHz band provides higher data rates but struggles to penetrate solid barriers. When planning camera placement, consider the composition of your external walls:
- Concrete and Brick: These materials cause high RF attenuation, significantly reducing signal strength. A camera mounted on a thick brick wall may experience frequent disconnections if the router is positioned deep inside the house.
- Stucco with Metal Lath: Many modern homes use stucco finishes backed by a wire mesh. This metal grid acts as a Faraday cage, reflecting and severely blocking Wi-Fi signals.
- Double-Glazed Glass: Low-emissivity (low-E) glass often contains microscopic metal oxide coatings that bounce RF signals back inside, making window-adjacent placement trickier than it seems.
To overcome these physical barriers, position your home router or access point as close to the perimeter walls as possible, or utilise outdoor-rated access points to bridge the gap through direct line-of-sight paths.
The Geometry of Camera Placement: Height and Angles
The physical height and downward tilt angle of your camera dictate the quality of the captured footage and the effectiveness of facial recognition. Mounting a camera too high results in capturing only the tops of heads, while mounting it too low makes it vulnerable to physical tampering or vandalism.
The ideal mounting height is between 2.5 and 3 metres (8 to 10 feet) above the ground. At this height, the camera remains out of reach of an average person while maintaining an optimal downward tilt angle of 15 to 30 degrees. This specific geometry ensures that the lens captures vertical facial features rather than just horizontal surfaces.
Additionally, pay close attention to the sun's trajectory. Direct sunlight shining straight into the lens causes lens flare and sensor saturation, rendering the footage useless. Always angle cameras slightly downward and away from the rising or setting sun, or utilise natural structural overhangs, such as soffits or eaves, to shield the lens from direct glare and precipitation.
Optimising Motion Detection and Sensor Physics
Most battery-powered wireless cameras utilise Passive Infrared (PIR) sensors to detect motion. PIR sensors do not analyse video pixels; instead, they detect rapid changes in infrared radiation (heat signatures) across their field of view.
PIR sensors are highly sensitive to lateral movement (objects moving across the field of view) but are remarkably poor at detecting radial movement (objects moving directly toward or away from the camera). To maximise detection reliability, position your cameras so that anticipated paths of entry intersect the field of view diagonally or perpendicularly rather than straight on.
Furthermore, avoid placing cameras where the PIR sensor faces heavy foliage, reflective water surfaces, or concrete pathways that absorb and radiate high heat during the day. These thermal fluctuations can trigger constant false alerts, rapidly draining the camera's battery and cluttering your storage.
Eliminating Blind Spots with Overlapping Fields of View
A single camera cannot cover an entire side of a house without leaving blind spots. To secure the perimeter effectively, employ the concept of overlapping fields of view. By positioning cameras at opposite corners of a wall, looking toward each other, you ensure that the blind spot directly beneath one camera is fully monitored by the other.
Focus your primary coverage on the most vulnerable entry points: the front door, rear doors, and low-level windows. By combining strategic physical placement with an understanding of RF limits and sensor physics, you can establish a reliable, high-performance external monitoring system around your property.





