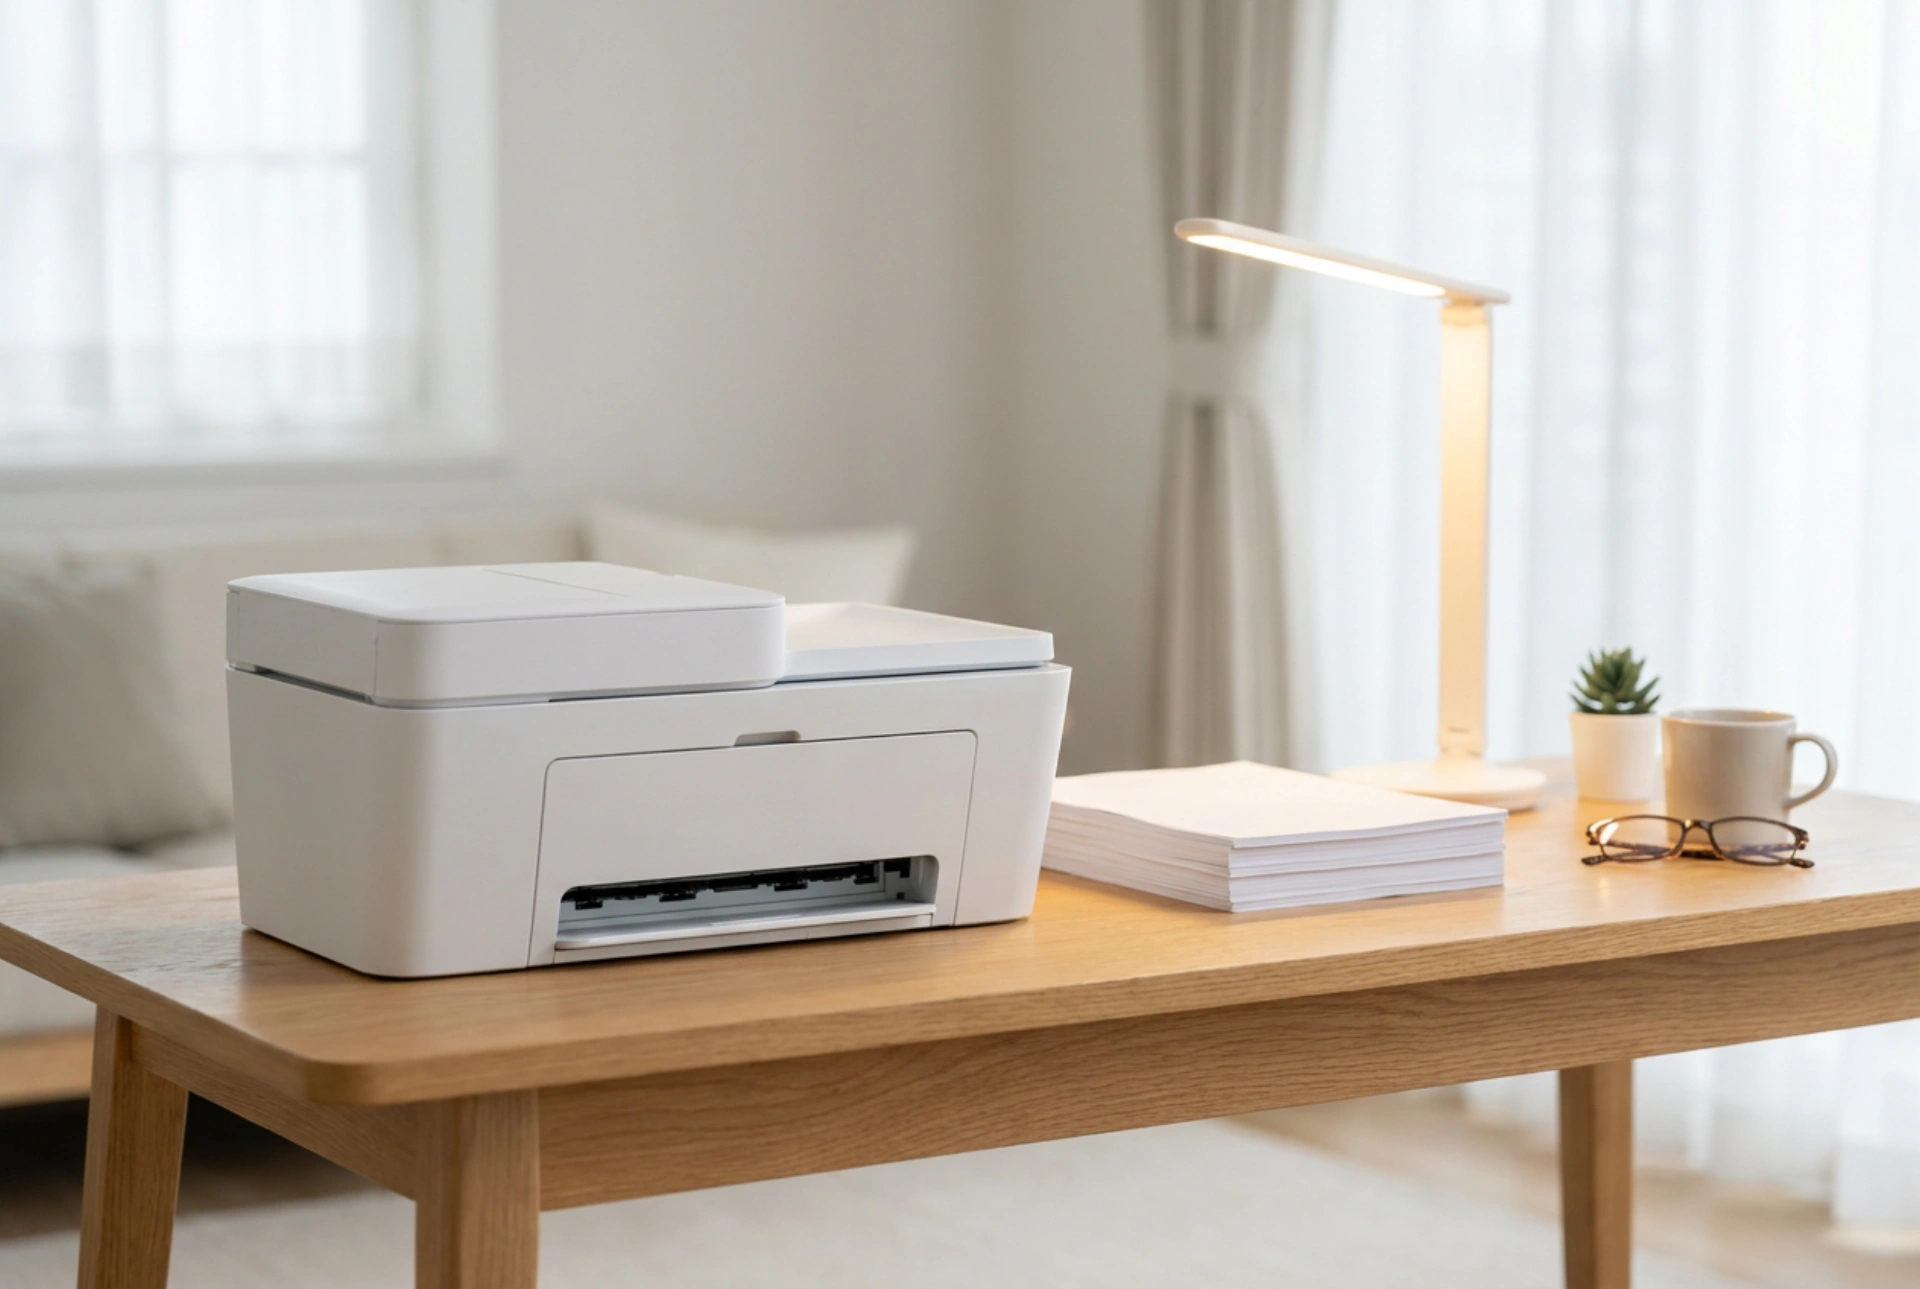


Using a color laser printer with an integrated scanner at home offers professional-grade document handling, provided you understand the physical and optical principles governing these highly precise machines.
The Science of Laser Printing: Toner and Fusion
Unlike inkjet devices that rely on liquid dye or pigment droplets, a laser printer operates on electrostatic principles and thermal fusion. The process begins with a photoreceptor drum being charged with static electricity. A laser beam then discharges specific areas to create an invisible electrostatic image. Extremely fine plastic and resin-based toner particles, carrying an opposite charge, are attracted to these discharged zones. Finally, the paper passes through heated rollers called the fuser assembly, which melts the plastic toner directly into the paper fibers at temperatures often exceeding 150 degrees Celsius.
To optimize this process at home, paper storage is critical. Paper is highly hygroscopic, meaning it absorbs moisture from the air. Damp paper causes steam to form during the high-temperature fusing process, leading to paper curls, poor toner adhesion, and frequent jams. Always store your printing paper in a cool, dry place in its original packaging until needed.
Achieving Color Accuracy: Translating Screen to Page
One of the most common challenges in home color printing is the discrepancy between what you see on your monitor and what appears on the printed page. Monitors display colors using the RGB (Red, Green, Blue) light model, whereas printers use the CMYK (Cyan, Magenta, Yellow, Black) subtractive color model. Because the physical gamut of toner is narrower than that of a backlit screen, calibration is necessary.
- Use the correct print drivers: Ensure you are using the specific generic PostScript or PCL drivers that allow the computer to communicate precise color profiles to the machine.
- Select the right paper profile: In your print settings, match the software configuration to the physical media loaded (e.g., heavy cardstock, glossy laser paper, or standard bond paper). This adjusts the fuser temperature and the speed at which the paper passes through the rollers to ensure proper melting without scorching.
- Run calibration cycles: Use the printer's built-in utility menu to run alignment and color calibration cycles regularly, which compensates for toner density changes caused by temperature and humidity fluctuations.
Scanning Physics: Maximizing Clarity and Resolution
The scanner component of your multi-function device relies on either Contact Image Sensor (CIS) or Charge-Coupled Device (CCD) technology to capture reflected light from your document. The light source illuminates the page, and a series of photosensors convert the intensity of the reflected light into digital data. To ensure high-quality digital archives, you must match the scanning resolution (measured in dots per inch, or DPI) to the target task:
- Text documents: 200 to 300 DPI is optimal. This provides crisp edges for Optical Character Recognition (OCR) software without creating excessively large files. Save these as PDF formats to preserve vector font rendering.
- Photos and detailed graphics: 600 DPI or higher is recommended to capture microscopic details. Save these in uncompressed formats like TIFF to avoid compression artifacts, or high-quality JPEG if file space is limited.
Optical purity is essential. Even a microscopic layer of dust, oil from fingerprints, or adhesive residue on the scanner glass will refract the light beam, causing colored vertical lines or blurry spots on the scan. Always clean the glass using a lint-free microfiber cloth lightly moistened with isopropyl alcohol. Never spray any liquid directly onto the glass, as capillary action can draw the fluid under the bezel and short-circuit the sensitive optical array.
Preventative Maintenance and Toner Care
Laser printers are highly durable but require precise mechanical care. When a toner cartridge runs low, avoid shaking it vigorously, as this can damage the internal developer roller or cause micro-dust leaks. Instead, gently rock the cartridge side to side to redistribute the remaining powder. Keep the internal paper path free of dust by gently wiping accessible areas with a dry, lint-free cloth during cartridge replacements. Avoid touching the green or blue photoreceptor drum with your bare hands, as skin oils can permanently ruin the drum's electrostatic charge capability.





