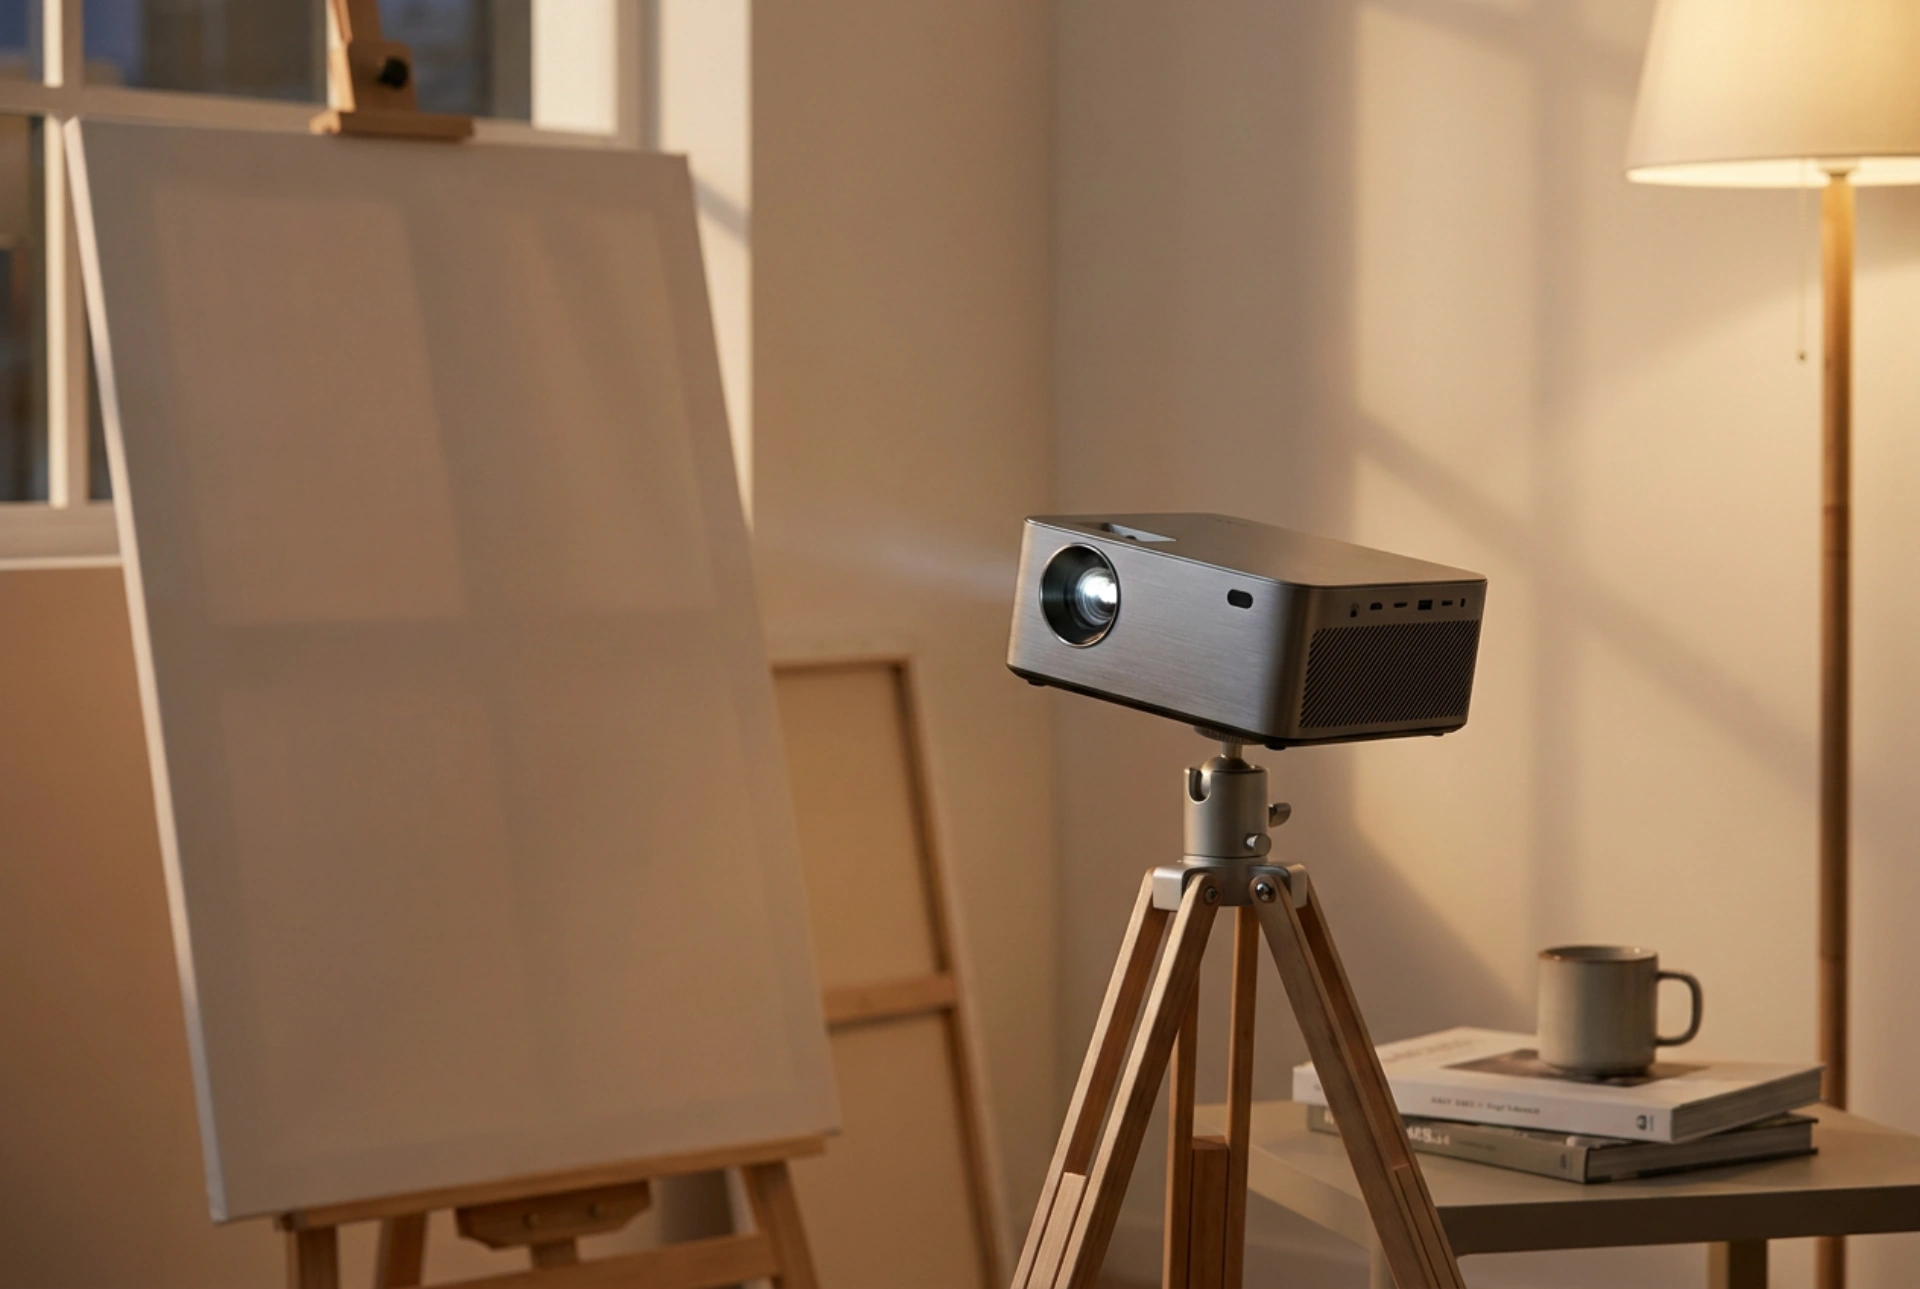


Using a digital projector to transfer sketches onto a canvas mounted on an easel requires precise optical alignment and light management to prevent perspective distortion and shadow interference. Mastering this setup relies on basic geometry and physics, ensuring that your projected digital sketch translates perfectly onto your working surface.
The Geometry of Projection: Eliminating Keystone Distortion
Keystone distortion occurs when the projector lens is not perfectly perpendicular to the projection surface. When this happens, the projected image transforms from a true rectangle into a trapezoid, warping the proportions of your sketch. Because most artistic easels—whether A-frame or H-frame—are designed with a slight backward tilt for stability, placing a projector flat on a table facing the easel will inevitably cause distortion.
To eliminate this, you must match the tilt of the projector to the angle of the canvas. If your easel is tilted backward at an angle of 10 degrees from the vertical plane, your projector must be tilted upward at that exact same 10-degree angle. Utilizing a tripod with a ball head or a pan-and-tilt fluid head allows for the micro-adjustments required to align these two planes perfectly. You can verify alignment by projecting a simple grid pattern; if the squares in the upper corners are wider or narrower than those at the bottom, your vertical tilt is misaligned.
Managing Throw Distance and Optical Focus
Every projector has a specific throw ratio, which is the relationship between the distance from the lens to the canvas (throw distance) and the width of the projected image. Understanding this ratio is essential for setting up in confined studio spaces. A standard throw projector might require a distance of two to three meters to fill a medium-sized canvas, whereas a short-throw projector can achieve the same image size from less than a meter away.
When positioning your equipment, focus mechanics come into play. Standard projector lenses are optimized to focus on flat, uniform surfaces. Canvas textures, especially coarse linen or heavily primed cotton duck, can scatter light and trick automatic focusing sensors. For the sharpest lines, switch your projector to manual focus mode. Adjust the focus ring while looking closely at the canvas weave until the pixels or vector lines of your digital template are rendered with sharp, crisp edges. This ensures that even fine details are easily traceable without causing eye strain.
Overcoming Shadow Interference and Hand Occlusion
One of the most common challenges when drawing with a projector is hand occlusion—the shadow cast by your own body, arm, or pencil onto the canvas as you work. Positioning the projector directly behind your drawing shoulder is the intuitive approach, but it maximizes shadow creation. To resolve this, you must apply the principles of angled projection and offset positioning.
Place the projector slightly to the side of your non-dominant hand (for example, to the left if you are right-handed) and slightly above eye level. By projecting from an angle, your drawing hand will cast its shadow away from the area you are actively tracing. To correct the skew caused by this horizontal angle, use the projector's horizontal keystone adjustment feature. Alternatively, if your device features lens shift technology, you can physically shift the lens elements to move the image laterally without moving the projector body, preserving perfect geometry without digital pixel degradation.
Contrast Calibration and Ambient Light Control
The human eye adapts quickly to light, but drawing under high-contrast projection for extended periods can lead to visual fatigue. To optimize your working environment, you must balance the projector's lumen output with the ambient light in your studio. A completely dark room makes the projected lines vivid, but it forces your pupils to dilate excessively, making it difficult to see your actual drawing tool and physical medium.
Instead, aim for a dim ambient environment using indirect, warm light sources placed behind the projector. This prevents ambient light from washing out the projected image on the white canvas while allowing your eyes to remain comfortable. Additionally, adjust your digital source image before projecting: convert your sketch to a high-contrast, monochrome format (black lines on a transparent or white background) and lower the projector's brightness. This reduces glare from the canvas surface, allowing you to see both the projected guide and the physical marks you are making with your charcoal, graphite, or paint brush.





