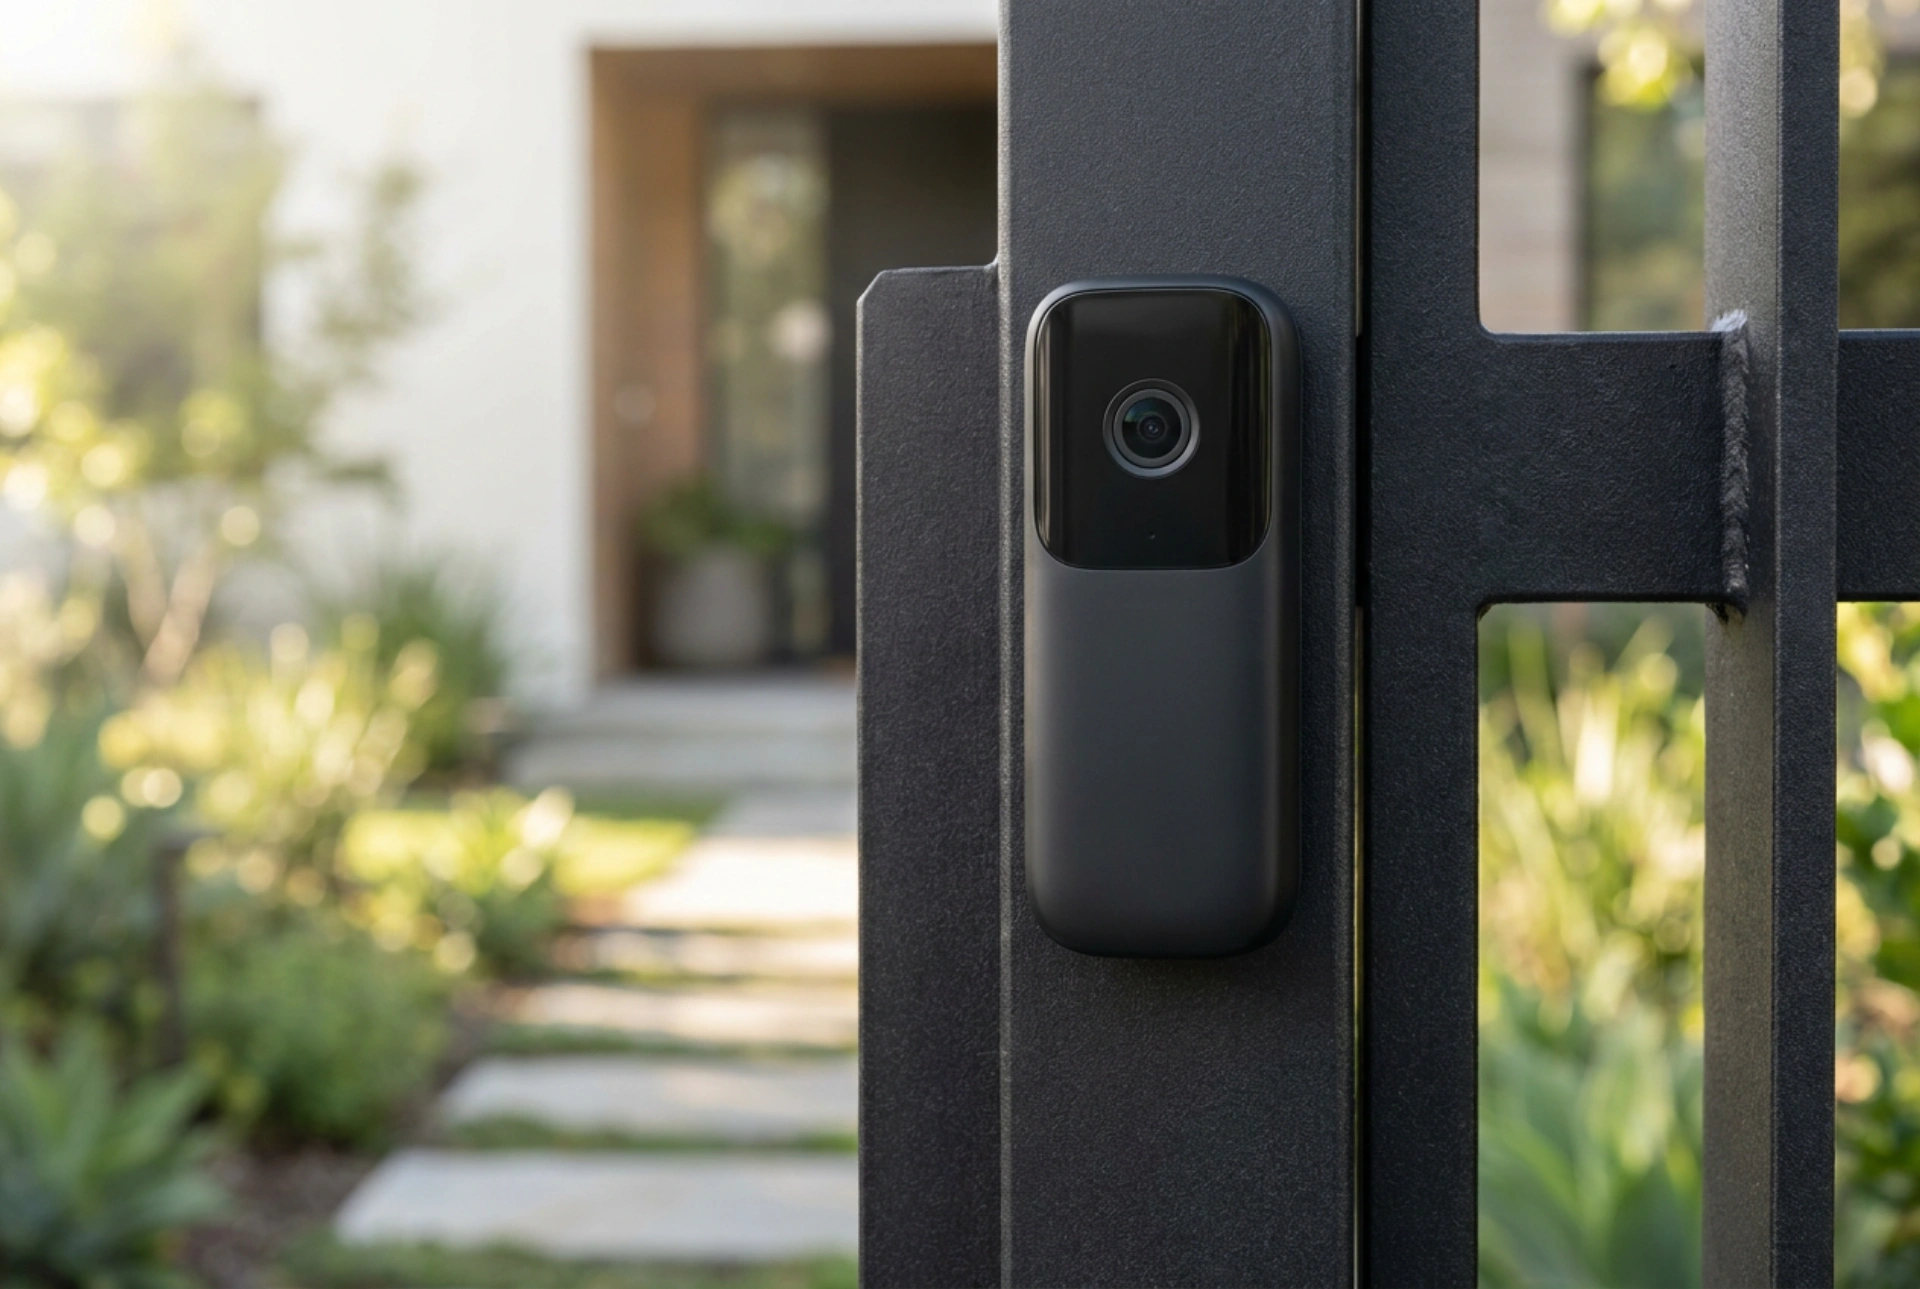


Installing a wireless video doorbell at an exterior garden gate or fence line presents unique challenges compared to standard front door installations. Achieving a stable connection and long-term durability requires managing radio frequency attenuation, material compatibility, and environmental sealing. <\/p>
Overcoming Radio Frequency Attenuation at the Boundary<\/h2>
The primary challenge of gate installations is the physical distance and structural barriers between the doorbell and the indoor receiver or Wi-Fi router. Wireless video doorbells typically operate on the 2.4 GHz or 5 GHz radio frequency bands. While 5 GHz offers higher data transfer rates, the 2.4 GHz band features longer wavelengths, which are significantly better at penetrating solid obstacles like masonry, timber, and dense foliage.<\/p>
However, metal gates and posts present a major barrier to electromagnetic waves. Mounting a transmitter directly onto a hollow steel or aluminum post can cause a Faraday cage effect, absorbing and reflecting the signal, which results in latency or dropped connections. To mitigate this signal loss, mount the device on a non-conductive spacer, such as a high-density polyethylene (HDPE) or treated timber block, to create a physical gap of at least 15 to 20 millimetres between the antenna inside the unit and the metal surface. Alternatively, position the device on an adjacent brick or stone pillar rather than the metal frame itself.<\/p>
Material Science of Mounting and Galvanic Prevention<\/h2>
The choice of mounting hardware must be tailored to the substrate material to prevent structural failure and chemical degradation. When mounting on masonry or brick pillars, use expansion wall plugs paired with stainless steel screws. Ensure the pilot holes are cleared of all stone dust using a bellows or compressed air before inserting the plugs to ensure maximum friction and grip strength inside the bore hole.<\/p>
When mounting directly onto metal posts, galvanic corrosion is a critical risk. If stainless steel screws directly contact an aluminum gate post in the presence of moisture, an electrochemical reaction occurs, rapidly corroding the aluminum. To prevent this, always use nylon or plastic isolating washers between the screw head, the mounting bracket, and the metal post. If using adhesives instead of mechanical fasteners, select a high-tack, exterior-grade polyurethane structural adhesive. Avoid standard double-sided tapes, which degrade rapidly under ultraviolet (UV) radiation and fluctuating temperatures, leading to the device detaching and falling.<\/p>
Environmental Protection and Weatherproofing<\/h2>
Exterior gates lack the architectural protection of a porch or eave, exposing the video doorbell directly to wind, rain, and solar radiation. Ensure the device has a minimum rating of IP65, indicating complete dust protection and resistance to water jets. However, the physical mount interface must also be sealed to prevent water pooling behind the unit.<\/p>
Apply a thin bead of neutral-cure silicone sealant around the top and sides of the mounting bracket where it meets the mounting surface. Do not use acid-cure silicone sealants (which are easily identified by their strong vinegar smell), as they release acetic acid during curing, which chemically attacks copper contacts and aluminum components. Always leave the bottom edge of the bracket unsealed to allow any internal condensation to drain freely away from the electronics.<\/p>
Battery Chemistry and Temperature Management<\/h2>
Wireless doorbells rely on internal rechargeable lithium-ion batteries. The performance of these batteries is governed by temperature-sensitive chemical reactions. At temperatures below 0°C, the movement of lithium ions within the liquid electrolyte slows down, increasing internal resistance and dramatically reducing the battery's active capacity. Conversely, prolonged exposure to direct midday summer sun can raise internal temperatures past 50°C, triggering thermal safety shut-offs or permanent degradation of the cells.<\/p>
To optimize battery performance, choose a mounting position that benefits from natural shade, such as the side of a post facing away from direct southern exposure. If shade is unavailable, install a small, non-metallic weather shield over the top of the doorbell. This accessory protects the unit from direct vertical sunlight and heavy rainfall, maintaining a more stable operating temperature and extending the intervals between recharging cycles.<\/p>
Optimizing Height and PIR Sensor Geometry<\/h2>
Passive Infrared (PIR) sensors detect motion by measuring changes in infrared radiation (heat signatures) within their field of view. These sensors are highly sensitive to thermal energy moving across their detection zones, but significantly less sensitive to objects moving directly toward them. To maximize detection accuracy at a gate entrance, position the doorbell at a height of 1.2 to 1.4 metres from the ground.<\/p>
This height aligns the PIR sensor to capture the lateral movement of visitors approaching the gate latch. If the gate is situated on a slope or steps, use an angled wedge mount (typically 5 to 15 degrees downward or sideways) to tilt the camera lens and sensor. This angling ensures the camera captures faces clearly rather than just the tops of heads, and keeps the PIR field of view focused on the approach path instead of background road traffic.<\/p>





