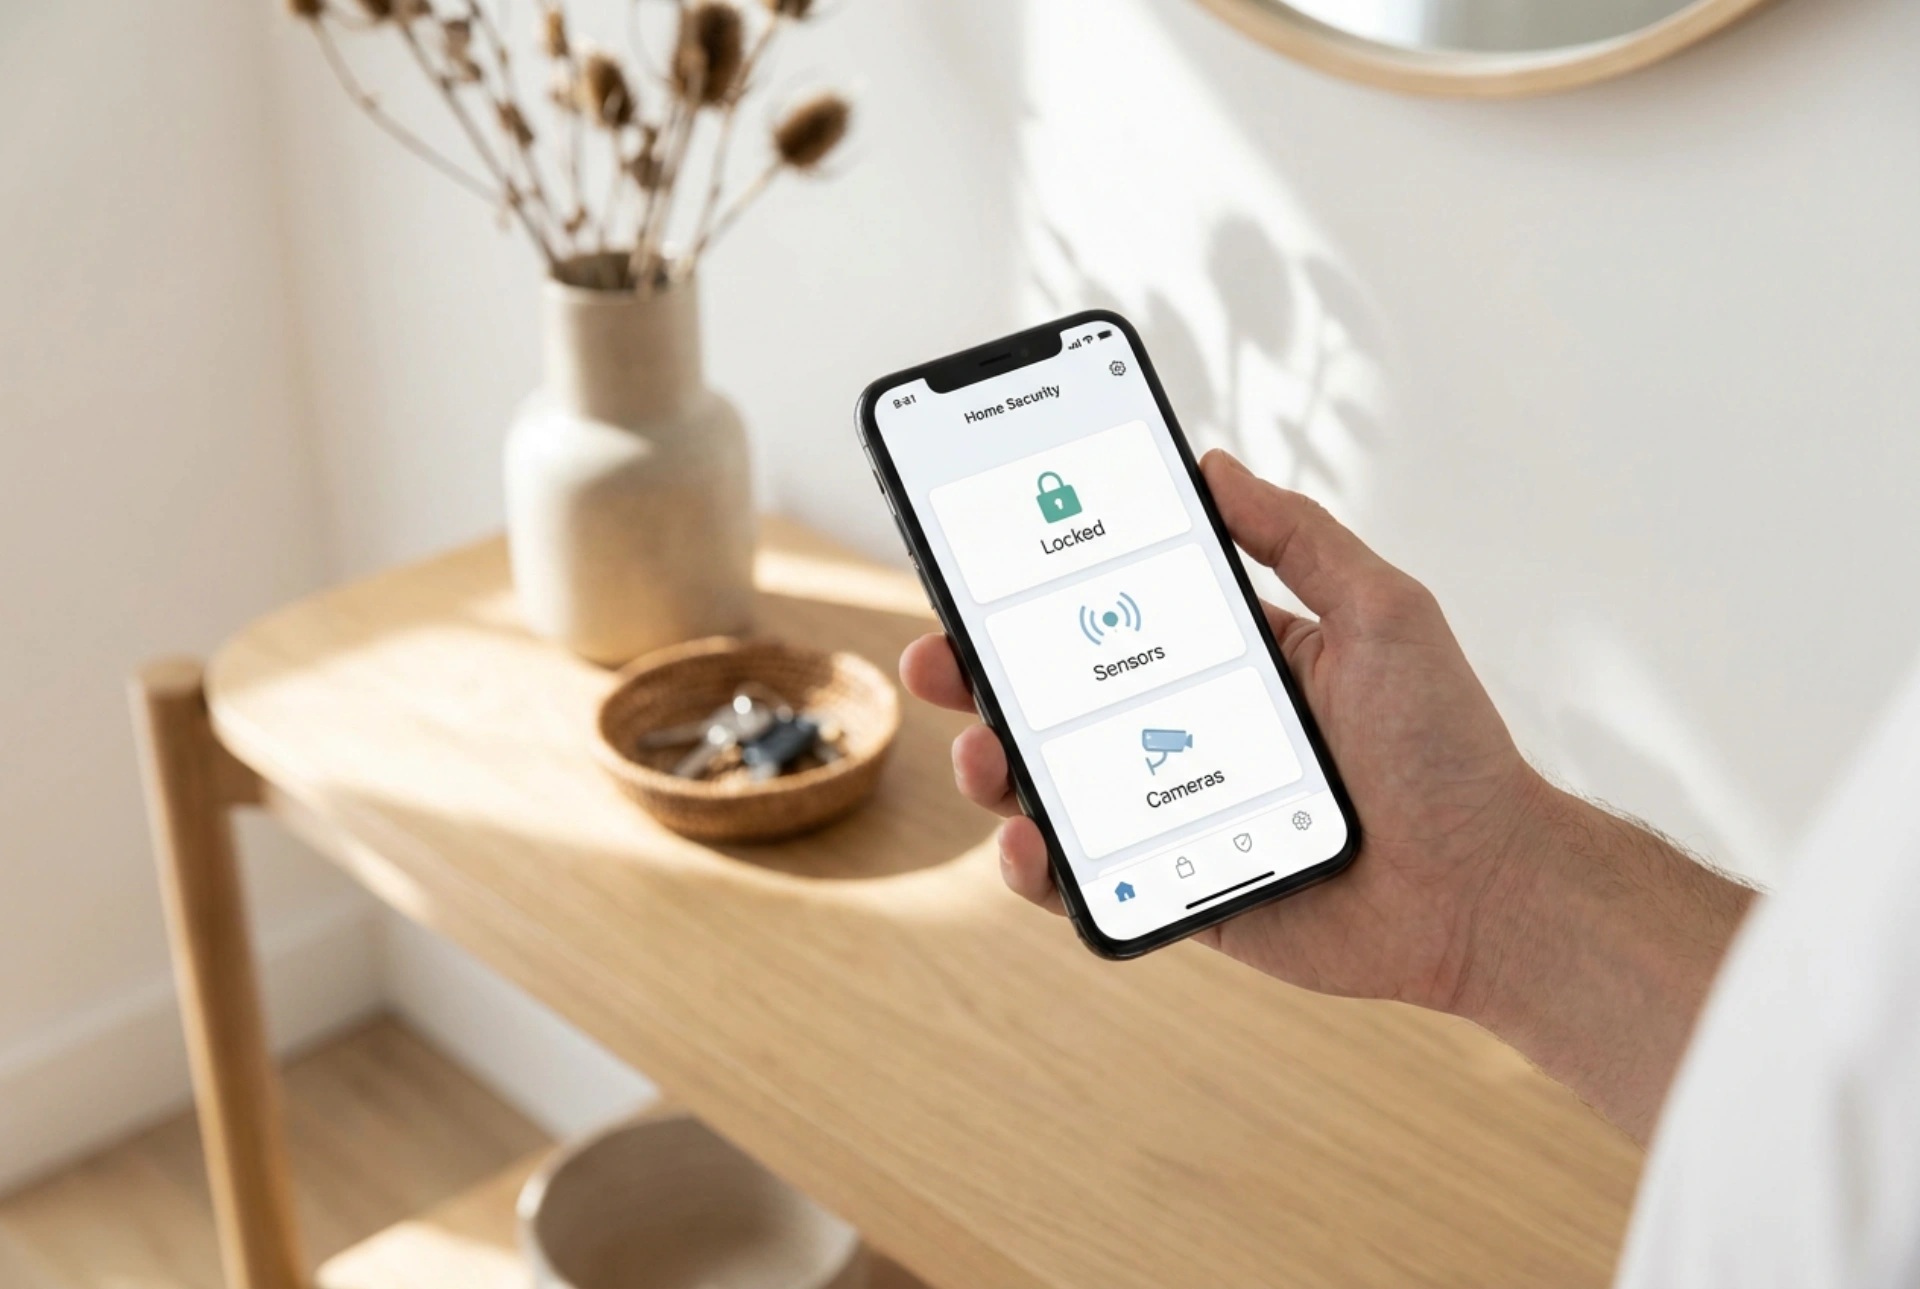


Integrating a smart video intercom with your smartphone application bridges physical access control with digital home network management. Achieving a low-latency, reliable connection requires systematic configuration of wireless frequencies, security protocols, and mobile operating system permissions.
Wireless Frequency Selection and Signal Physics
The primary barrier to a stable video intercom connection is structural attenuation. Most smart intercom units operate on the 2.4 GHz radio frequency band rather than the 5 GHz band. While 5 GHz offers higher data transfer rates, its shorter wavelengths struggle to penetrate solid brick, concrete, and insulated external doors. The 2.4 GHz band utilises longer wavelengths that propagate more effectively through dense building materials, ensuring the signal reaches your wireless router.
Before initiating the pairing sequence, ensure your smartphone is temporarily forced onto the 2.4 GHz band. Dual-band routers often merge both frequencies under a single Network Name (SSID) using band steering. This can confuse the intercom during setup. Temporarily disabling the 5 GHz band in your router's gateway settings, or creating a dedicated 2.4 GHz guest network, ensures a seamless handshake between the mobile app and the physical hardware.
Executing the Local Handshake
Connecting the physical unit to your smartphone application typically occurs via one of two digital pairing mechanisms: Access Point (AP) provisioning or optical QR code transmission.
- Access Point Provisioning: In this mode, the intercom temporarily acts as a software-enabled wireless access point (SoftAP), broadcasting its own unsecured Wi-Fi signal. Your smartphone must disconnect from your home network and connect directly to this temporary network. Once connected, the smartphone app transmits your home Wi-Fi credentials (SSID and WPA2/WPA3 password) directly to the intercom's memory.
- Optical QR Code Transmission: Here, you input your home Wi-Fi credentials directly into the mobile application. The app encodes this data into a high-contrast QR code on your phone screen. You then hold the smartphone screen 15 to 30 centimetres in front of the intercom's camera lens. The camera's image sensor captures the code, and the internal processor decodes the network parameters to initiate connection.
Whichever method is used, ensure your smartphone's screen brightness is set to maximum and any blue light filters are disabled to prevent optical distortion during QR code scanning.
Router Configuration and IP Management
To prevent intermittent offline statuses, assign a static IP address to your video intercom. By default, routers use DHCP (Dynamic Host Configuration Protocol) to assign IP addresses dynamically. If the router reboots, the intercom may receive a new IP address, causing communication delays with the mobile application. Access your router's administrator console, locate the DHCP client list, identify the MAC address of your intercom, and reserve a static IP address for it. This ensures the router always routes packets to the exact same local address, maintaining an instantaneous path of communication.
Mobile App Permissions and Notification Protocols
The reliability of real-time alerts depends heavily on how your smartphone's operating system manages background tasks. For instantaneous chime notifications and two-way audio, specific system permissions must be granted manually:
First, disable battery optimisation or power-saving restrictions for the intercom application. Modern mobile operating systems aggressively suspend background processes to conserve power, which can delay or completely block incoming call alerts. Second, enable unrestricted background data usage, allowing the app to receive push notifications even when your phone is locked or operating on cellular data networks. Finally, grant persistent permissions for both the microphone and camera to facilitate immediate two-way audio communication through the voice channel.





