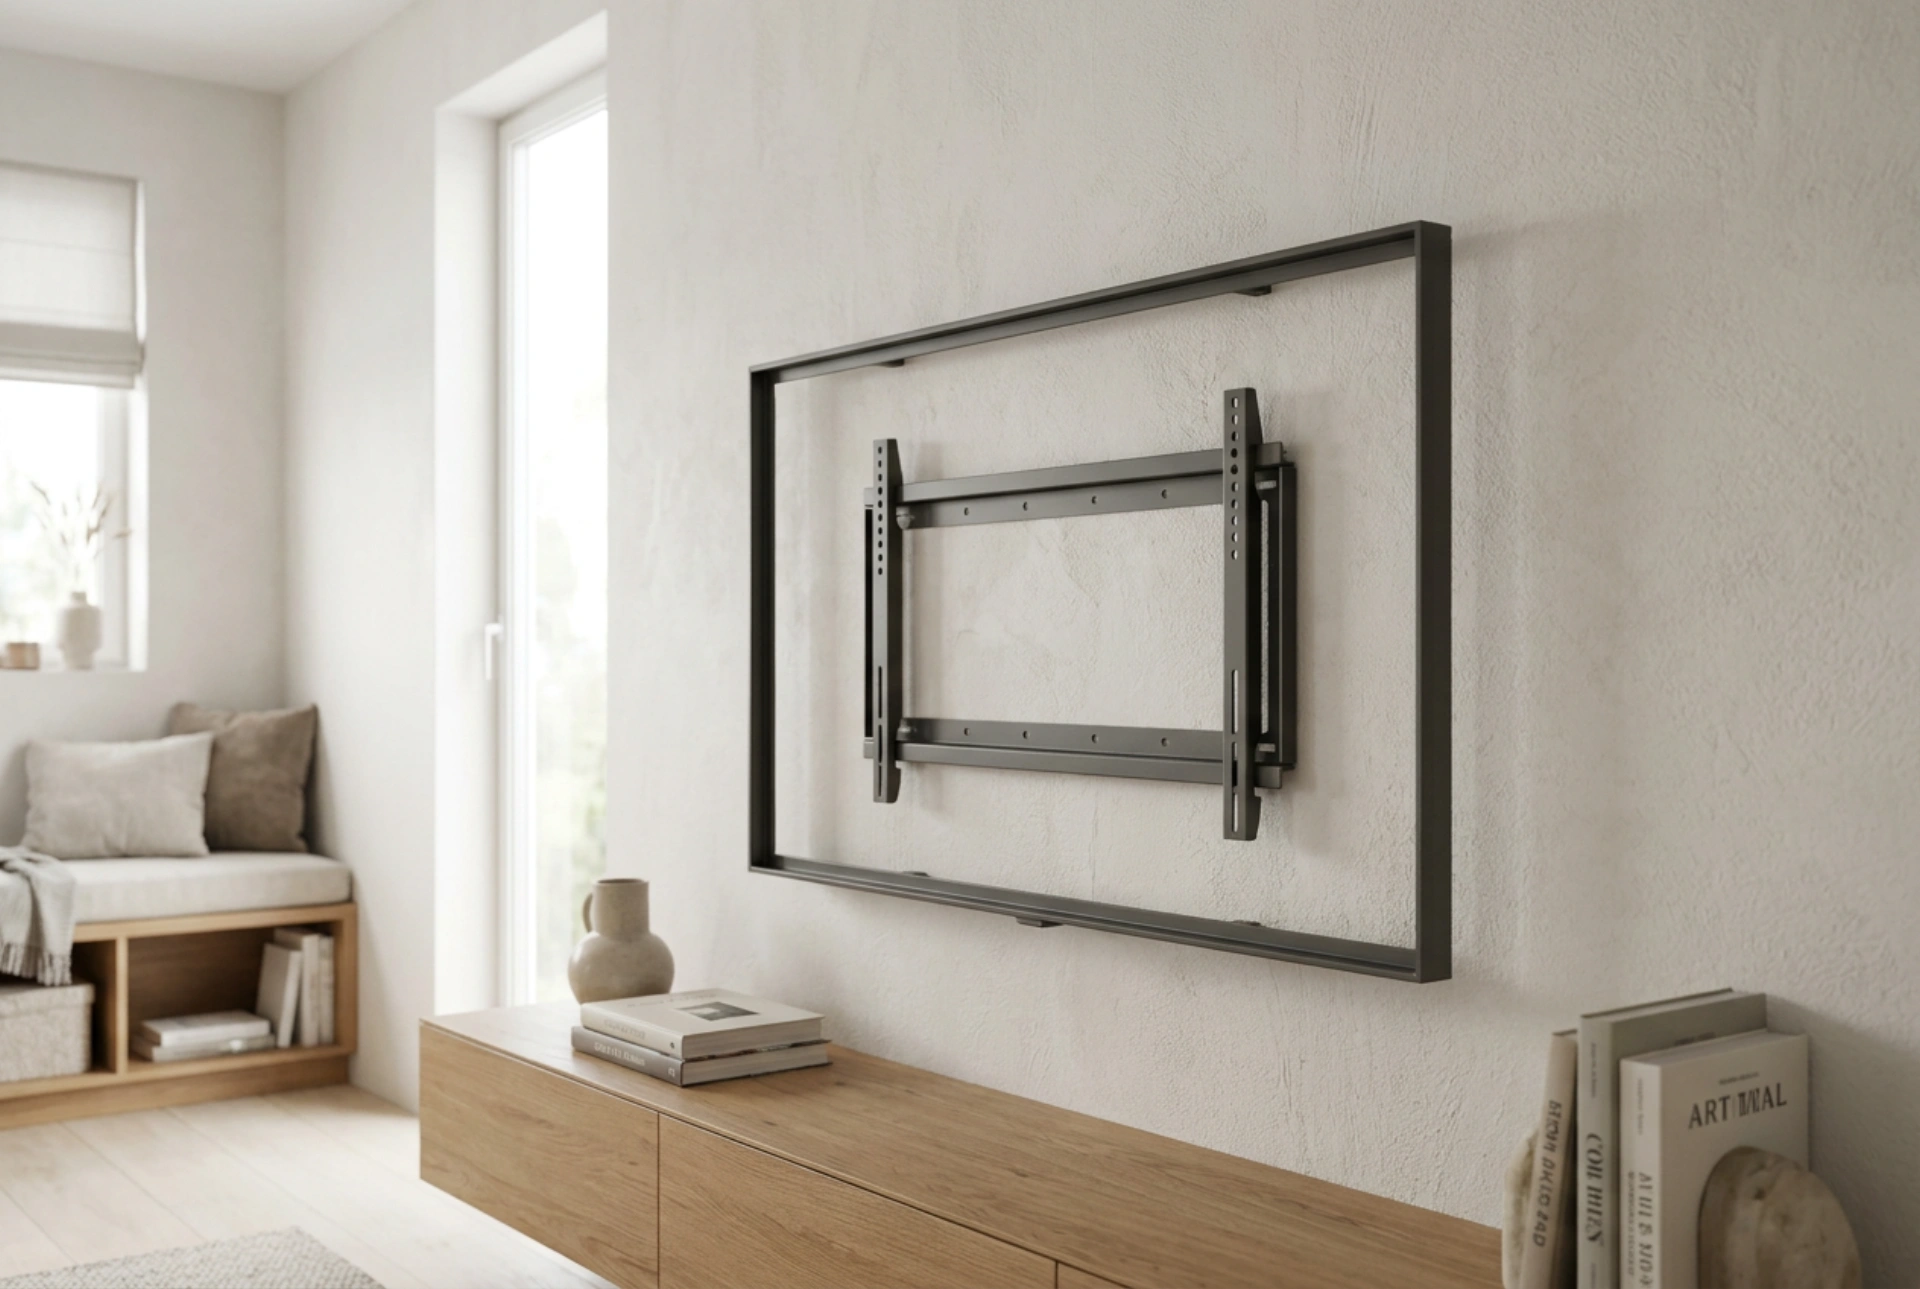


Securing a heavy television to a wall requires a precise understanding of load distribution, wall materials, and anchoring mechanics to ensure a permanent, safe installation. By selecting the correct fasteners and applying systematic physical principles, you can achieve a professional-grade mount without risking damage to your walls or equipment.
Understanding Wall Materials and Load Distribution
Before drilling a single hole, you must analyze the structural composition of your wall, as this determines the physics of how the weight will be supported. A television mounted on a bracket exerts two primary forces on the wall fasteners: shear force (downward pull caused by gravity) and tension (pull-out force caused by the bracket leaning away from the wall). The balance of these forces depends on the profile of the bracket and the distance the television extends from the wall.
For masonry walls, such as concrete or solid brick, the anchoring mechanism relies on expansion and friction. When a screw is driven into a plastic or nylon wall plug, it forces the plug to expand against the inner walls of the drilled hole, creating an intense mechanical interlock. In contrast, hollow walls like drywall cannot support heavy loads through friction alone. Instead, they require toggle bolts or heavy-duty hollow wall anchors that unfold behind the drywall board, distributing the tension across a wider surface area of the gypsum panel. However, for maximum safety on drywall, the bracket should always be anchored directly into the wooden or metal studs behind the board, transferring the shear load directly to the home's structural frame.
The Mechanics of Precise Alignment
A minor misalignment during the marking phase can lead to significant structural imbalance. If a wall bracket is not perfectly level, the center of gravity shifts, exerting uneven rotational torque on the fasteners. This uneven load can cause the anchors on one side to fatigue and fail prematurely.
To prevent this, use a high-precision spirit level at least forty centimeters long to ensure accurate readings. Hold the bracket against the wall at the desired height, place the spirit level on the top horizontal bar, and adjust until the bubble is perfectly centered. Mark the exact center of each mounting hole using a sharp pencil. When marking, do not just draw a dot; draw a small cross to ensure the drill bit does not wander from the absolute center point. Always double-check the distance between your marks against the physical holes on the bracket before drilling.
Drilling and Preparing the Pilot Holes
The integrity of any anchor depends heavily on the preparation of the hole. For masonry, use a rotary hammer drill with a carbide-tipped masonry bit. For studs, a standard wood drill bit is sufficient. The diameter of the drill bit must precisely match the external diameter of the anchor sleeve. A hole that is too wide prevents the anchor from expanding tightly, while a hole that is too narrow will deform the anchor during insertion, compromising its structural strength.
Keep the drill perfectly perpendicular to the wall at a ninety-degree angle. Tilting the drill creates an oval-shaped hole, which drastically reduces the friction area for the anchor. Once the hole is drilled, you must remove all dust and debris from inside the cavity. Leftover plaster or concrete dust acts as a dry lubricant, reducing the holding capacity of expansion anchors by up to fifty percent. Use a manual blow bulb or a thin vacuum attachment to thoroughly clear the hole before inserting the anchor sleeve. The sleeve should fit snugly and require light taps with a rubber mallet to sit flush with the wall surface.
Securing the Bracket and Verifying Load Capacity
With the anchors or studs prepared, align the bracket over the holes. Insert the structural screws by hand first to avoid cross-threading. When tightening the screws, use a manual socket wrench rather than an impact driver. Manual tightening allows you to feel the resistance of the screw, preventing overtightening. Overtightening can strip the threads in wooden studs or crush the plastic collar of expansion anchors, rendering them useless.
Tighten the screws in a diagonal pattern to distribute the clamping force evenly across the bracket plate. Once secured, perform a manual load test by applying firm downward pressure to the bracket. It should show zero movement or deflection. Only when the bracket is completely stable should you mount the television, securing the safety screws or locking bars to prevent the screen from sliding off the frame.





