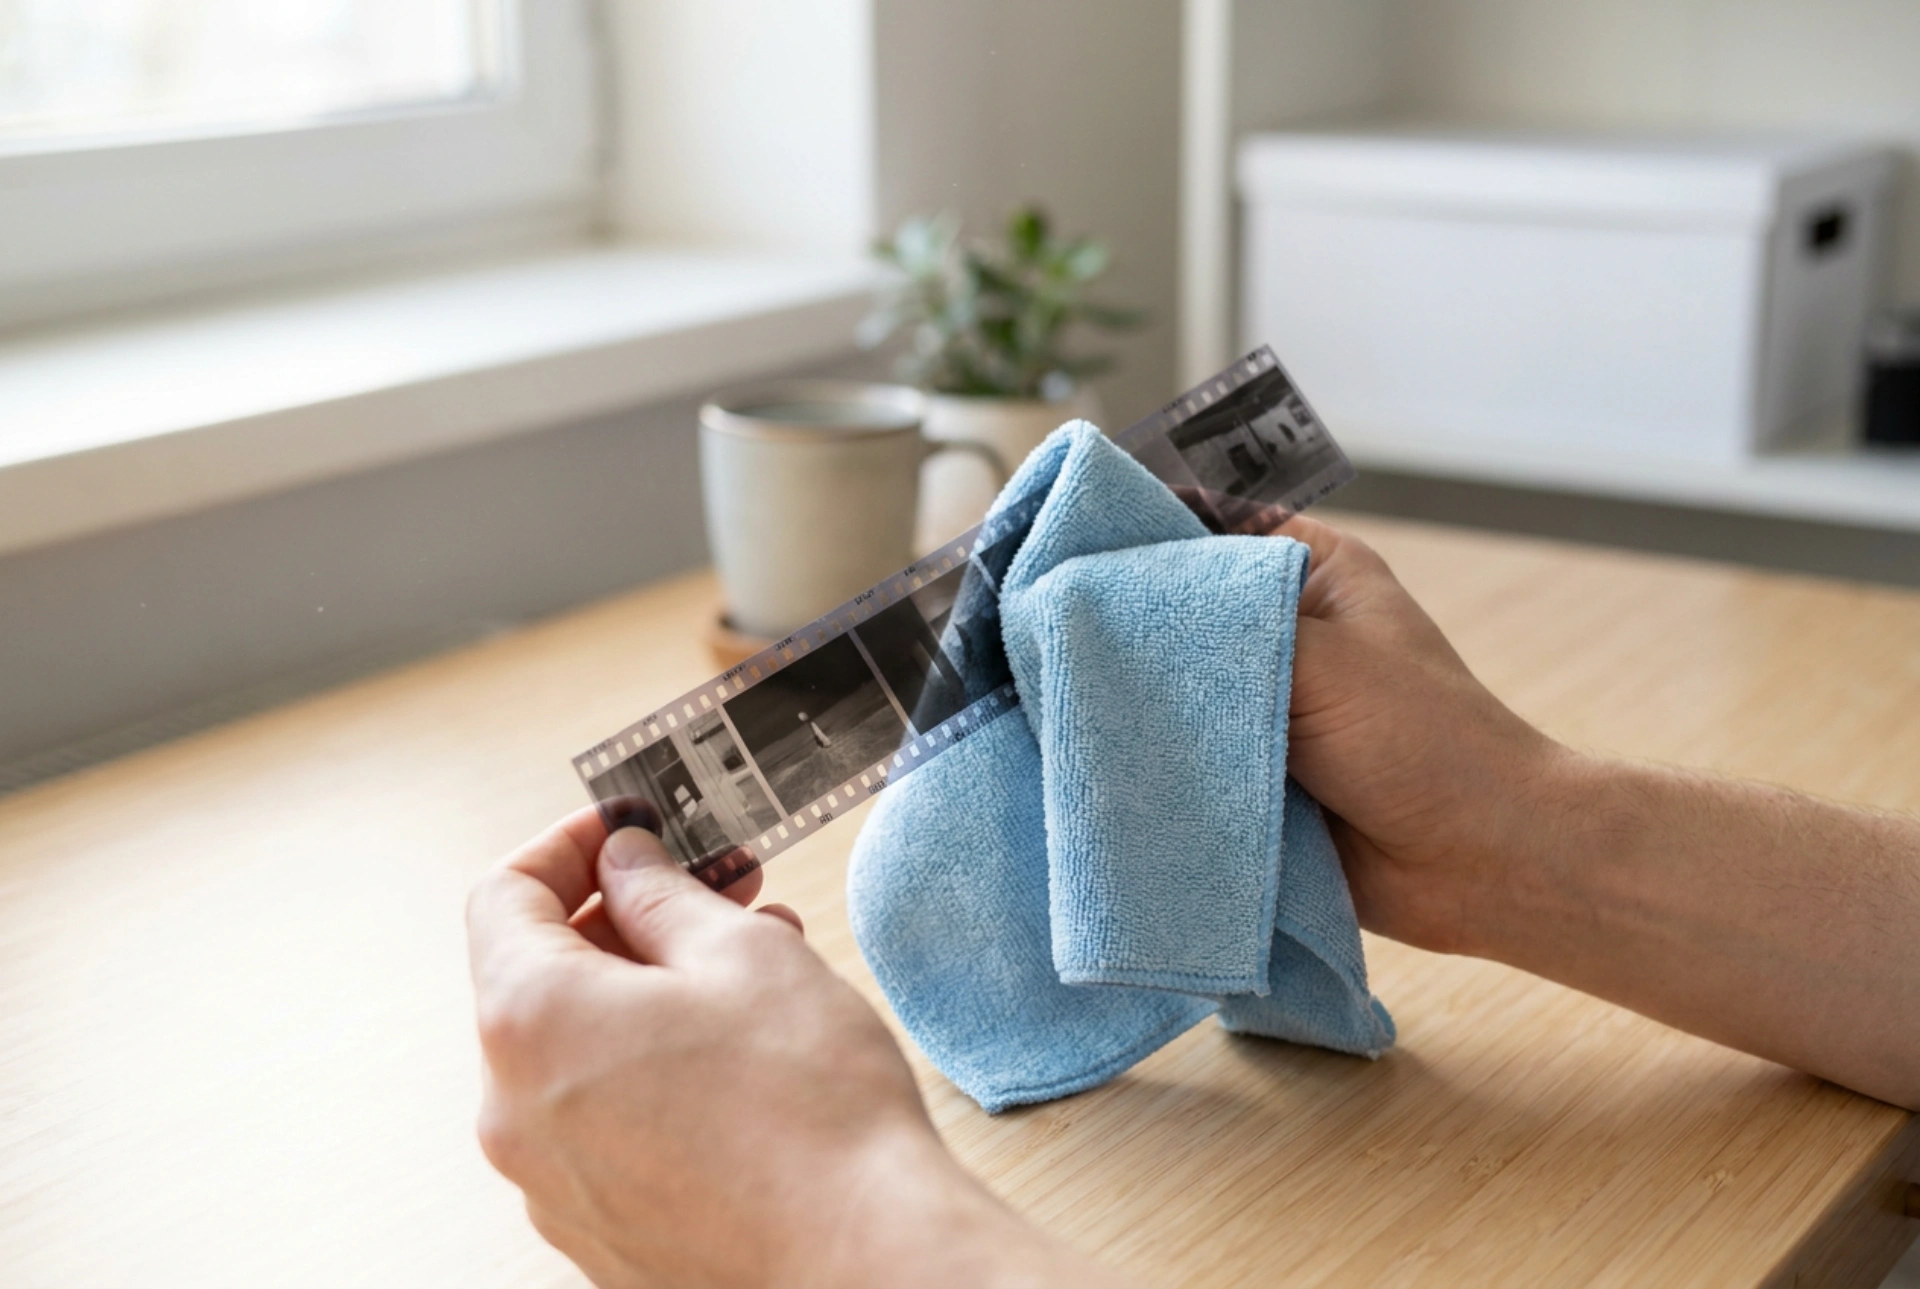


Preparing photographic slides for scanning requires meticulous care to eliminate dust and smudges, which can ruin high-resolution digital conversions. Understanding the physical properties of photographic emulsion and the mechanics of static charge is essential for achieving pristine, professional-grade results without damaging fragile film surfaces.
The Physics of Static and Dust Accumulation
Photographic slides are composed of a plastic base (typically cellulose acetate or polyester) coated with a light-sensitive gelatin emulsion. The non-emulsion side of the film is highly prone to acquiring electrostatic charges, particularly in dry environments. This static charge acts as a magnet for airborne particulate matter, lint, and skin flakes. Simply wiping a dry slide with a dry cloth can increase this static charge, drawing even more dust to the surface. Controlling static is therefore the first and most critical step in the preparation process. Working in a room with relative humidity between 40% and 50% helps dissipate static naturally. Using anti-static brushes or air blowers neutralized with ionizing mechanisms can prevent dust from clinging to the film surface before it reaches the scanner glass.
Chemical Selection for Safe Smudge Removal
Fingerprints and greasy residue cannot be removed by air alone. Removing these contaminants requires a chemical solvent, but using the wrong liquid can dissolve the image emulsion or cause the film base to warp. Water should be avoided for spot cleaning; it swells the gelatin emulsion, making it highly susceptible to physical scratching, and it dries slowly, leaving water spots. Instead, high-purity isopropyl alcohol (99% concentration) is the standard choice. It evaporates rapidly, leaves no residue, and does not react with the photographic gelatin. When applying solvent, never drop liquid directly onto the slide. Instead, lightly moisten an optical-grade microfibre cloth or a lint-free cotton swab. The solvent breaks down lipids from fingerprints, allowing them to be lifted off the slide rather than smeared across it.
Mechanical Cleaning Techniques and Tool Selection
The emulsion side of a slide is incredibly soft and easily scratched. Any abrasive action can permanently gouge the image details. To clean safely, always follow a strict order of operations: first, remove loose dust using non-contact methods, and only then proceed to contact-based cleaning for bonded grime.
- Air Blast: Use a manual rubber bulb blower to dislodge loose particles. Avoid using breath, as it contains moisture droplets that can spot the emulsion.
- Brushing: Use a dedicated, ultra-soft anti-static brush. Sweep gently in one direction, from the center of the slide outwards, to push dust off the frame.
- Microfibre Wiping: If wet cleaning is necessary, use a clean, weave-free microfibre cloth designed for optics. Wipe in a single, straight direction. Avoid circular motions, which can trap abrasive particles and grind them into the film, creating circular scratches that are highly visible in scans.
Step-by-Step Preparation Protocol
To ensure a flawless workflow, set up a clean workspace and follow these structured steps:
First, prepare your environment by wiping down your desk with a damp cloth to settle local dust, and turn off any fans or air conditioning units that circulate air. Wear powder-free nitrile or clean cotton gloves to prevent transferring skin oils to the slides.
Second, inspect the slide under a raking light—a light source positioned at a shallow angle to the slide's surface. This highlights surface dust and smudges that are invisible from a direct viewing angle.
Third, apply a gentle stream of clean, compressed air or use a bulb blower to clear both sides of the slide. Focus on the corners where dust often accumulates near the mount.
Fourth, if smudges are visible on the base (shiny) side, apply a single drop of 99% isopropyl alcohol to a microfibre swab and gently wipe the affected area. If cleaning the emulsion (matte) side, use extreme caution and minimal pressure, as this layer is highly sensitive.
Finally, let any residual solvent evaporate completely for at least thirty seconds before mounting the slide into the scanner tray. This ensures that no solvent vapors condense on the cold optical glass of the scanner, which could cause fogging or internal smudges.





