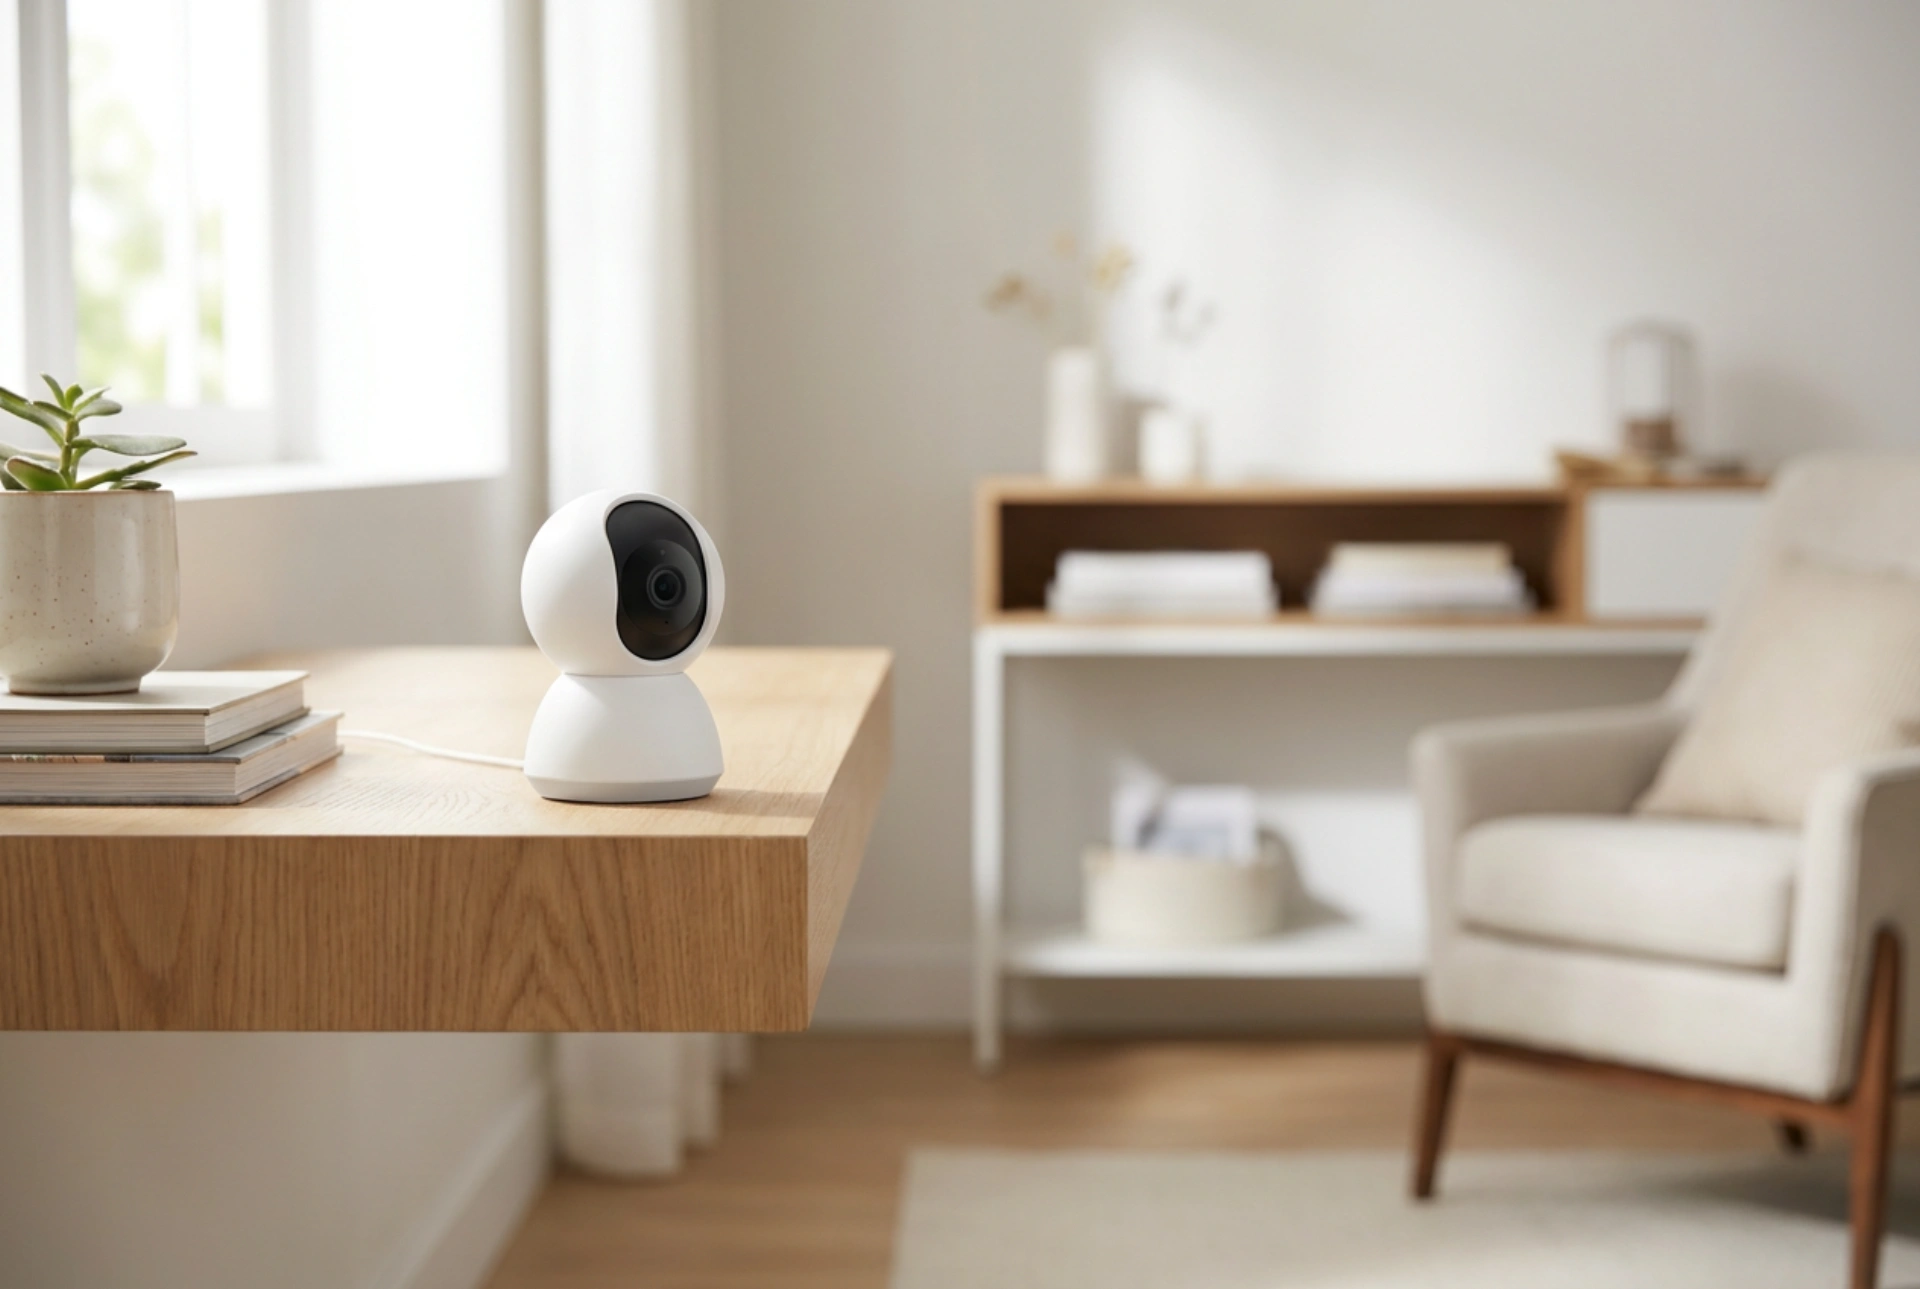


Correctly positioning and securing a home Wi-Fi camera is essential to ensure both clear surveillance and robust data protection. Maximizing the physical efficiency of the lens while safeguarding the network stream prevents unauthorized access and ensures reliable monitoring.
Optimising Camera Placement: Physics of Light and Angles
The physical location of your camera determines the quality of the image sensor's data collection. To capture clear footage, you must account for natural and artificial light sources. Placing a camera directly opposite a window leads to lens flare and severe backlighting, where the foreground objects appear as dark silhouettes. This occurs because the image sensor adjusts its exposure based on the brightest part of the frame. Instead, position the camera at a 45-degree angle to primary light sources to ensure even illumination across the field of view.
If the camera is positioned behind a glass window pane to monitor an outdoor area, reflections present a major physical obstacle. During the night, infrared (IR) LEDs emit light that reflects directly off the glass surface back into the camera lens, causing a white-out effect known as specular reflection. To prevent this, disable the integrated IR lights in the camera settings and rely on external, independent illumination, or place the camera lens completely flush against the glass using a specialized rubber shroud to eliminate the air gap where reflection occurs.
Network Frequency and Signal Propagation
Wireless cameras rely on radio frequency (RF) signals to transmit video data. Understanding the difference between the 2.4 GHz and 5 GHz frequency bands is critical for a stable connection. The 2.4 GHz band operates on longer wavelengths (approximately 12 centimetres), which allows the signal to penetrate solid obstacles like brick walls and concrete floors more effectively. However, it is highly congested due to other household appliances. The 5 GHz band uses shorter wavelengths (approximately 6 centimetres), offering significantly higher data transfer rates and lower latency, but it suffers from rapid attenuation when passing through physical barriers.
For high-definition video streams, choose the 5 GHz band if the camera is within direct line of sight or separated by a single lightweight partition. For cameras placed further away or behind dense structural walls, use the 2.4 GHz band and manually select non-overlapping channels (1, 6, or 11) on your router to minimize interference from neighbouring networks.
Securing the Data Stream: Network Isolation
An unsecured camera connected to your main home network represents a significant vulnerability. If a malicious actor compromises the camera, they can gain lateral access to other devices on the same network, such as personal computers and network-attached storage drives. To prevent this, isolate the camera on a dedicated Virtual Local Area Network (VLAN) or a segregated "Guest" network profile on your router. This ensures that even if the camera's security is breached, the rest of your local data remains inaccessible.
When configuring the wireless connection, always employ strong encryption protocols. Utilize WPA3 encryption if supported by both your router and camera, as it features Simultaneous Authentication of Equals (SAE), providing superior protection against offline dictionary attacks compared to the older WPA2 standard. Establish a complex, high-entropy password for the Wi-Fi network itself, avoiding any predictable patterns.
Port Management and Firmware Hardening
Many smart cameras utilize Universal Plug and Play (UPnP) to automatically configure port forwarding on your router, allowing you to view the feed from outside your home. However, UPnP opens WAN-facing ports without explicit user consent, exposing the device to automated internet scans. Access your router settings and disable UPnP entirely. If remote access is required, utilize a secure Virtual Private Network (VPN) established at the router level, or rely on end-to-end encrypted cloud brokers provided by reputable security protocols.
Finally, modify the default administrative credentials of the camera immediately upon initial boot. Default manufacturer logins are publicly documented and are the primary target for automated botnets. Implement regular firmware updates, which contain critical security patches that resolve newly discovered system vulnerabilities and buffer overflow exploits within the camera's operating system.





