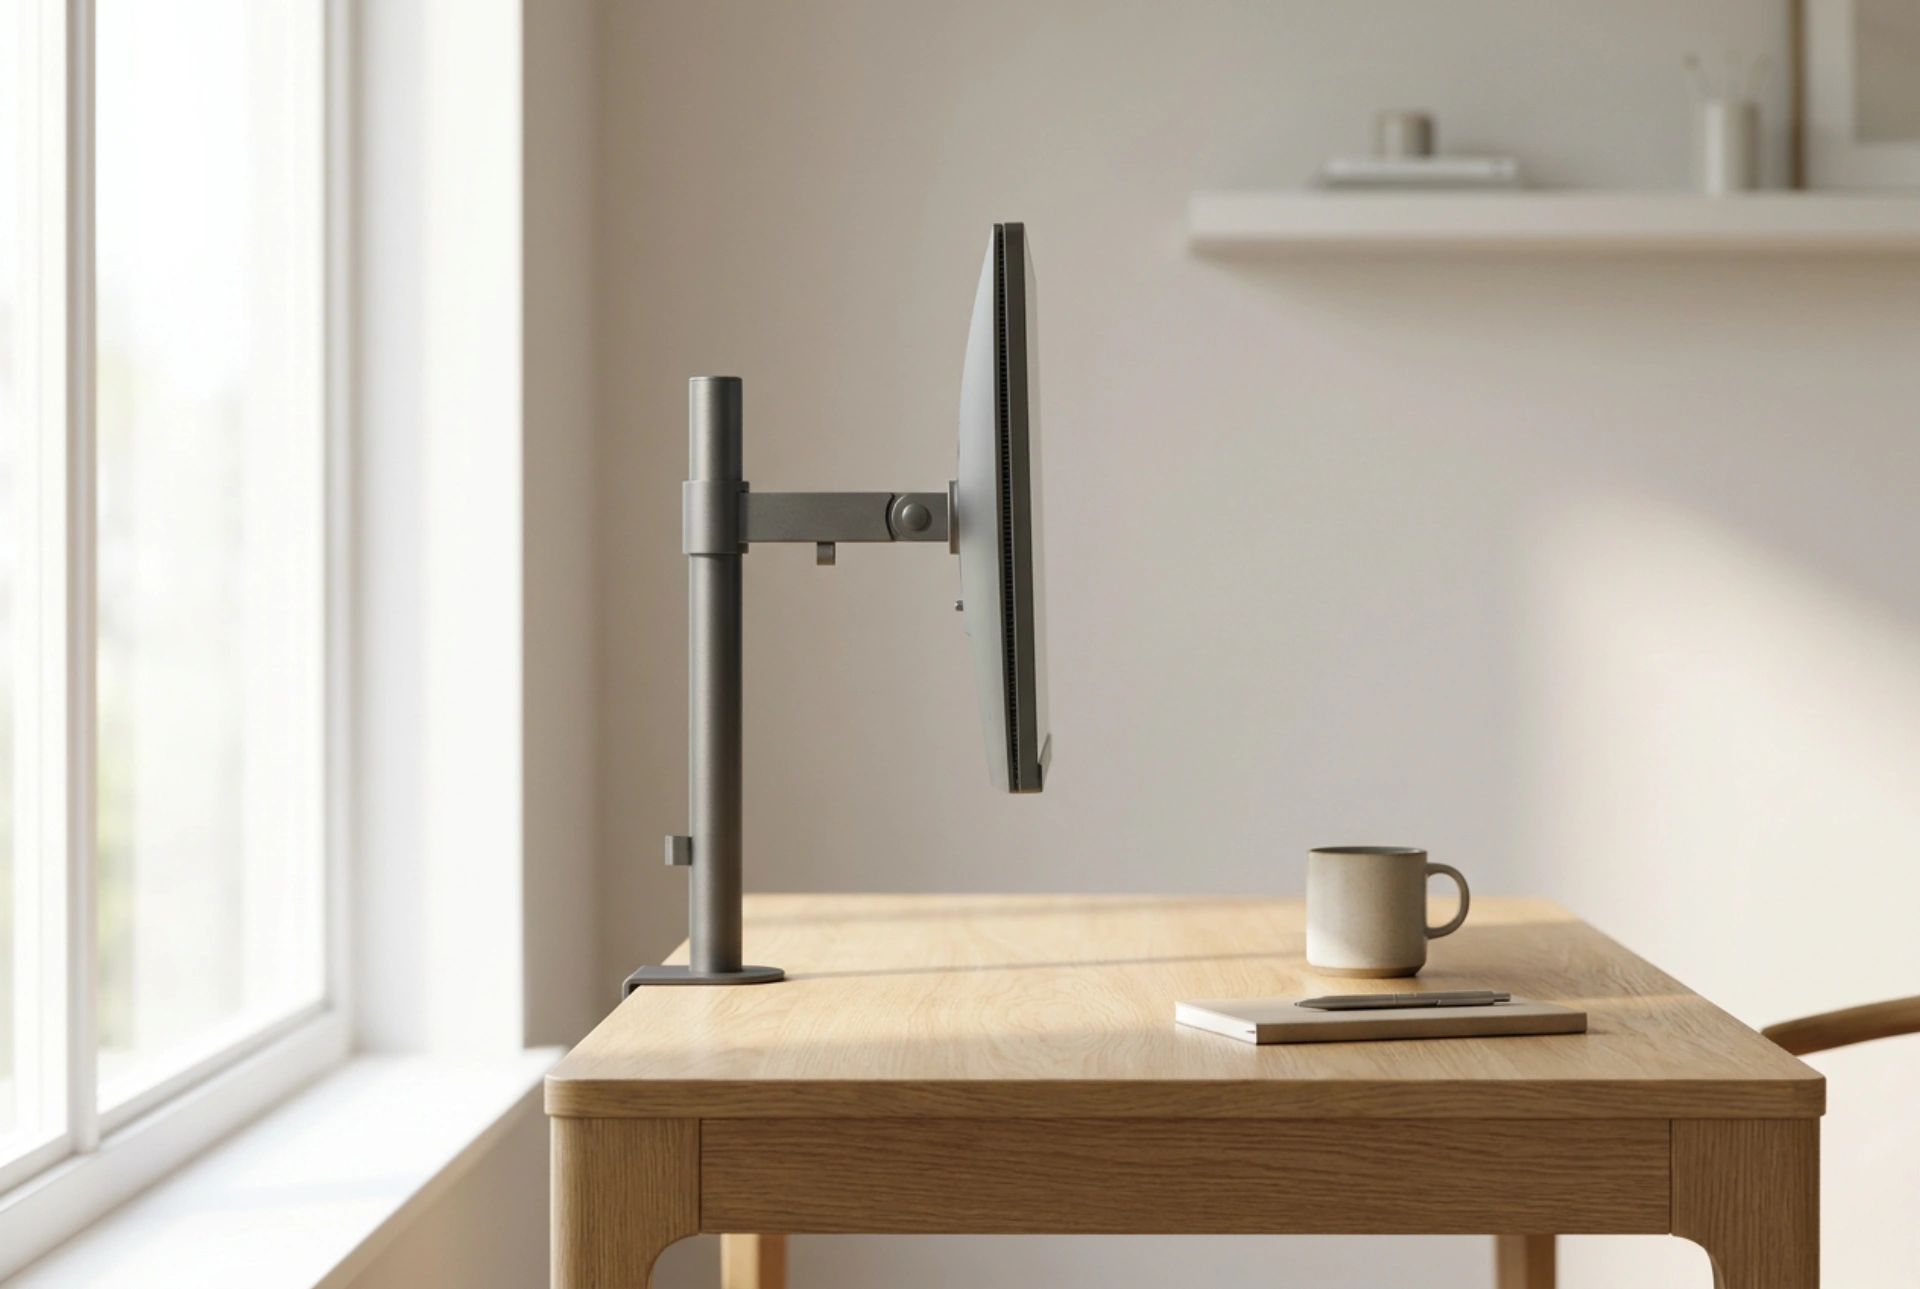


Achieving an ergonomic workspace relies on selecting a desk monitor mount that balances structural stability with a fluid range of motion. Understanding the physics of torque, weight distribution, and joint mechanisms prevents screen wobble, physical strain, and permanent damage to your desk surface.
The Physics of Leverage and Load Distribution
A monitor arm acts as a class-one lever, where the desk edge serves as the fulcrum. When you extend a monitor forward, you increase the moment arm—the horizontal distance between the monitor’s center of mass and the mounting base. According to basic physics, torque increases proportionally with this distance. A five-kilogram monitor positioned fifty centimeters away from the base exerts significantly more rotational force on the clamp than the same monitor positioned directly above it.
This concentrated torque places immense stress on the mounting point. Solid wood desktops, such as oak or beech, easily withstand these compression forces. However, desks constructed from particleboard or honeycomb paper cores can deform, warp, or crack under high tension. To counteract this, you must distribute the load over a larger surface area. Utilizing a steel reinforcement plate between the clamp and the desk underside mitigates structural stress by dispersing the downward and rotational forces across a broader zone.
Gas Spring versus Mechanical Spring Mechanisms
The range of motion and ease of adjustment depend heavily on the internal counterbalance mechanism of the arm. The two primary systems are gas (pneumatic) springs and mechanical (coil) springs.
- Gas Spring Arms: These utilize a sealed cylinder containing pressurized nitrogen gas. When you push the monitor down, a piston compresses the gas; when you raise it, the gas expands. This provides incredibly smooth, weightless movement, allowing for micro-adjustments with minimal physical effort. However, gas seals can degrade over years of heavy use.
- Mechanical Spring Arms: These rely on a heavy-duty steel coil spring. Adjusting the tension compresses or relaxes the coil. While mechanical springs require slightly more effort to adjust and can feel less fluid, they are highly durable, do not lose tension over time, and perform exceptionally well with very heavy displays.
To ensure stability, you must calibrate the tension of either mechanism to match the exact weight of your monitor. If the arm rises on its own, the tension is too high; if the monitor sags, the tension is too low. Locate the hex bolt on the forearm of the mount and turn it incrementally—typically clockwise to decrease tension for lighter screens, and counterclockwise to increase tension for heavier screens—until the monitor hovers perfectly in place at any height.
Mounting Methods: C-Clamp versus Grommet
The choice between a C-clamp and a grommet mount determines the ultimate stability of your setup, especially when using dual or triple monitor configurations.
The C-clamp is the most common installation method, requiring no drilling. It grips the edge of the desk using a screw-threaded plate. For optimal stability, the clamp must have a deep throat depth to grab as much desktop surface as possible. Ensure the pressure plate lies perfectly flat against the underside of the desk and utilize non-slip rubber pads to increase friction and protect the finish.
The grommet mount requires a hole drilled through the desktop, through which a heavy-duty bolt secures the mount from underneath. This method provides superior structural integrity because the anchoring force is applied directly through the center of the desk, reducing the rotational leverage that causes desk tipping or wobbling. It is highly recommended for ultra-wide monitors, multi-monitor arrays, or glass-topped desks where edge clamping is impossible due to the risk of shattering.
Step-by-Step Calibration for Zero Wobble
Achieving a rock-solid, vibration-free setup requires a systematic approach during assembly. Follow this sequence of operations:
First, inspect the desk underside to ensure the clamp will not sit on beveled edges or structural metal support ribs, which prevent flat contact. Secure the base clamp, tightening the hex screws firmly but stopping before you crush the wood fibers of the desk. Next, attach the VESA plate to the back of the monitor, ensuring you use the correct screw length and spacers to avoid damaging the internal electronics of the display. Mount the screen onto the arm and tighten the safety screws immediately.
With the monitor attached, perform the final tension adjustments. Tighten the tilt joint first; this joint experiences high rotational force and must be secure enough to prevent the screen from drooping forward, yet loose enough to allow manual tilt adjustments. Finally, balance the main height-adjustment spring as described above, testing the movement across the entire range of motion to ensure zero rebound or sinking.





