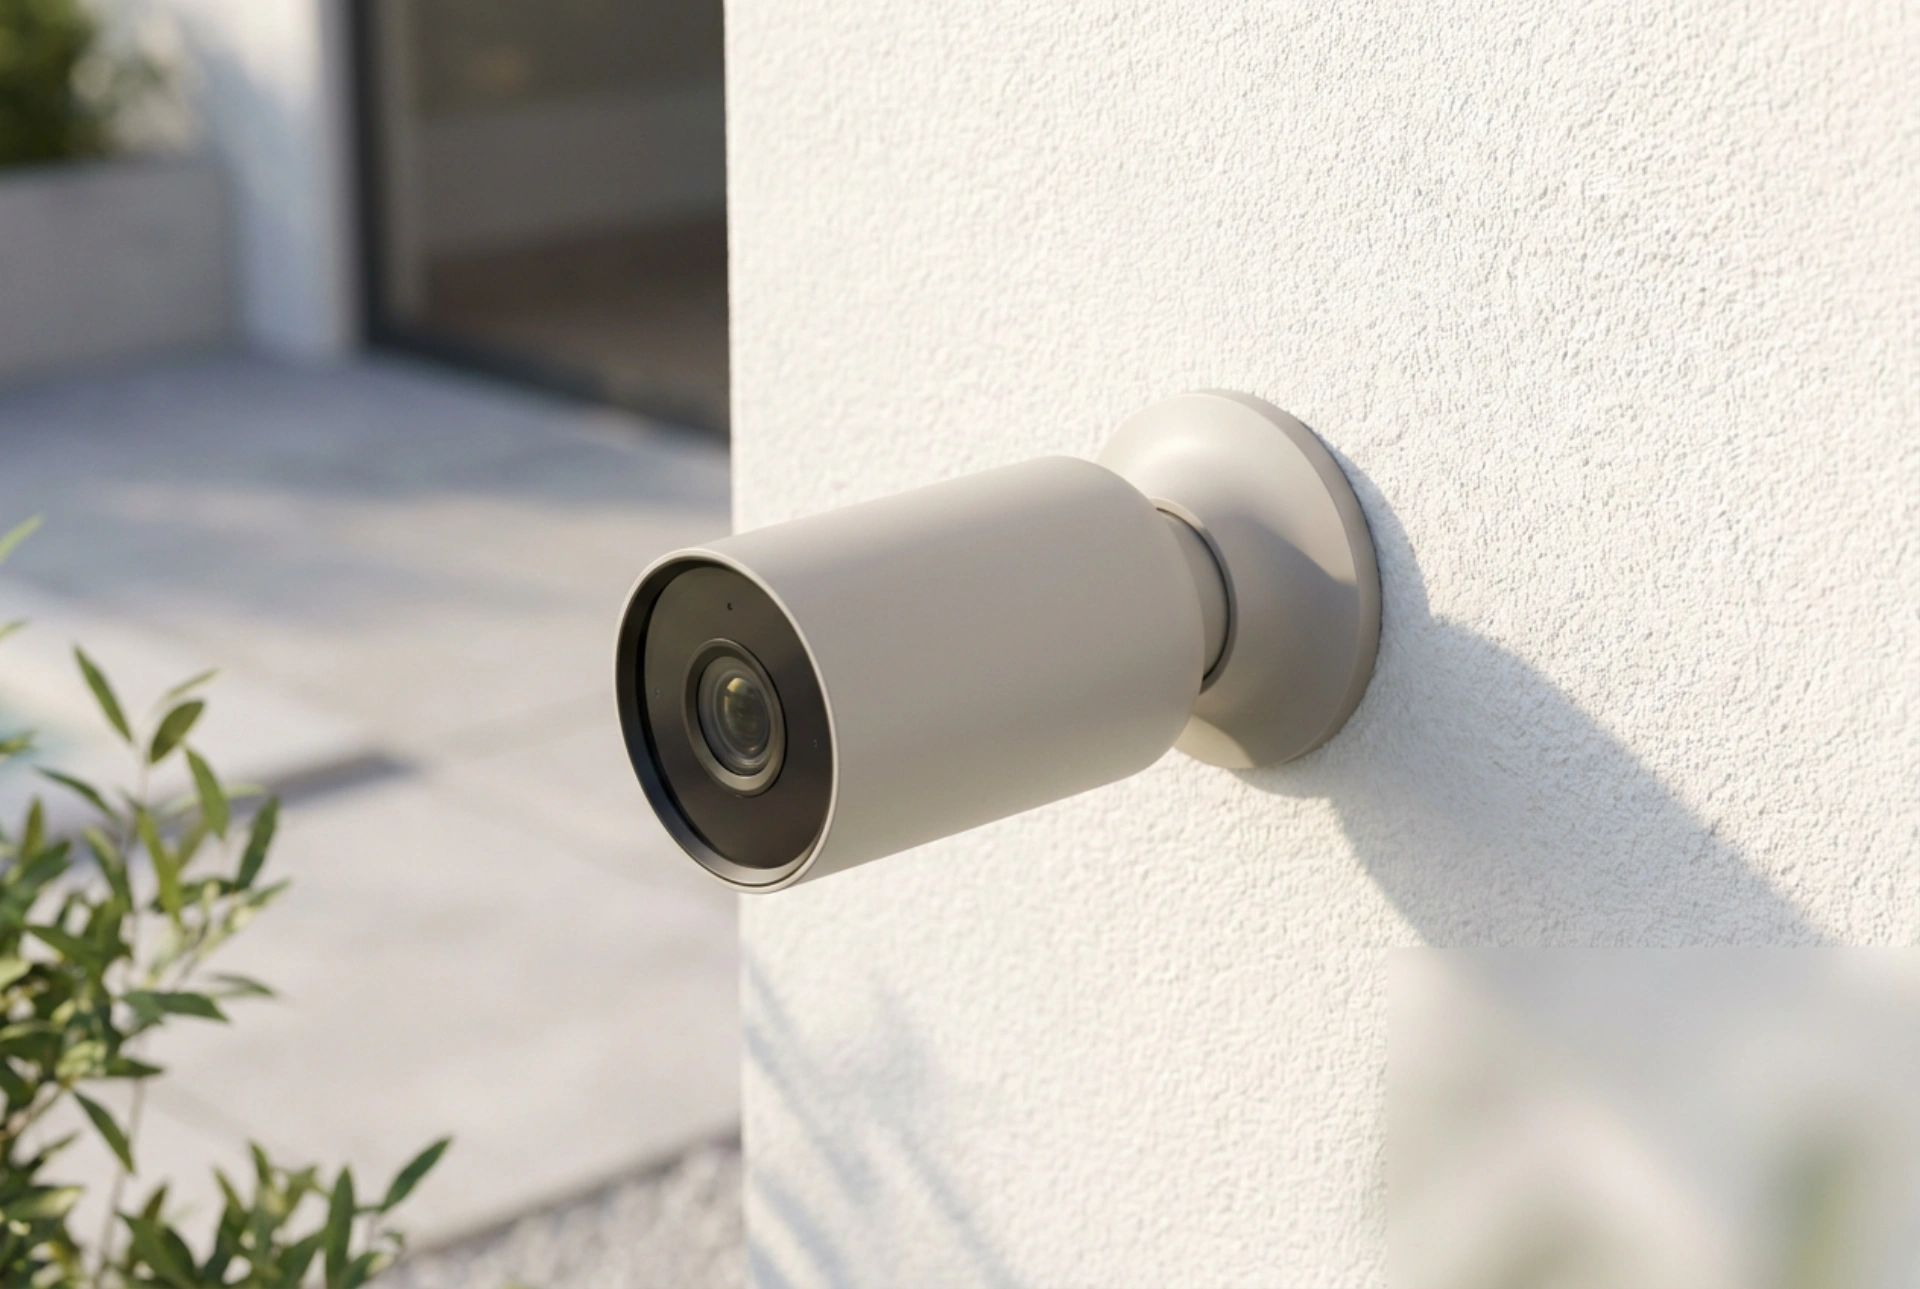


Achieving a crisp, uninterrupted feed from an outdoor Wi-Fi camera requires balancing mechanical stability with wireless signal dynamics. By understanding how environmental forces and physical barriers affect your device, you can eliminate both physical camera shake and frustrating signal drops.
Mechanical Stability: Countering Wind and Vibration
A camera that vibrates even slightly in high winds will trigger false motion alerts and produce blurry, pixelated footage. The key to mechanical stability lies in the physics of leverage and surface selection. Always mount the camera bracket to a solid, non-resonant surface such as brick, concrete, or solid wood framing. Avoid mounting directly onto thin vinyl siding, metal gutters, or wooden trim boards, which flex under wind loads and act as resonators for external vibrations.
When securing the mounting plate, pay attention to the material properties of your fasteners and anchors:
- Masonry anchors: Use nylon expansion plugs for brick or concrete, ensuring the drilled hole is free of dust so the plug can friction-lock effectively.
- Torque and tension: Tighten the camera’s articulating joints sufficiently to resist wind force, but do not over-tighten plastic threads, which can strip or crack under thermal expansion cycles.
- Center of gravity: Keep the camera body as close to the mounting surface as possible. Extending the mounting arm to its maximum length increases the lever arm, multiplying the force exerted by wind and causing more pronounced oscillations.
The Physics of Wi-Fi Propagation Outdoors
An optically stable camera is useless if the digital stream stutters due to packet loss. Radio frequency (RF) signals in the 2.4 GHz and 5 GHz bands degrade when passing through solid matter. Dense materials like concrete, brick, and stucco (which often contains wire lath mesh) act as highly effective RF attenuators. Even low-emissivity (low-E) glass windows can reflect up to 90% of a wireless signal due to their microscopic metallic coatings.
To optimize signal throughput, position the camera so the path to your indoor router passes through the fewest and least dense barriers. A direct line of sight through a standard wooden door or a single drywall partition is far superior to trying to penetrate a thick external masonry wall diagonally. If a masonry wall must be bypassed, consider positioning the camera near a window frame or eave where the physical density of the barrier is lower.
Managing the Fresnel Zone and Antenna Orientation
Wireless signals do not travel in a laser-straight line; they expand into an elliptical spatial path known as the Fresnel zone. If obstacles like metal roof flashings, large tree branches, or concrete columns encroach on this zone, they deflect the signal, causing multi-path interference. Keep the immediate path around the camera's antenna clear of metal objects within a radius of at least 30 to 50 centimetres.
Antenna polarization is another critical factor. Most router antennas emit signals vertically polarized. To match this alignment and maximize signal reception, ensure the camera’s external antenna is oriented vertically (pointing straight up or straight down), rather than horizontally or angled toward the ground.
Mitigating Glare and Sensor Overload
Image stability also depends on how the camera sensor manages light. Direct exposure to intense sunlight can cause thermal blooming on the sensor, leading to washed-out images and localized overheating, which degrades processor performance. Position the camera pointing slightly downward (at an angle between 15 and 30 degrees) to minimize direct exposure to the sky. This angle also prevents rain droplets from pooling on the lens cover, which scatters light and ruins optical clarity. Additionally, check that nearby walls or soffits do not reflect the camera's own infrared light back into the lens during night mode, which causes whiteout blind spots.





