

Wireless laser printers frequently suffer from dropped connections, slow print queues, and sudden offline statuses, usually caused by signal attenuation, IP address conflicts, or aggressive power-saving protocols. Securing a reliable network connection for your printer involves understanding basic wireless physics and optimizing your local network configuration.
The Physics of Signal Propagation and Strategic Placement
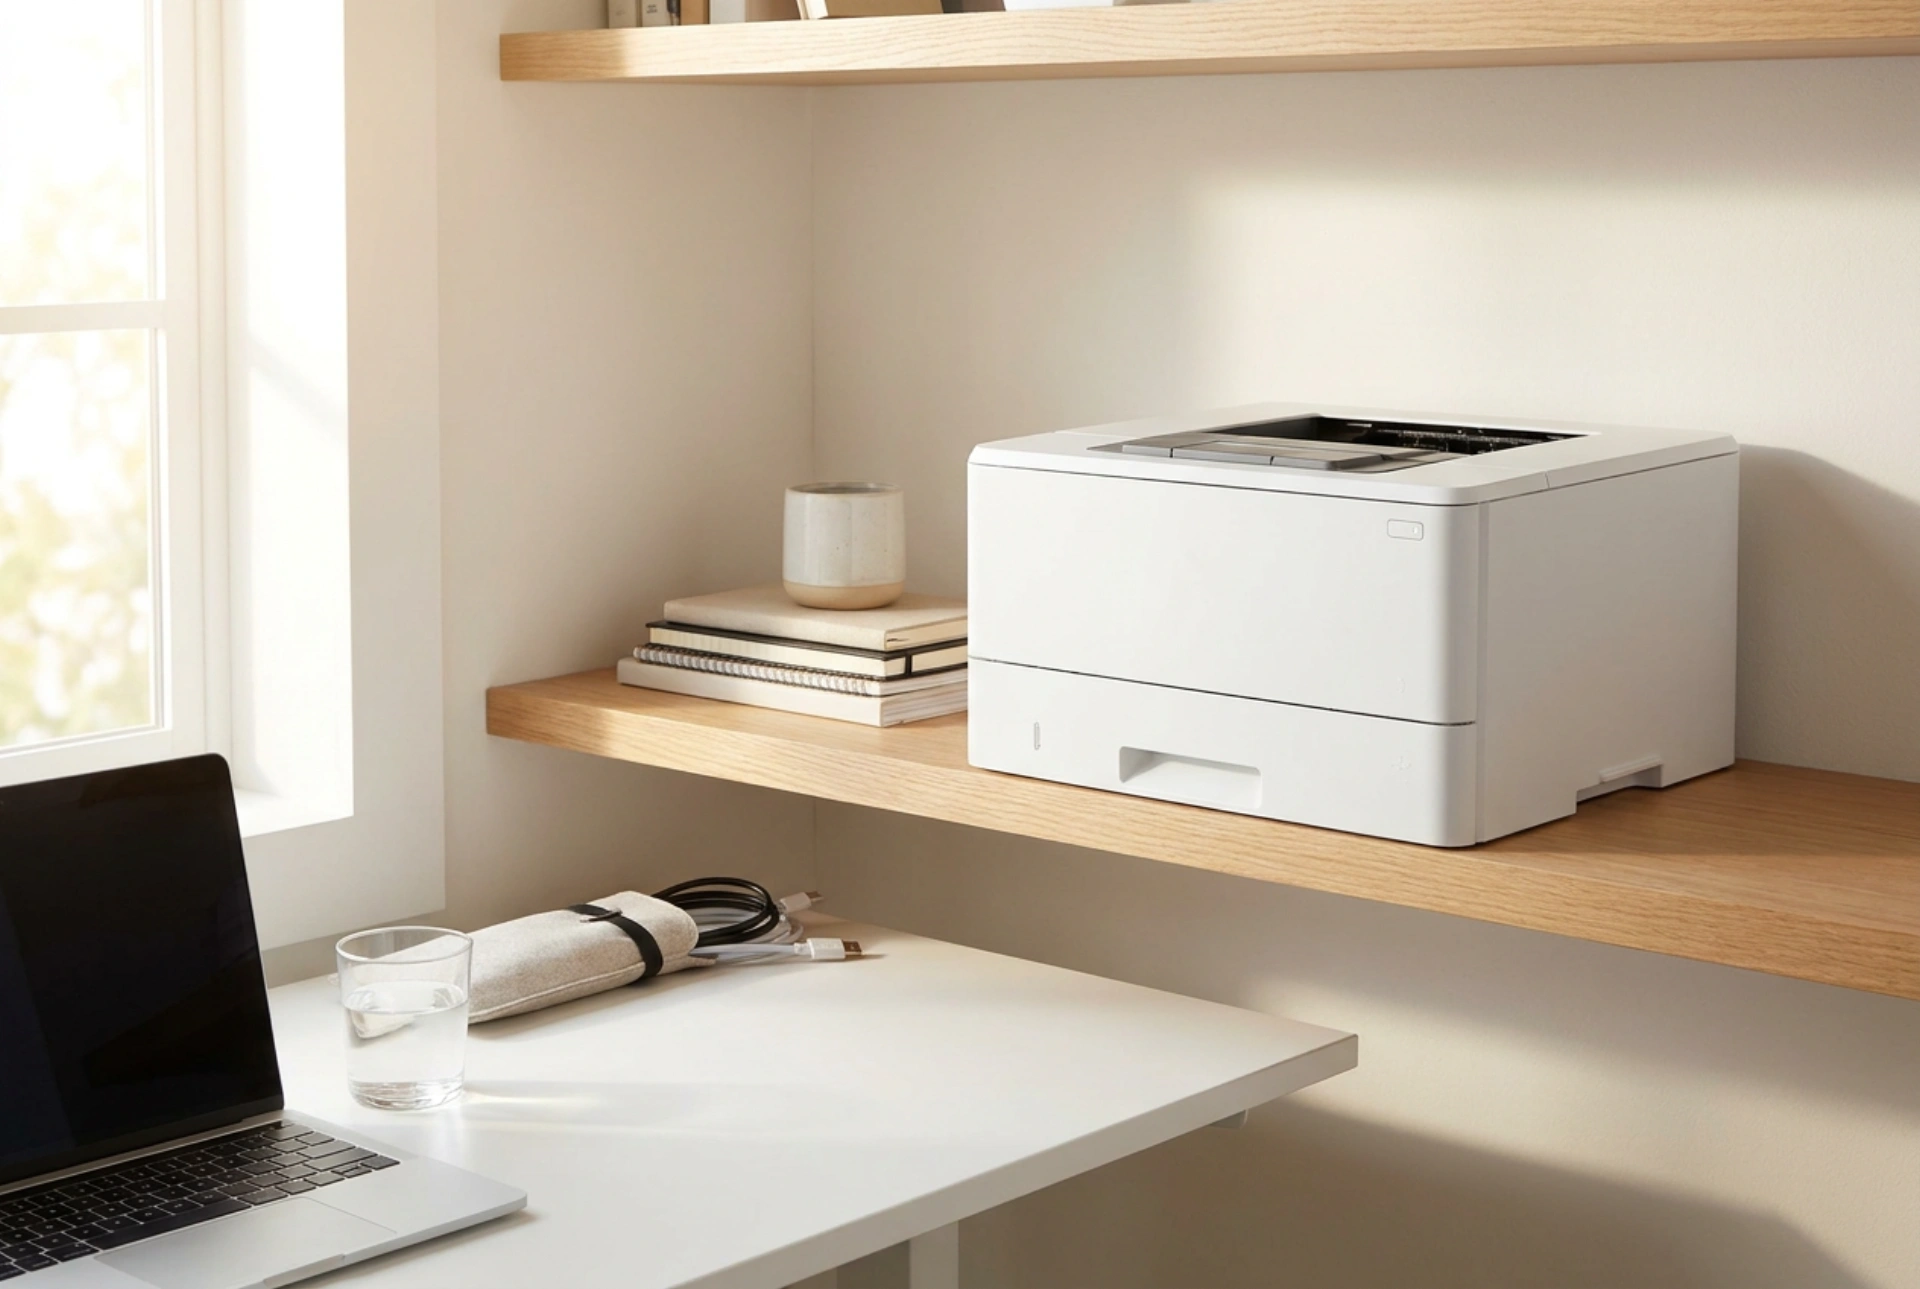
Radio frequency (RF) signals used by Wi-Fi networks are electromagnetic waves that degrade when passing through physical obstacles. Different materials exhibit varying levels of attenuation. For example, solid concrete, brick, and metal surfaces absorb or reflect radio waves highly, while wood, plasterboard, and glass allow relatively easy passage. Placing a laser printer inside a metal cabinet, under a heavy wooden desk, or near large appliances creates a physical barrier that drastically reduces signal strength. To ensure a stable link, position the printer in an open space, ideally elevated, and away from dense building materials and metallic surfaces that cause signal scattering.
Frequency Bands: 2.4 GHz versus 5 GHz
Most modern routers transmit on two distinct frequency bands: 2.4 GHz and 5 GHz. Selecting the correct band is critical for stable printer operation. The 2.4 GHz band utilises longer wavelengths, which are highly efficient at penetrating solid walls and propagating over longer distances. However, this band is highly congested because many household appliances, baby monitors, and neighbouring networks share it. Conversely, the 5 GHz band offers higher data transfer speeds and less congestion, but its shorter waves degrade rapidly when passing through walls. Because printing requires low data throughput but high stability, connecting your printer to a dedicated 2.4 GHz network is usually the most reliable option, provided you select an uncongested channel (typically 1, 6, or 11).
Preventing IP Conflicts with DHCP Reservation
By default, most routers use Dynamic Host Configuration Protocol (DHCP) to lease temporary IP addresses to devices on the network. When a printer enters a deep-sleep cycle to conserve energy, its network interface may go idle. If the DHCP lease expires during this idle state, the router may reassign that specific IP address to another device, such as a smartphone or tablet. When the printer wakes up, or when a computer tries to send a print job, a communication breakdown occurs because the system is targeting the old IP address. To prevent this, log into your router's administration panel and configure a DHCP reservation (sometimes called a static IP) for your printer. This binds the printer’s unique Media Access Control (MAC) address to a permanent, unchanging IP address, ensuring computers can always locate the device on the network.
Managing Power States and Protocol Settings
Laser printers are designed to consume minimal power when idle, transitioning from ready mode to standby, sleep, and finally deep-sleep. During deep-sleep, the printer's internal network card may disable its wireless receiver to save milliwatts. If the printer fails to respond to Address Resolution Protocol (ARP) requests from other network devices, computers will report the printer as offline. To resolve this, access the printer's internal web interface by entering its IP address into a web browser. Locate the energy-saving settings and adjust the sleep timer, or disable the deep-sleep mode entirely. Ensuring the wireless network interface card remains powered on guarantees the printer is always listening for incoming data packets.
Mitigating Electromagnetic Interference
Laser printers contain high-voltage components, including a fuser that heats up to melt toner onto paper. This heating process, along with the mechanical rotation of gears, can generate transient electromagnetic interference (EMI) when the machine cycles on. Furthermore, placing the printer too close to the wireless router itself can overload the printer's receiver, a phenomenon known as receiver desensitisation. Maintain a distance of at least one to two metres between the printer and the router to prevent signal distortion. Additionally, avoid plugging both the router and the printer into the same electrical extension lead to protect your network equipment from voltage fluctuations when the printer's fuser draws peak power.





