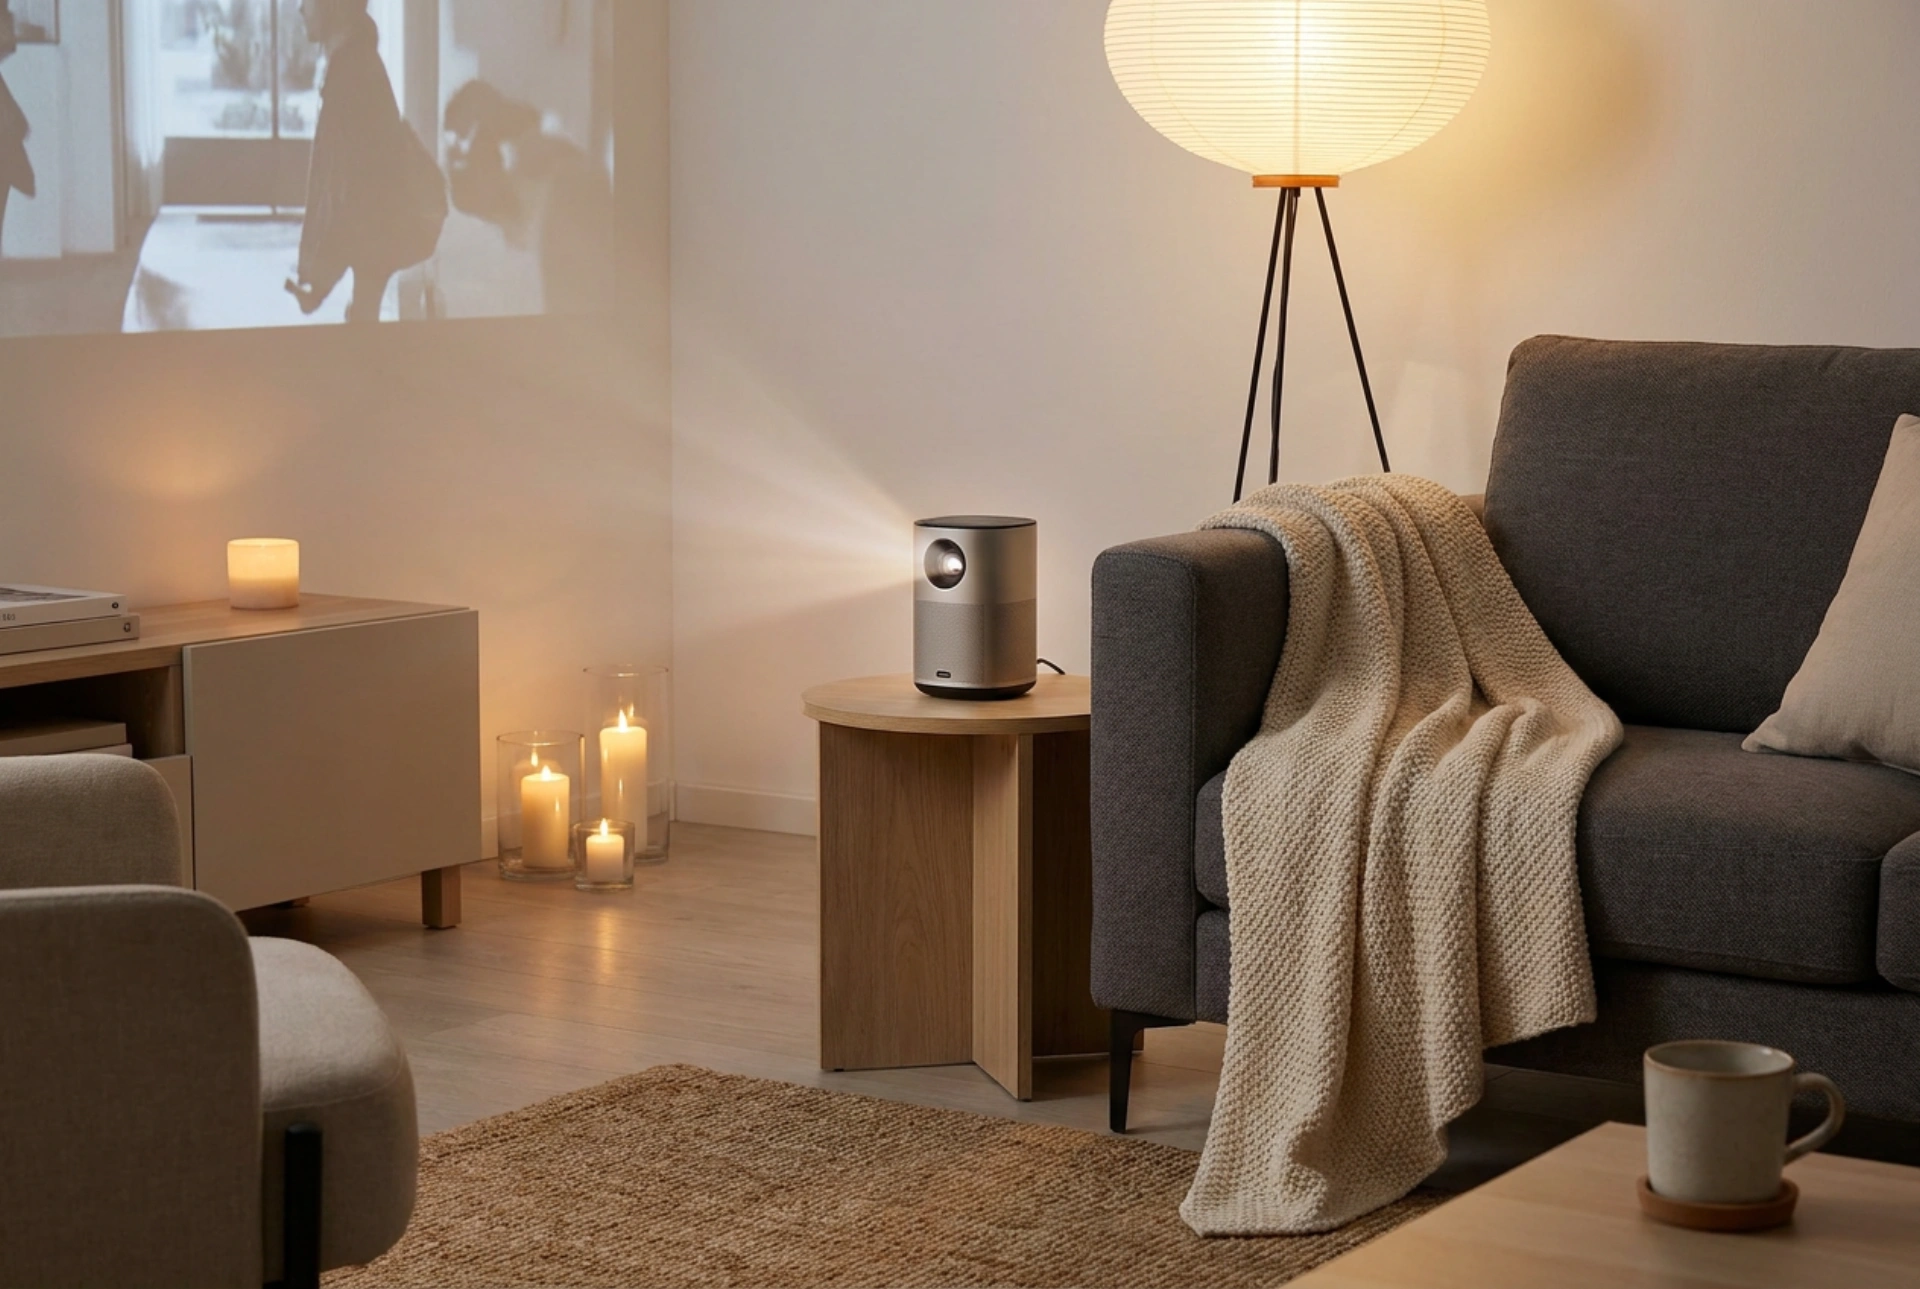


Achieving a cinema-quality projection at home relies on understanding basic optics, thermal management, and ambient light control. Preparing your home projector correctly ensures maximum image sharpness, accurate color reproduction, and prevents premature hardware wear.
Calculating Throw Distance and Optical Alignment
The positioning of your projector relative to the screen is the foundation of image quality. Every projector has a specific throw ratio, which determines the width of the projected image based on its distance from the projection surface. To achieve native sharpness, you must physically position the device to match this ratio rather than relying on digital zoom. Digital zoom reduces the active pixel area on the projector’s micro-display, resulting in a loss of resolution and brightness.
Equally critical is physical alignment. The projector lens must be completely parallel to the projection surface. If the projector is tilted upward or downward, it creates a trapezoidal image, a phenomenon known as keystoning. While most modern projectors offer digital keystone correction, this process should be your last resort. Digital correction uses algorithms to compress the image pixels, which compromises overall sharpness and creates jagged edges. Instead, use physical adjustments—such as leveling feet, a dedicated shelf, or a tripod—to align the lens perpendicular to the center of the screen.
Managing Ambient Light and Surface Physics
The perceived contrast of a projected image is highly dependent on the ambient light in the room. Projectors do not project "black"; instead, the darkest parts of your image are simply the color of your projection surface when no light hits it. Therefore, controlling stray light is essential for deep black levels and vibrant colors.
- Light Control: Use blackout curtains to eliminate external light sources. Even minor light leaks from windows or LED indicators on other electronics can wash out contrast.
- Surface Choice: While a smooth, matte white wall can work, a dedicated projection screen is far superior. Screens are engineered with specific "gain" ratings. A standard matte white screen has a gain of 1.0, reflecting light evenly in all directions. Ambient Light Rejecting (ALR) screens use microscopic optical structures to reflect light coming from the projector toward the viewer while absorbing ambient light from the ceiling or sides.
- Surface Texture: If using a wall, it must be perfectly flat. Micro-textures in plaster cast tiny shadows when illuminated at an angle, degrading the perceived resolution of the image.
Thermal Regulation and Dust Prevention
Projectors generate significant internal heat due to their high-intensity light sources, whether they utilize traditional metal-halide lamps, LEDs, or laser diodes. Proper thermal management is crucial to prevent overheating, which can cause color degradation on the LCD or DLP chips and drastically shorten the lifespan of the light source.
Ensure there is at least 30 to 50 centimetres of clear space around the projector's intake and exhaust vents. Placing a projector in a cramped cabinet or on a soft, plush surface like a blanket can block airflow, causing rapid heat buildup. Additionally, allow the projector’s internal fans to run their full cooling cycle after turning off the device; never unplug the power cord immediately after use, as the sudden loss of active cooling can cause thermal shock to the delicate optical components.
Fine-Tuning Color Calibration and Signal Output
The final step in preparation is optimizing the software settings to match the media source. Out of the box, many projectors are set to "Dynamic" or "Bright" modes. While these modes maximize light output, they do so by shifting the white balance toward a cold, bluish hue and oversaturating the colors, which destroys fine detail in shadows and highlights.
For a cinematic experience, switch the picture profile to "Movie," "Cinema," or "Reference." These profiles target the standard D65 white point (6500K), which matches the color temperature used by filmmakers. Additionally, ensure that your media player's output resolution matches the native resolution of the projector (e.g., 1080p or 4K) to avoid unnecessary scaling artifacts. If your hardware supports it, match the frame rate of the output signal to the source material (typically 24 frames per second) to eliminate motion judder.





