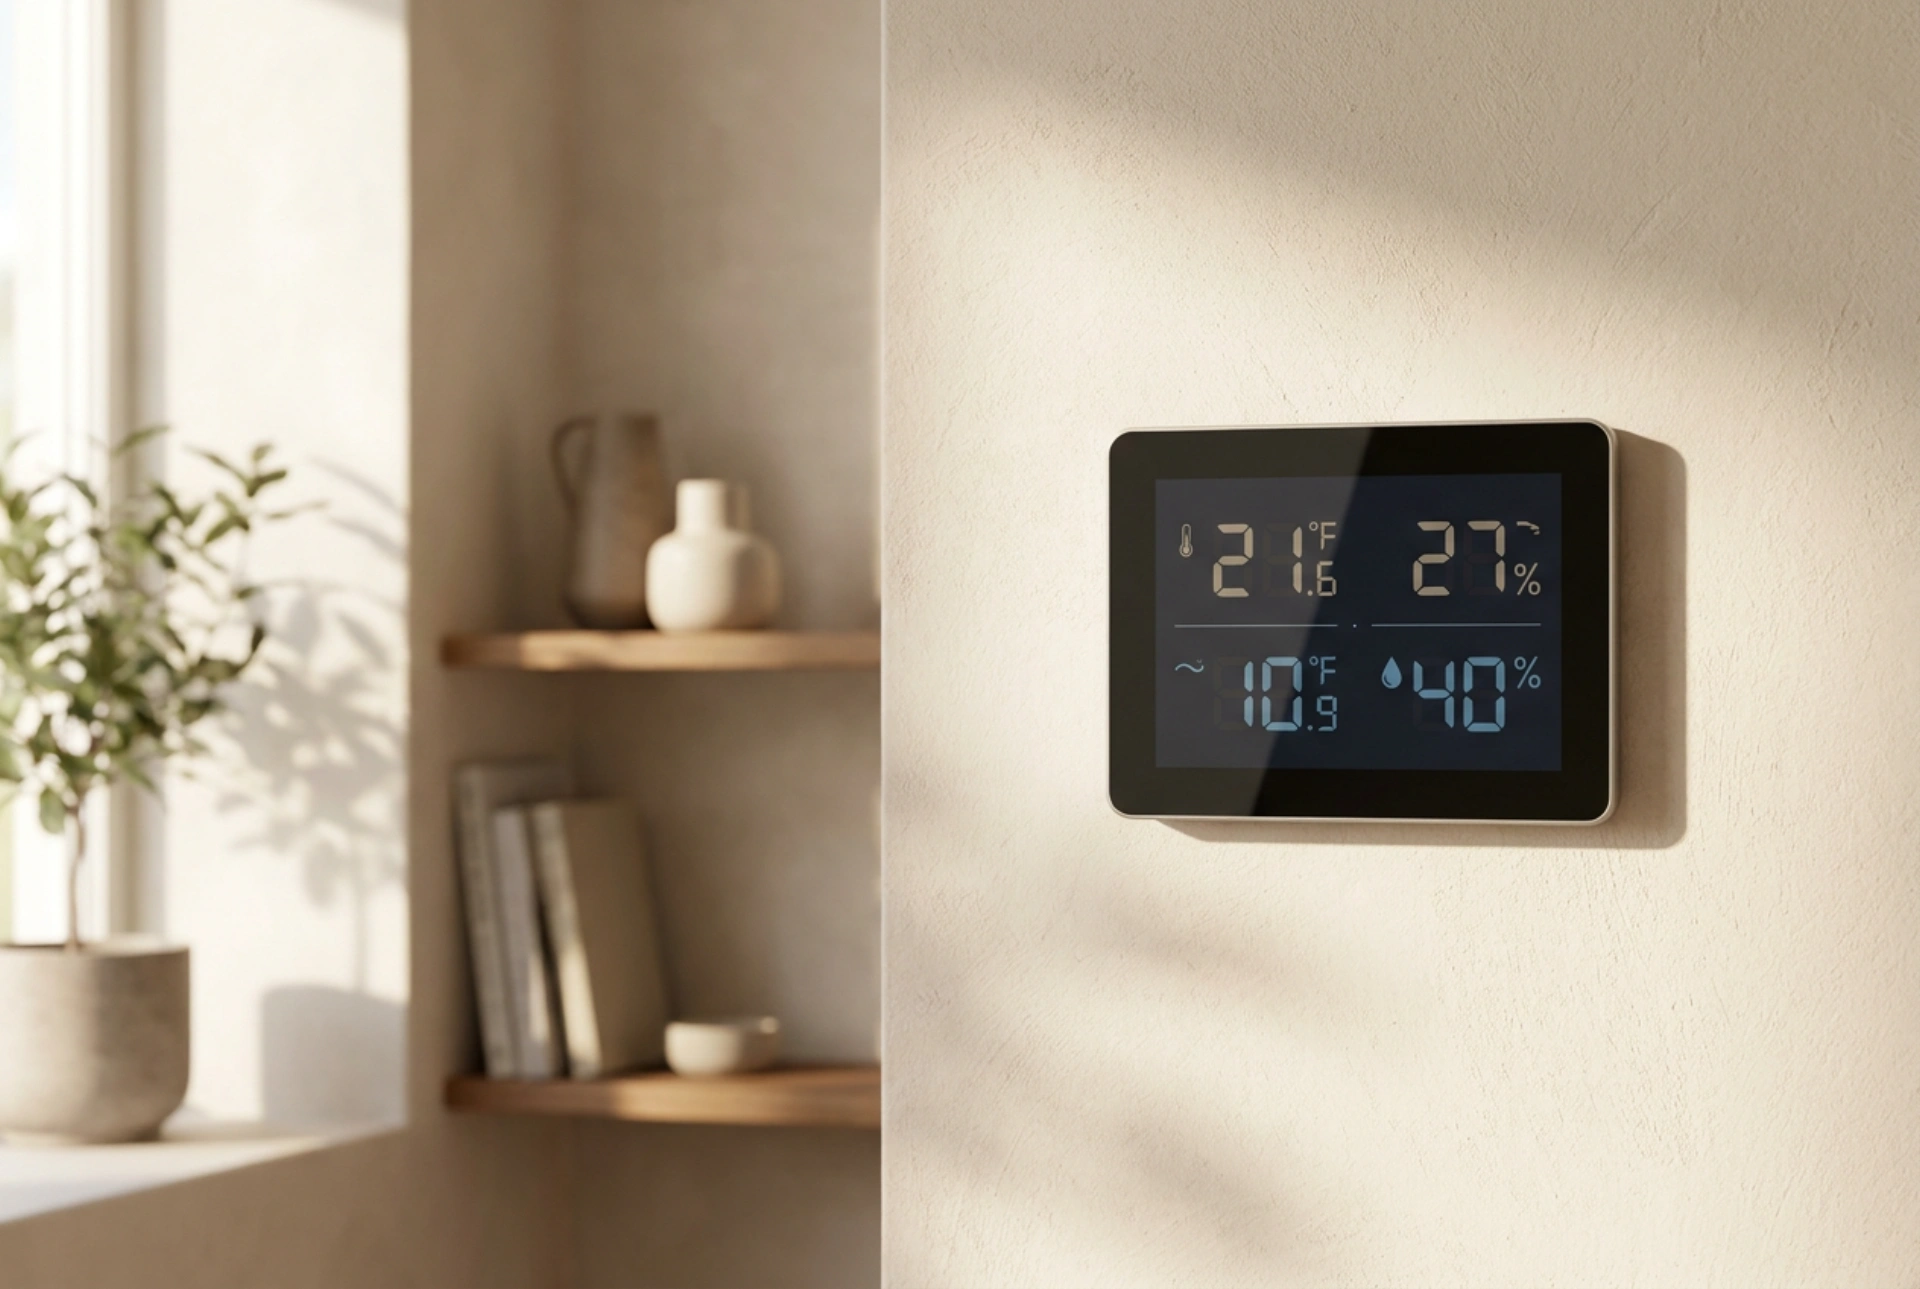


Positioning a home weather station correctly on an apartment wall is crucial for securing precise, representative readings of your indoor climate. Incorrect placement exposes the sensors to microclimatic anomalies like draft zones or thermal radiation, rendering the data inaccurate.
The Physics of Indoor Microclimates
Every apartment contains distinct microclimates shaped by thermodynamics and airflow. Warm air naturally rises due to convection, creating a temperature gradient where the air near the ceiling is significantly warmer than the air near the floor. Additionally, external walls, windows, and household appliances generate localized thermal fields. Placing a weather station too close to these zones results in skewed data. To capture the true average ambient temperature and humidity of your living space, you must identify a neutral zone where air circulates freely without being influenced by artificial heating or cooling sources.
Selecting the Optimal Indoor Wall
For the main console, which houses the indoor temperature, humidity, and barometric pressure sensors, wall selection requires careful evaluation. Follow these scientific guidelines to choose the perfect spot:
- Avoid Exterior Walls: External walls are subject to thermal bridging. During winter, they remain colder than internal partition walls, and in summer, they absorb solar heat. Mounting your station on an exterior wall will cause it to register lower or higher temperatures than the actual room air. Always choose an interior partition wall.
- Height Matters: Mount the device at a height of approximately 1.5 metres (5 feet) from the floor. This level represents the average breathing zone and sits perfectly between the cooler air pooling at floor level and the pocket of hot air trapped near the ceiling.
- Distance from Heat and Moisture Sources: Keep the station at least 2 metres away from radiators, air conditioners, fireplaces, and kitchen appliances. Even televisions and computer monitors emit significant convective heat that can distort sensor readings. Similarly, avoid placing the console near bathrooms or laundry areas where localized humidity spikes occur.
- Shield from Direct Sunlight: Solar radiation hitting the casing of the weather station will rapidly heat the internal sensors through conductive transfer. Ensure the chosen wall is completely shielded from direct sunlight throughout the entire day.
Positioning the Outdoor Sensor for Maximum Accuracy
While the indoor console displays the data, the accuracy of your outdoor weather tracking depends entirely on the placement of the external remote sensor. The primary objective is to measure the air temperature, not the temperature of the building's facade or direct solar energy.
The North-Facing Rule
In the Northern Hemisphere, the outdoor sensor must be installed on a north-facing wall or balcony railing. This orientation ensures the sensor remains in permanent shadow, preventing direct solar radiation from artificially inflating the temperature readings. In the Southern Hemisphere, a south-facing placement is required.
Thermodynamic Shielding and Ventilation
Air must flow freely around the outdoor sensor to prevent heat from stagnating. However, the sensor must be protected from direct precipitation, which can cause evaporative cooling on the sensor casing, temporarily showing lower temperatures than reality. Mount the sensor under an eave, balcony ceiling, or inside a simple, ventilated solar radiation shield. Ensure it is positioned at least 10–15 centimetres away from the building wall, as concrete and brick store massive amounts of thermal energy and slowly radiate heat back into the surrounding air during the evening.
Mounting Techniques and Safety
When securing the console to your chosen interior wall, ensure structural safety. Use a digital detector to locate hidden electrical cables and plumbing pipes behind the plasterboard before drilling. If drilling is not an option, high-quality polyurethane adhesive strips can be used on painted walls, provided the surface is degreased with isopropyl alcohol to ensure strong molecular bonding between the adhesive and the wall surface.





