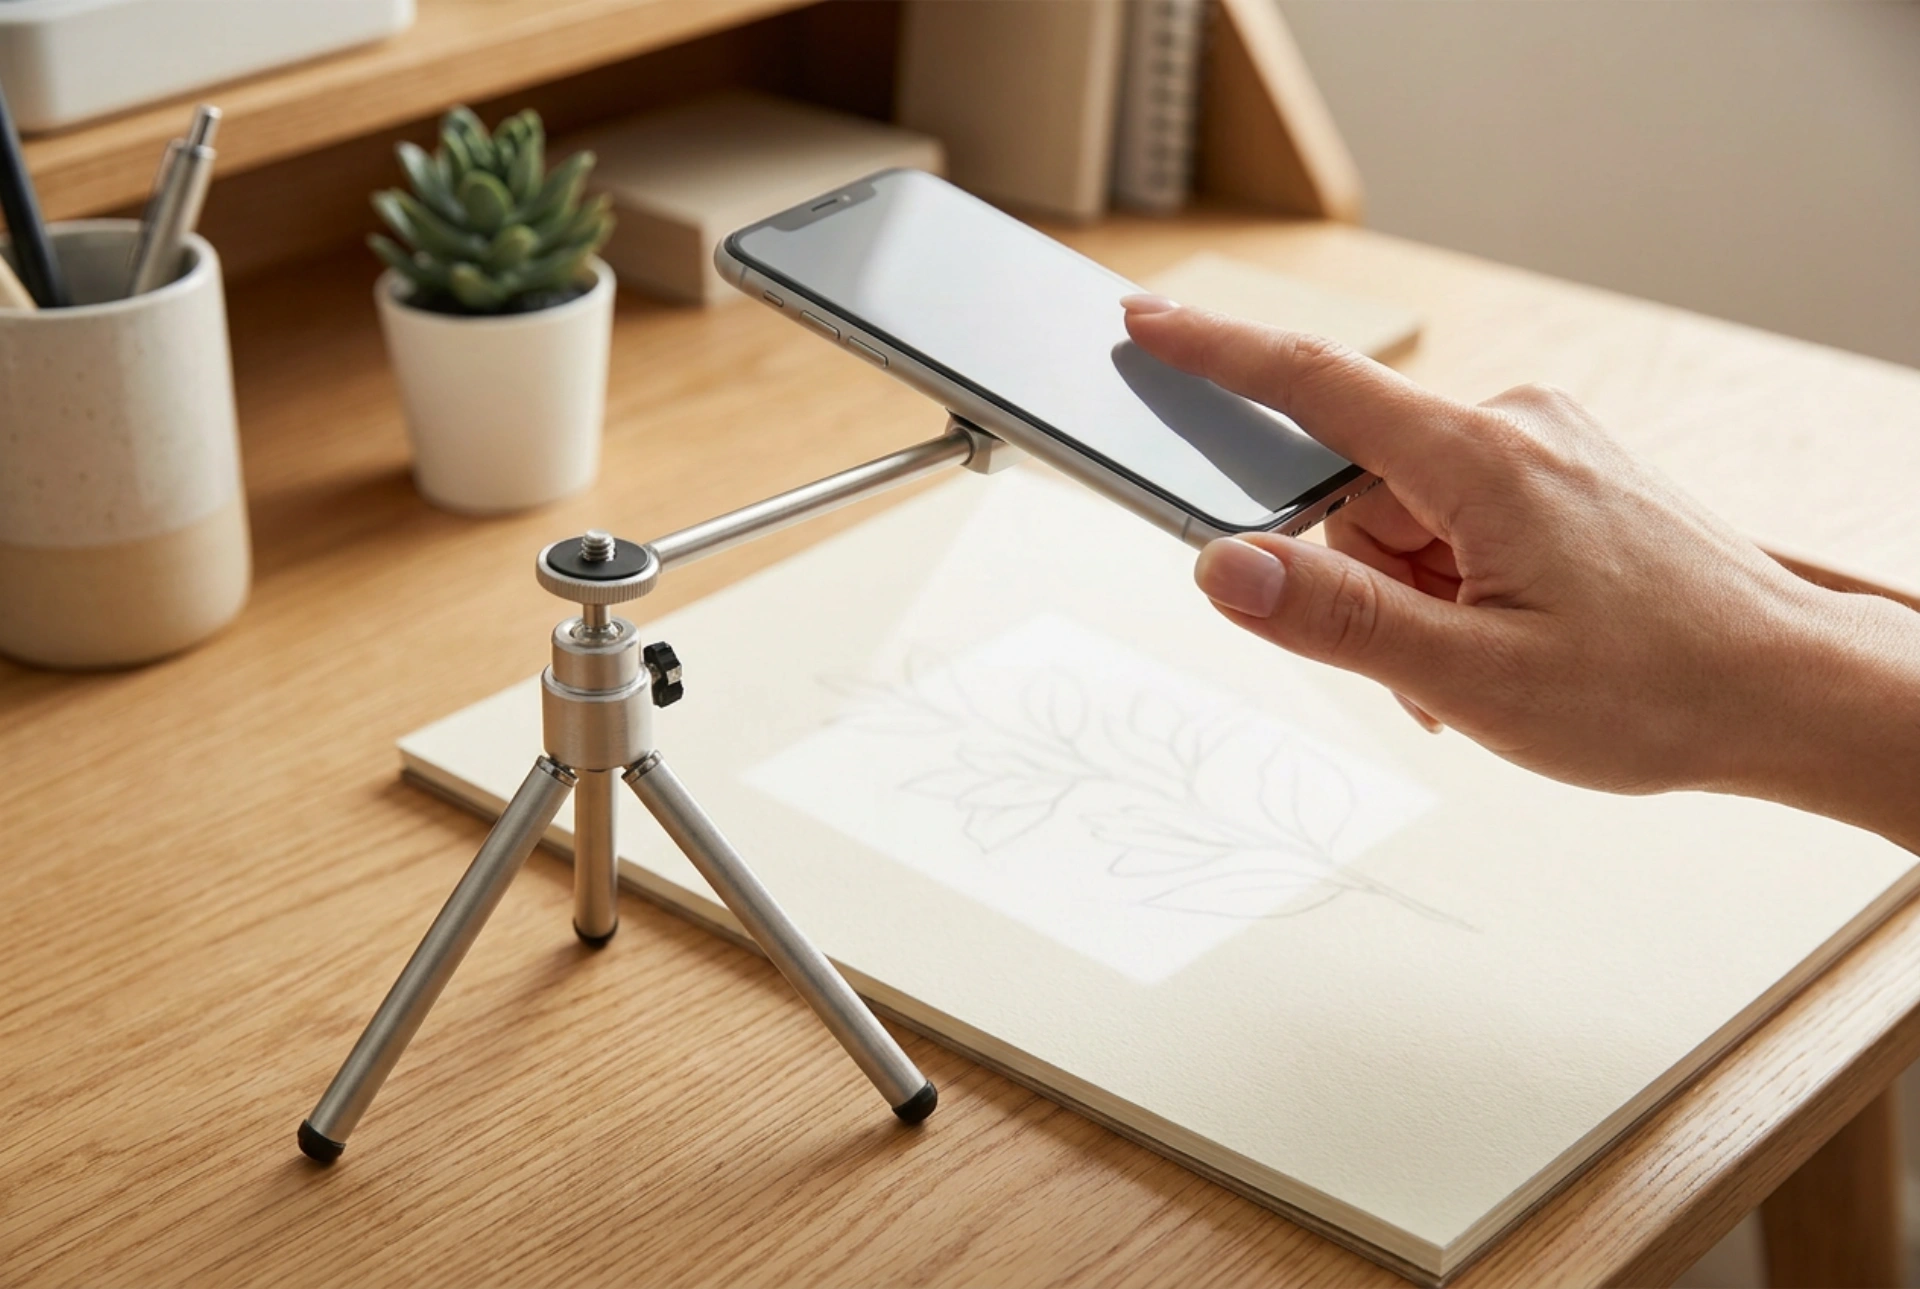


Using a smartphone projector setup to transfer outlines onto drawing paper is an exceptionally efficient way to establish accurate proportions. Mastering this optical technique requires careful calibration of the projection angle, light intensity, and paper positioning to prevent distortion and ensure sharp lines.
Eliminating Keystoning and Angle Distortion
If the projector lens is not perfectly parallel to the drawing surface, the projected image will suffer from keystoning—where the top or bottom of the image appears wider than the opposite side. To prevent this, use a sturdy, adjustable tripod or a rigid articulated arm mount. Align the lens so the optical axis is exactly perpendicular (90 degrees) to the drawing plane. You can verify this alignment by projecting a simple grid pattern; if the grid squares are perfectly uniform across the entire surface, your plane is correctly aligned.
Managing Ambient Light and Screen Contrast
The legibility of projected lines depends heavily on the contrast ratio between the projector's light and the ambient room light. Standard smartphone and pocket-projector lamps have limited lumens compared to large venue projectors. To compensate, dim the room lights or work in a space with controlled, indirect lighting. On your smartphone, modify the source image. Converting the image to a high-contrast black-and-white outline or inverting the colors (white lines on a black background) dramatically improves visibility on textured paper without requiring blinding brightness levels. This technique preserves battery life and reduces eye strain during long tracing sessions.
Selecting the Ideal Drawing Substrate for Optical Clarity
The physical texture and color of your drawing paper significantly influence how the projected light is reflected. Smooth surfaces, such as hot-pressed paper or bristol board, reflect light evenly, providing the sharpest possible projected lines. Highly textured papers, such as cold-pressed watercolor paper or rough sketchpads, disperse the light rays in multiple directions due to their microscopic valleys and peaks. This scattering can make fine details appear blurry. When working on textured paper, increase the line thickness of your digital guide image and use a slightly higher projection contrast to counteract the light diffusion.
Securing the Substrate and Focusing the Optics
Even the slightest movement of your drawing paper or the projector mount can ruin hours of work. Secure your drawing paper to the desk or drafting board using low-tack artist's tape, which holds the paper firmly without tearing the fibers upon removal. Once the paper is fixed, adjust the focus wheel of the projector. If your device uses digital focusing, adjust the distance between the phone and the paper to achieve the sharpest pixel-to-pixel projection. Ensure the mount is tightened securely to prevent micro-vibrations caused by nearby footsteps or hand movements on the drawing desk.
Hand Positioning and Line Transfer Techniques
One of the primary challenges of tracing a projection is your hand blocking the light source, which casts a shadow over the area you are trying to draw. To minimise this, position the projector slightly from the side or from above your non-dominant hand's side. Work systematically: if you are right-handed, start sketching from the top-left corner and move towards the bottom-right. This order of operations prevents your drawing hand from obstructing the path of the projected light. Use a hard lead pencil, such as a 2H or 4H, applying minimal downward pressure. Harder leads deposit less graphite, preventing the projected light from scattering on dark smudges and ensuring the transfer lines remain faint and easy to erase or paint over later.





