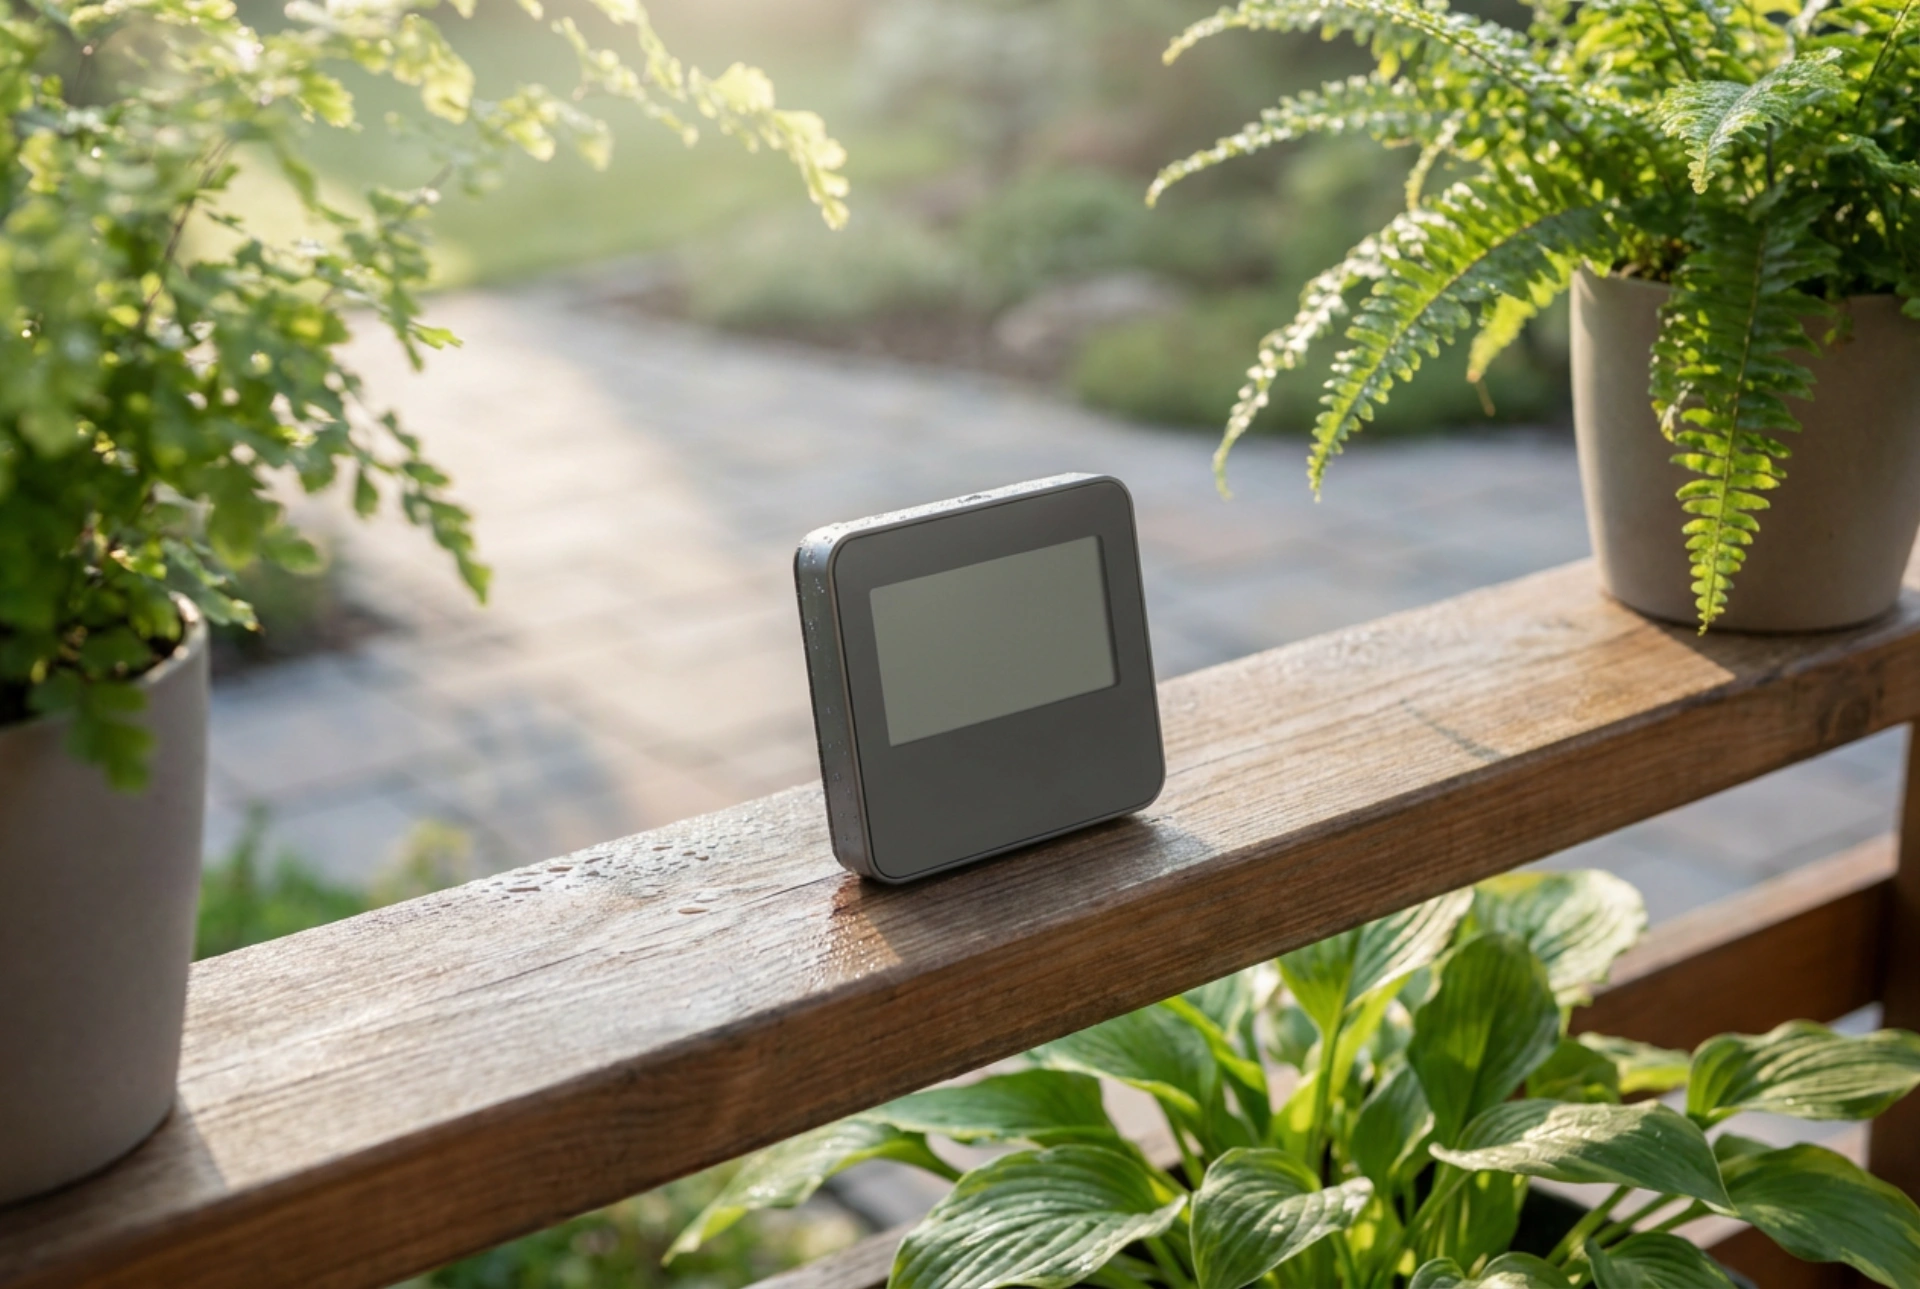


Setting up a home weather station requires understanding thermodynamic microclimates and physical obstructions to ensure accurate temperature, humidity, wind, and rain readings. Proper positioning of sensors dictates the reliability of your data far more than the device's technical specifications.
The Physics of Thermal Radiation and Temperature Sensors
To measure ambient air temperature accurately, the primary sensor must be shielded from both direct solar radiation and reflected thermal energy. Objects with high thermal mass, such as concrete patios, brick walls, and asphalt driveways, absorb solar radiation during the day and re-radiate it as infrared heat. Placing a sensor near these surfaces causes artificially high temperature readings, especially during late afternoon and evening hours.
The sensor should ideally be positioned over a natural, grassy surface at a standard height of 1.25 to 2 metres above the ground. This height prevents the ground-effect microclimate from distorting the data, as soil temperatures can fluctuate dramatically compared to the free-flowing air above. Additionally, the sensor must reside inside a radiation shield—often a white, louvred enclosure. The white colour reflects solar radiation across the visible spectrum, while the louvres allow ambient air to flow freely over the internal thermistor, ensuring convective cooling and preventing heat trapping.
Hydrodynamics and Humidity Accuracy
Relative humidity is highly sensitive to localized moisture sources and temperature fluctuations. Because warmer air can hold more water vapour than colder air, any artificial temperature inflation directly distorts your humidity readings. To capture true ambient humidity, keep the hygrometer sensor away from artificial moisture sources such as dryer vents, air conditioning exhaust units, swimming pools, and dense garden beds.
Vegetation undergoes evapotranspiration, releasing water vapour into the immediate boundary layer of air. While placing a sensor over grass is ideal for temperature, placing it directly inside dense shrubbery will create a microclimate with unnaturally high humidity and stagnant airflow. Ensure a clearance zone of at least several metres from dense foliage to allow ambient air currents to homogenise the air before it reaches the sensor.
Aerodynamics and Wind Sensor Placement
Anemometers and wind vanes measure wind speed and direction, which are easily disrupted by local turbulence. When wind hits an obstacle like a house, a tree, or a fence, it creates a turbulent wake zone on the leeward side and a compressed, high-speed zone over the top. To obtain clean, laminar flow measurements, the wind sensor should ideally be mounted 10 metres above the ground, though this is rarely practical for residential setups.
A reliable alternative rule of thumb is the 4x rule: place the anemometer at a horizontal distance from any obstacle that is at least four times the height of that obstacle. If you must mount it on a roof, it should clear the ridgeline by at least 1 to 2 metres to avoid the updrafts and turbulence created as wind hits the walls of the house and is forced upward.
Rain Gauge Alignment and Aerodynamic Drag
Precipitation measurement is highly susceptible to aerodynamic drag. Wind passing over the rim of a rain gauge creates low pressure and turbulence directly above the collector funnel, which can deflect lighter raindrops away from the opening. To minimise this effect, the rain gauge should be installed in a location protected from strong winds but away from overhead obstructions like tree branches or roof eaves, which can cause dripping or block rain completely.
The gauge must be perfectly level. Even a slight tilt of a few degrees alters the effective surface area of the collection funnel, leading to under-reporting of rainfall. Use a spirit level during installation and ensure the mounting post is structurally rigid, as vibrations from wind can trigger false readings in tipping-bucket mechanisms.
Sensor Integration and Maintenance Checklist
To ensure long-term data integrity, implement a regular maintenance schedule based on physical and mechanical checks:
- Level Verification: Check the rain gauge twice a year with a bubble level to ensure no shifting has occurred due to soil settling or wind load.
- Debris Clearing: Remove spiderwebs, leaves, and dust from the rain collector and the louvres of the radiation shield to maintain unimpeded airflow and water passage.
- Radiation Shield Inspection: Ensure the white surface of the thermometer shield remains clean; dirt accumulation increases solar absorption and skews temperature data upward.
- Anemometer Freedom: Check that the wind cups and vane spin freely without mechanical resistance from dust or bearing wear.





