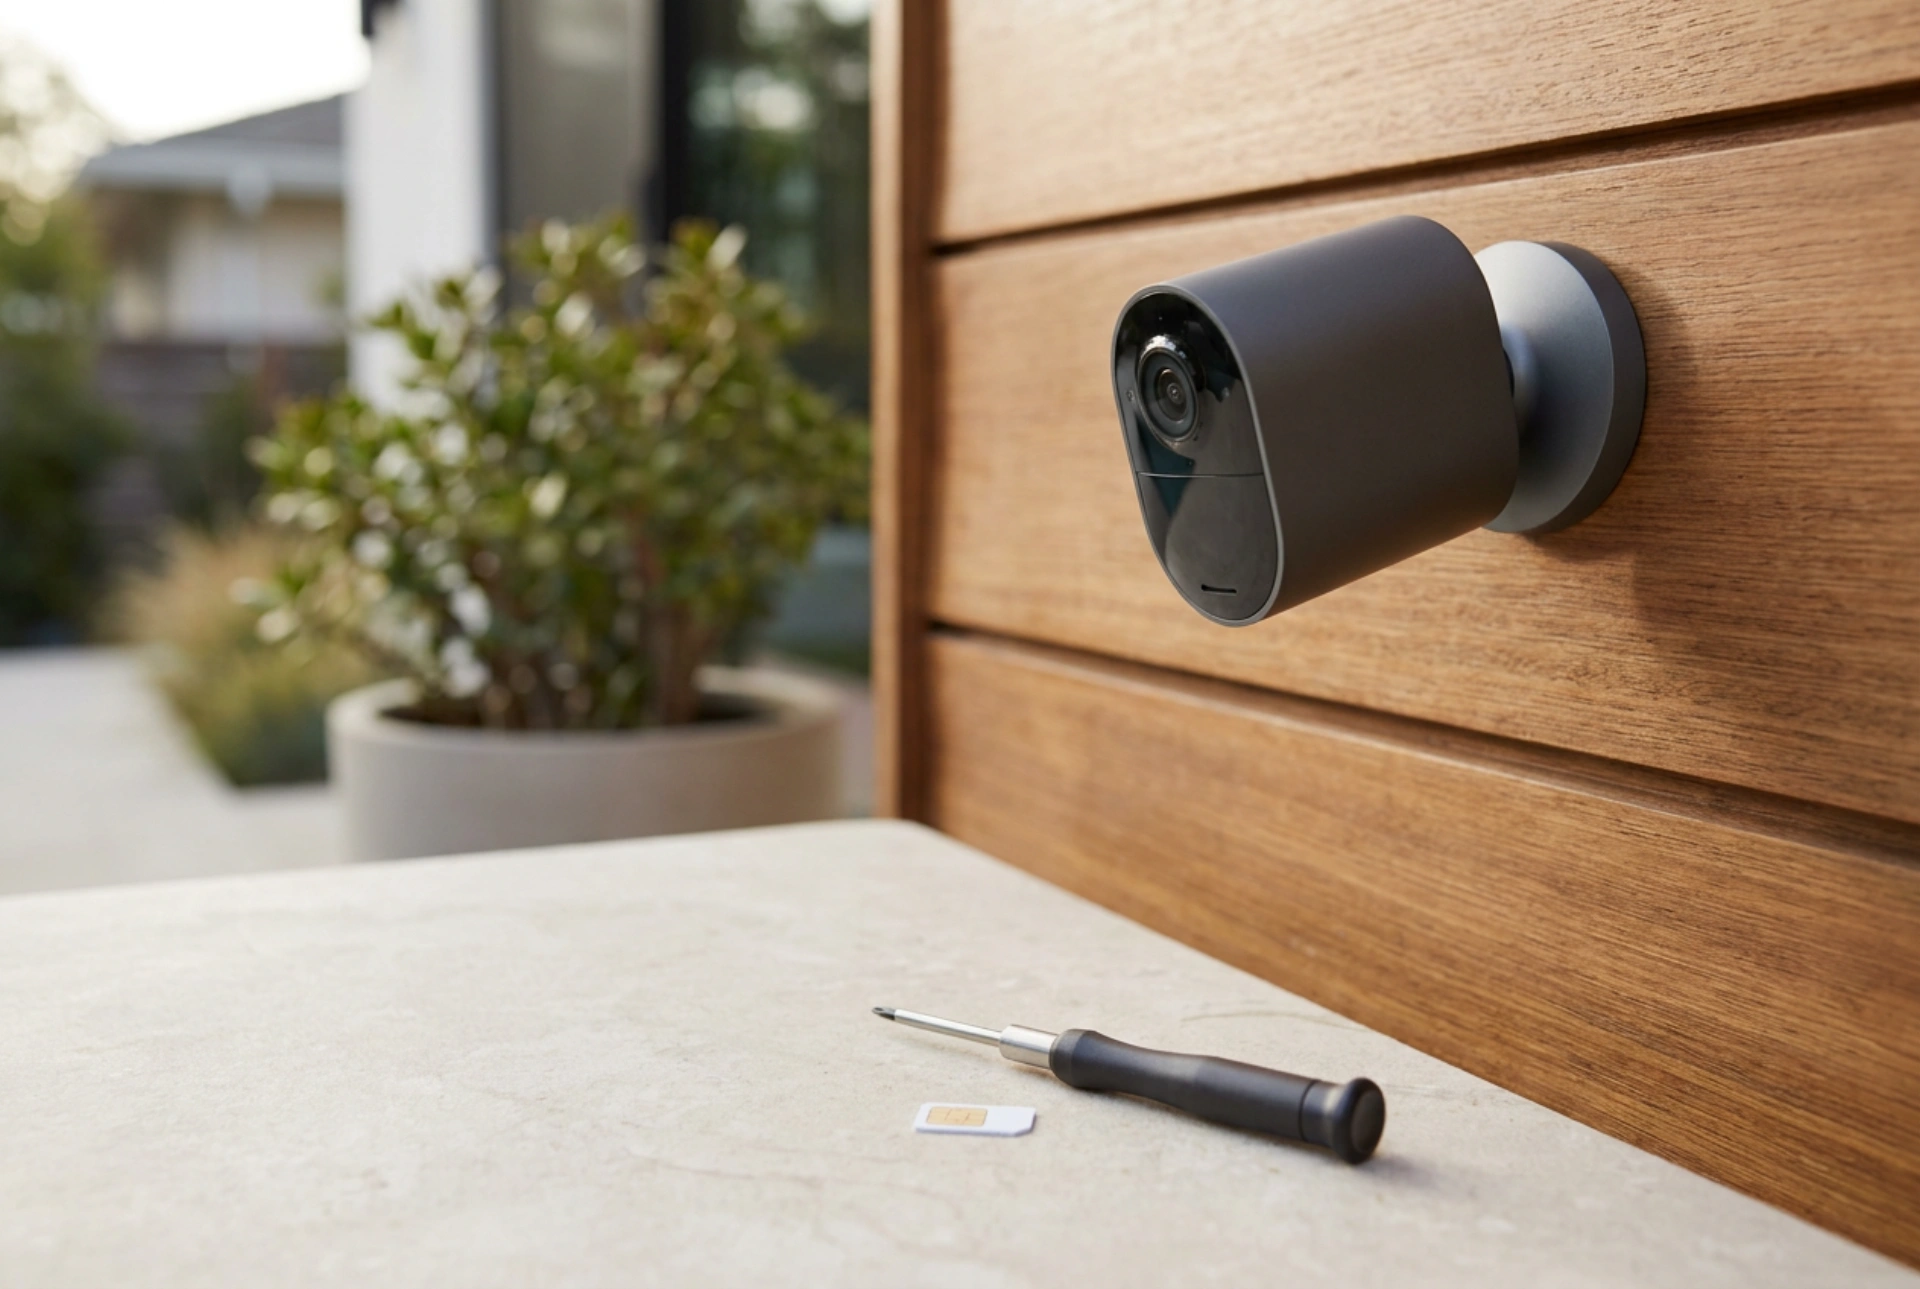


Setting up an outdoor security camera with a cellular SIM card ensures reliable surveillance in areas without Wi-Fi coverage, provided you understand the mechanical and network requirements.
Understanding Cellular Frequency and Signal Transmission
Standard Wi-Fi cameras rely on local wireless routers operating on 2.4 GHz or 5 GHz bands. A SIM card camera bypasses this local network entirely, communicating directly with nearby cellular towers using LTE, 4G, or 5G radio frequencies. For this system to function optimally, you must choose a cellular provider that offers robust coverage at the exact installation height and position. Before mounting the hardware, insert the SIM card into a mobile phone and stand at the intended camera location to verify that signal strength is stable and upload speeds are sufficient for video transmission.
Preparing and Activating the SIM Card
Proper preparation of the SIM card is essential to avoid connection failures during initialization. The security camera cannot navigate interactive prompt screens or input complex security codes. Therefore, you must first disable the PIN code lock on the SIM card. Insert the SIM into a smartphone, navigate to the security settings, and permanently turn off the PIN lock requirement. Additionally, ensure the cellular data plan is fully activated and has an active data allowance. A typical high-definition outdoor camera requires a consistent data plan, especially if set to continuous recording rather than motion-activated triggers.
The Physical Installation and Weatherproofing Sequence
Outdoor environments expose sensitive electronic terminals to moisture, temperature fluctuations, and dust. Before mounting, locate the camera's card slots, which are usually protected by a heavy-duty rubber gasket or a screwed-down metal plate. Ensure your hands and the workspace are completely dry. Insert the SIM card and, if applicable, a local storage MicroSD card into their respective slots, paying close attention to the orientation diagrams printed on the housing. When sealing the compartment, tighten the screws in a crosswise pattern to apply even pressure to the rubber gasket. This prevents moisture ingress caused by uneven seal compression.
Optimizing Power Management and Solar Alignment
SIM card cameras are often installed in remote locations where mains electricity is unavailable, relying instead on rechargeable internal batteries and small solar panels. Cellular data transmission requires significantly more electrical current than standard Wi-Fi transmission. To prevent rapid battery depletion, position the accompanying solar panel to face due south (in the Northern Hemisphere) at an angle of 30 to 45 degrees, depending on your latitude. This maximizes solar irradiance throughout the year. Keep the camera and solar panel cables routed downward to form a "drip loop," which prevents rainwater from running along the cable directly into the electrical connection ports.
Configuration and Network Fine-Tuning
Once powered on, the camera will search for the cellular network. Most modern devices automatically detect the Access Point Name (APN) settings of major carriers. If the connection fails, connect your smartphone to the camera’s temporary local hotspot or use its companion application to input the APN settings manually. To conserve both battery power and cellular data, configure the software settings to trigger recording only when the passive infrared (PIR) sensor detects physical heat signatures, rather than relying on continuous video stream analysis, which consumes high amounts of electricity and bandwidth.





