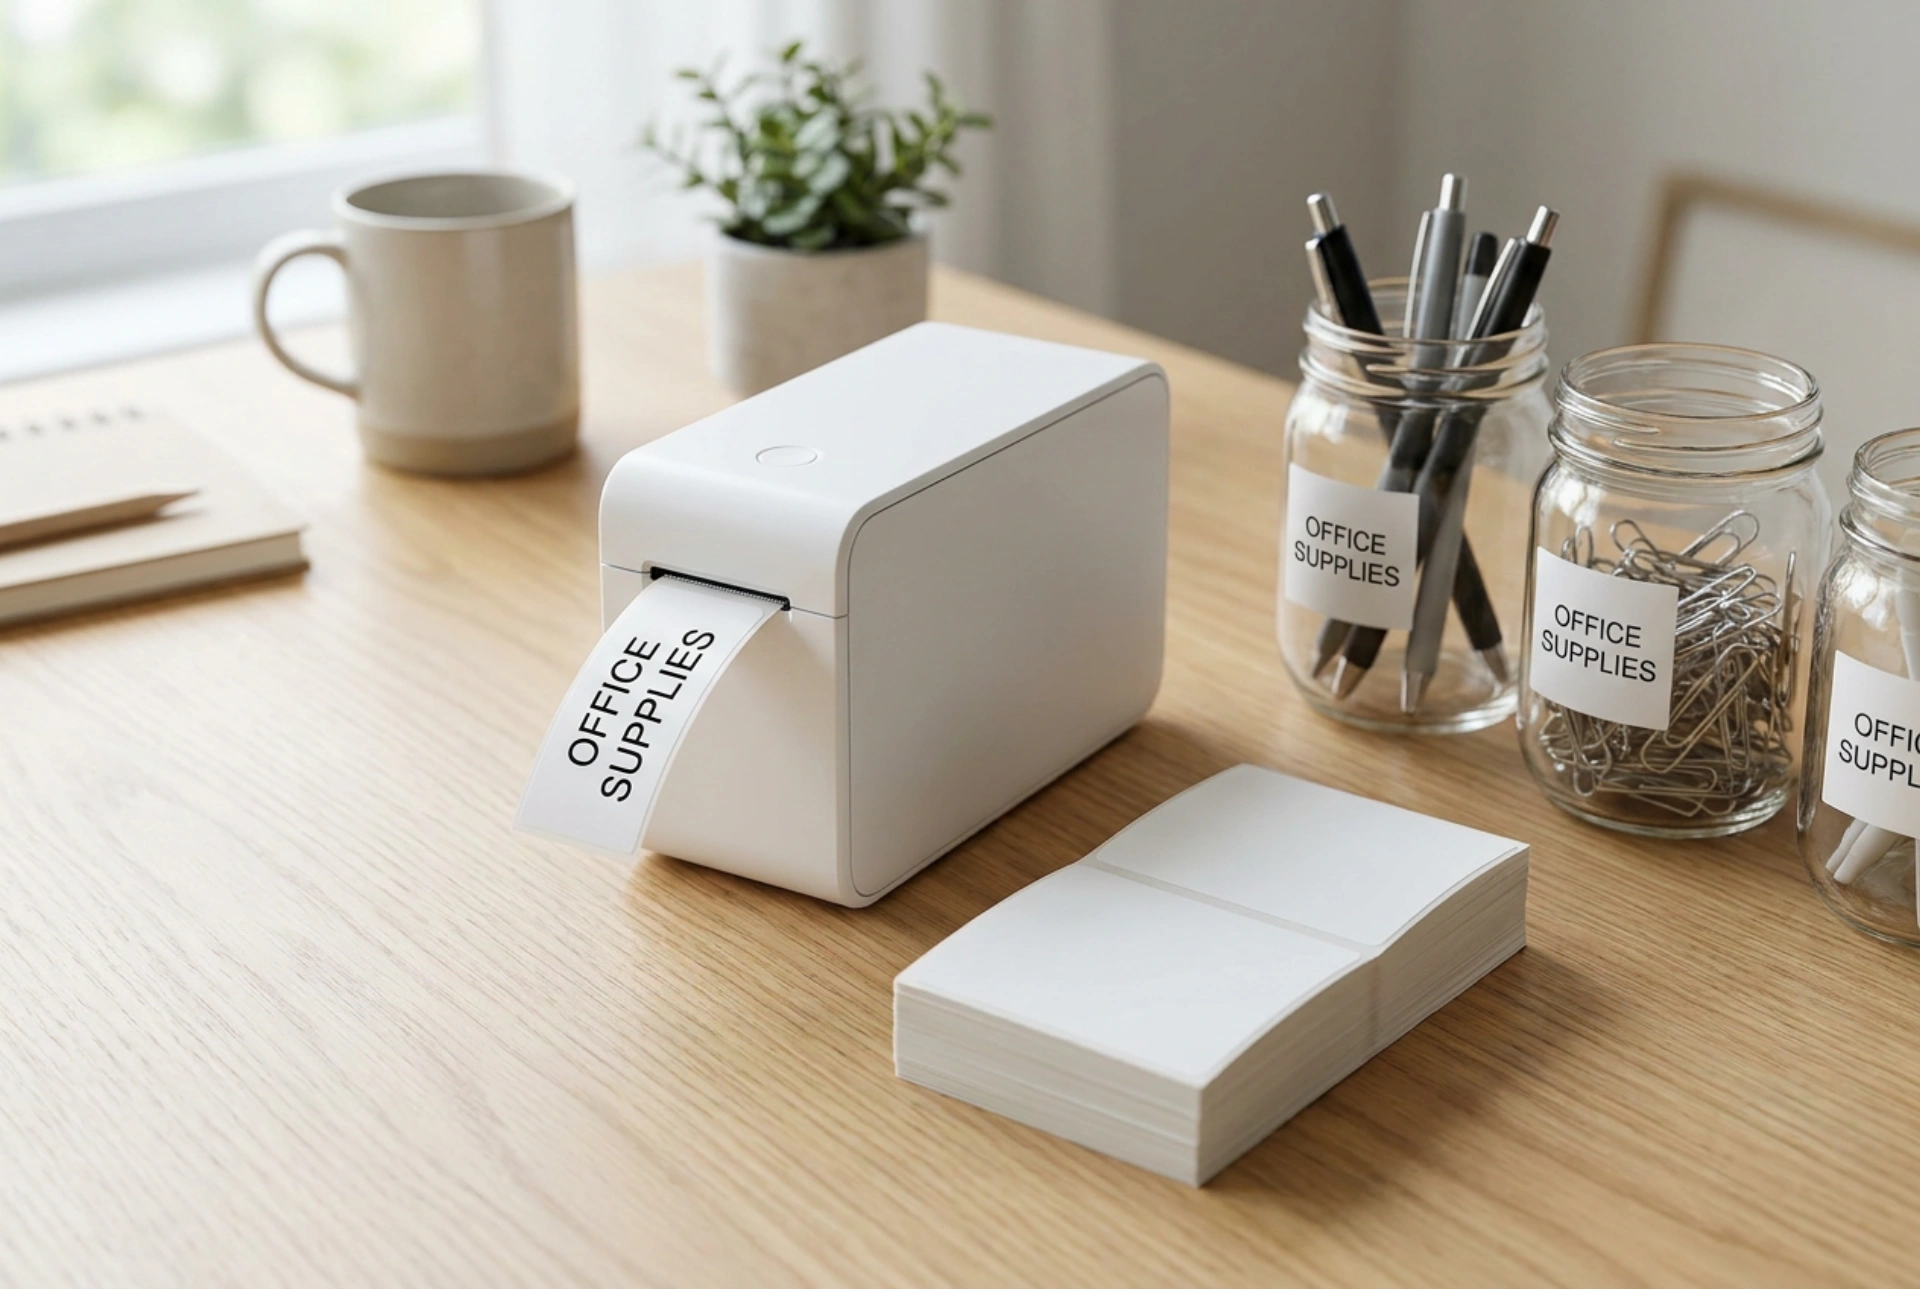


Achieving perfectly aligned, crisp labels on a standard home printer requires understanding the physics of paper feed mechanisms and the chemistry of adhesive materials.
The Mechanics of Paper Feed and Alignment
Home printers rely on rubber rollers to pull sheets from the input tray. Any variance in the grip of these rollers leads to skewed printing, which ruins pre-cut label sheets. To prevent this, always clean the feed rollers using a lint-free cloth lightly dampened with isopropyl alcohol to remove paper dust and adhesive residue. When loading label sheets, fan the pages to break any static bond, and adjust the paper width guides tightly against the stack without buckling the sheets. Always feed label sheets from the manual bypass tray if your printer has one, as this provides a straighter paper path, reducing the physical bending that causes labels to peel off prematurely inside the machine.
Understanding Printer Technology: Inkjet vs. Laser
The type of printer you use dictates the chemical behavior of the label surface and the binding agent. Inkjet printers deposit liquid ink droplets onto the surface. For sharp text, you must use coated inkjet-specific label sheets; uncoated paper allows the liquid ink to bleed along the paper fibers through capillary action, resulting in blurry edges. Laser printers use heat and pressure to fuse plastic toner powder onto the sheet. When printing with a laser printer, you must select the "Heavy Paper" or "Labels" setting in your print dialogue. This adjustment slows down the printing speed and increases the fuser temperature, ensuring the toner melts completely and bonds permanently with the label material without melting the adhesive backing.
Template Calibration and Digital Settings
Digital misalignment is often caused by automatic scaling settings in PDF readers and word processors. When sending your label document to print, always set the page scaling option to "Actual Size" or "100%". Never use the "Fit to Page" or "Shrink Oversized Pages" options, as these alter the precise millimeter measurements of the label template. Before printing on expensive adhesive sheets, perform a calibration test: print the template onto a standard sheet of plain paper, place it directly over the label sheet, and hold both up to a strong light source to verify that the borders align perfectly with the die-cut edges.
Handling and Applying Labels for Longevity
The adhesive backing on labels is pressure-sensitive and susceptible to oils from human skin. Before applying labels to any surface, clean the target area thoroughly with isopropyl alcohol to remove grease and dust, and allow it to dry completely. Peel the label from the backing sheet by holding it at the very edges to minimize contact with the adhesive. Apply the label starting from the center and press outward using a soft plastic squeegee or a clean cloth. This motion forces out trapped air and ensures 100% surface contact, which activates the pressure-sensitive chemical bond for a flat, bubble-free finish.





