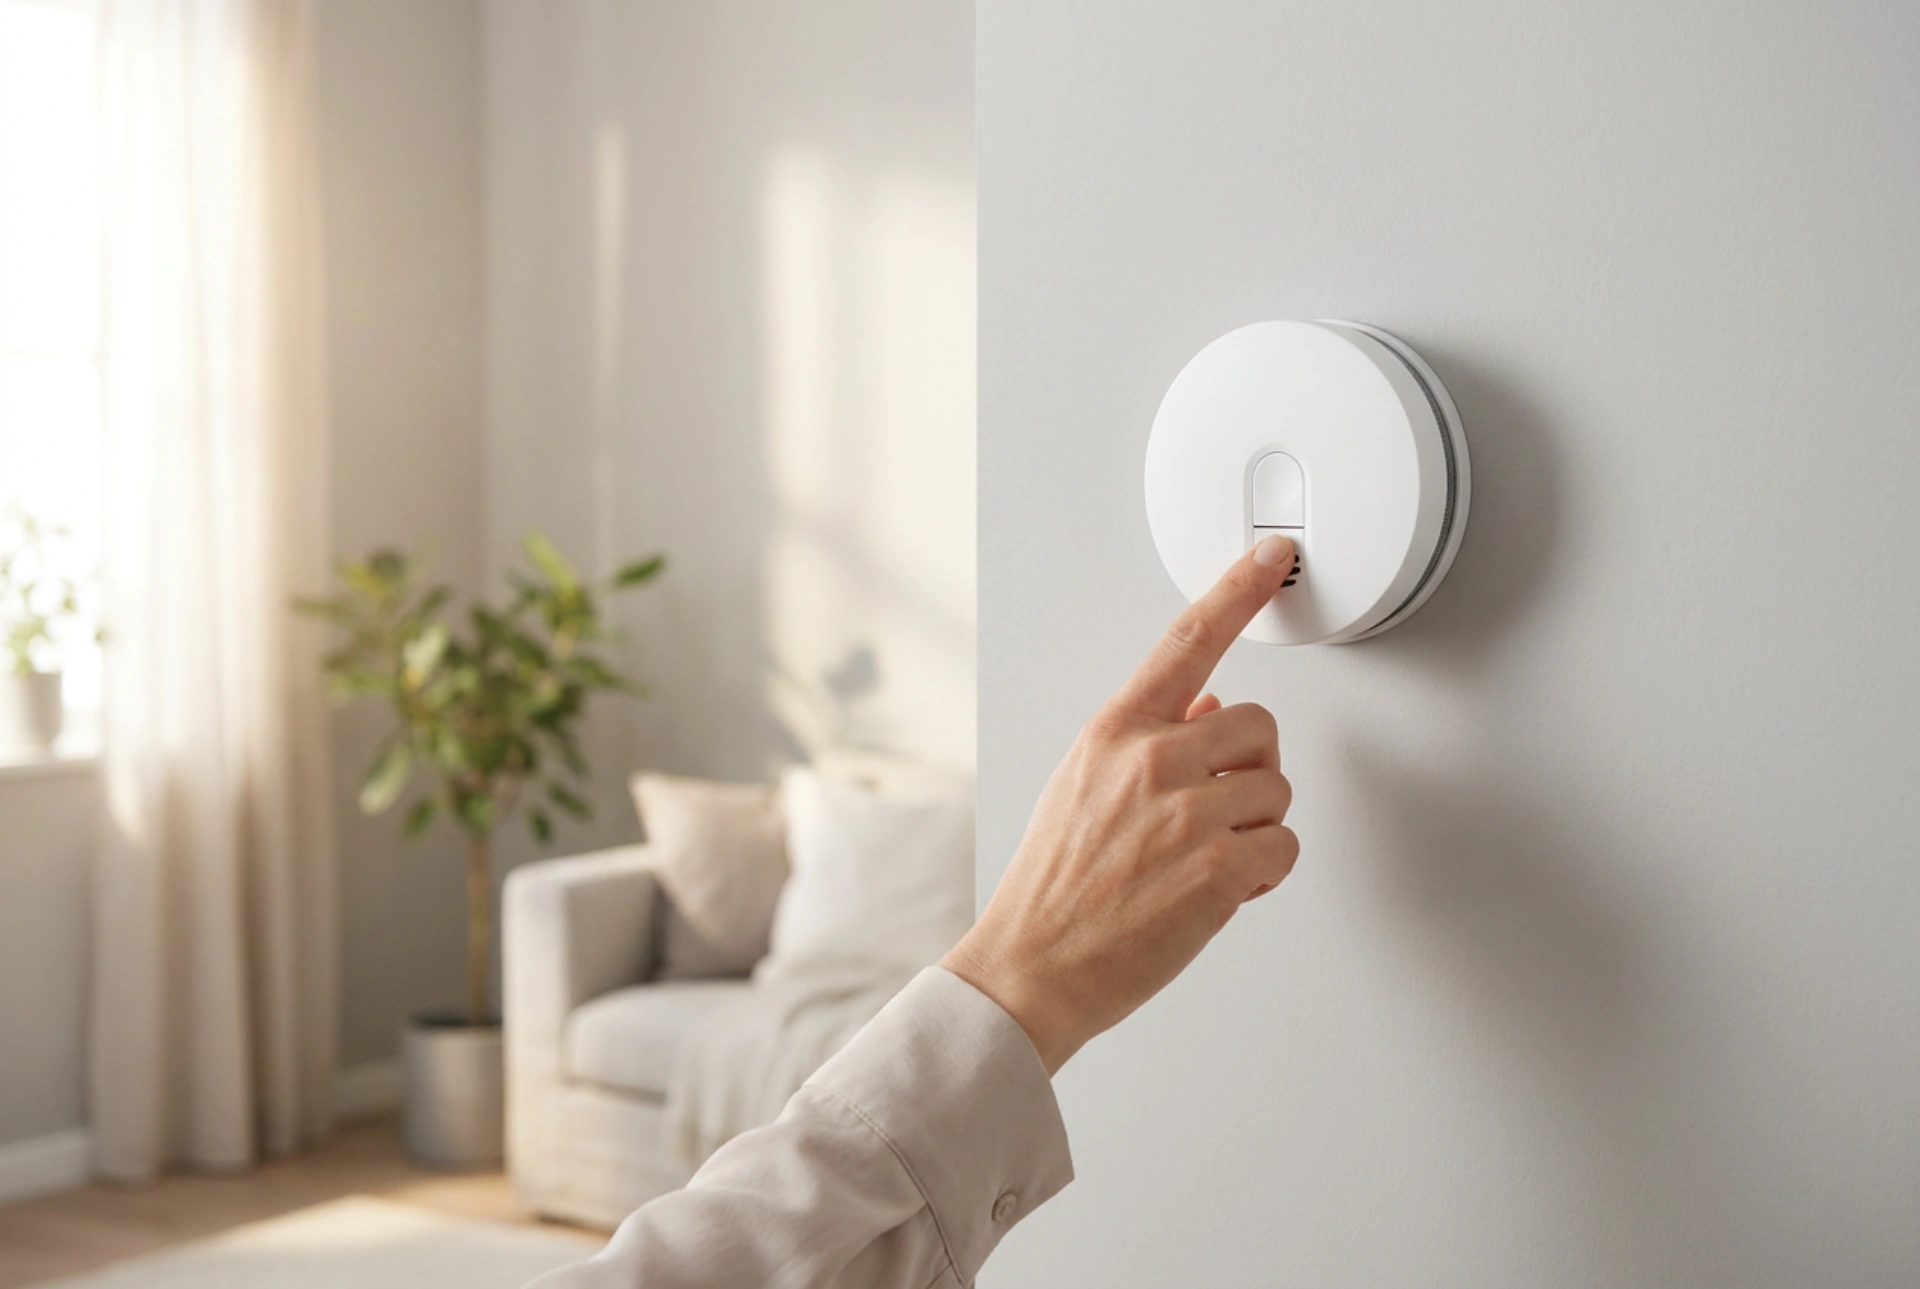


Ensuring your newly installed smoke and carbon monoxide (CO) detectors are fully operational is the single most important step in establishing your home safety network.
The Critical First Test: Establishing a Baseline
Immediately after mounting your detectors, you must run the initial diagnostic sequence. This test verifies that the power source is correctly connected, the internal circuitry is functioning, and the audible alarm transducer can reach its required decibel level. To perform this, press and hold the physical test button on the cover for at least five seconds. You should hear a piercing, high-frequency pattern. This sound confirms that the microchips and the piezo-ceramic speaker are communicating. If the device remains silent, disassemble the unit to check for a common installation oversight: a remaining plastic battery pull-tab or misaligned polarities on the battery contacts.
Simulating Reality: Aerosol Testing for Smoke Sensors
The physical test button only checks the electronic circuitry, not the actual sensing chamber. To ensure the physical detection mechanism works, you must simulate the presence of airborne particles. For photoelectric smoke alarms, which use a light source and a light-sensitive sensor at a right angle, you need physical particles to scatter the light beam onto the sensor. Avoid using real matches or paper flames, as open fire inside the house is a safety hazard and can deposit greasy soot inside the clean chamber, permanently desensitising the device. Instead, use a specialized, non-flammable aerosol smoke simulator. Direct a short, one-second burst of the spray from a distance of about thirty centimetres towards the sensor vents. The alarm should trigger within seconds. Once verified, clear the chamber by waving a piece of cardboard to restore clean airflow.
The Chemical Challenge: Testing Carbon Monoxide Sensors
Carbon monoxide detectors operate using electrochemical cells. Inside the sensor, CO molecules undergo a chemical oxidation reaction, converting carbon monoxide to carbon dioxide at a sensing electrode. This reaction generates an electrical current directly proportional to the gas concentration. Because CO is invisible, odourless, and lethal, relying solely on the electronic test button is not recommended for post-installation validation. To safely test the sensor's chemical reactivity, use a specialized CO test kit containing a small canister of highly diluted, safe-grade carbon monoxide gas. Place the protective enclosure over the detector, inject a small amount of the test gas according to the manufacturer's volume guidelines, and observe the response time. The sensor should register the presence of the gas and sound the alarm, proving the catalyst inside the electrochemical cell is active and untarnished.
Regular Maintenance and Interference Prevention
Post-installation verification is not a one-time event; environmental factors can quickly degrade sensor performance. Dust, drywall powder from installation, and tiny insects can enter the sensing chambers, leading to false alarms or sensor failure. Clean the exterior and the immediate surrounding wall or ceiling area with a soft brush attachment on a vacuum cleaner every month. Never use chemical aerosol sprays, household detergents, or paint near the detectors, as the volatile organic compounds (VOCs) can permanently poison the catalytic layer in CO sensors or coat the optical lenses of smoke detectors, rendering them useless without triggering an error code.





