


Organising a large photo album requires more than just aesthetic placement; it demands an understanding of material preservation and structural physics to ensure your memories survive degradation over time.
The Science of Photo Degradation: Acid, Lignin, and Adhesive Failure
To preserve photographs long-term, it is essential to understand the chemical vulnerability of the materials involved. Standard paper contains lignin, an organic polymer that breaks down over time into acidic compounds when exposed to light, heat, and oxygen. This acid migrates into adjacent photographs, causing yellowing, brittleness, and loss of image detail. Furthermore, old-fashioned adhesive tapes and rubber cements undergo a process called cross-linking, which causes them to dry out, turn brown, and chemically attack the photographic emulsion layer. To prevent this, always select albums certified as acid-free and lignin-free. Choosing materials with a neutral pH ensures that the chemical composition of the backing paper remains stable, preventing chemical migration and shielding the silver halide or dye-based print layers from deterioration.
Mechanical Mounting: The Advantages of Archival Corners
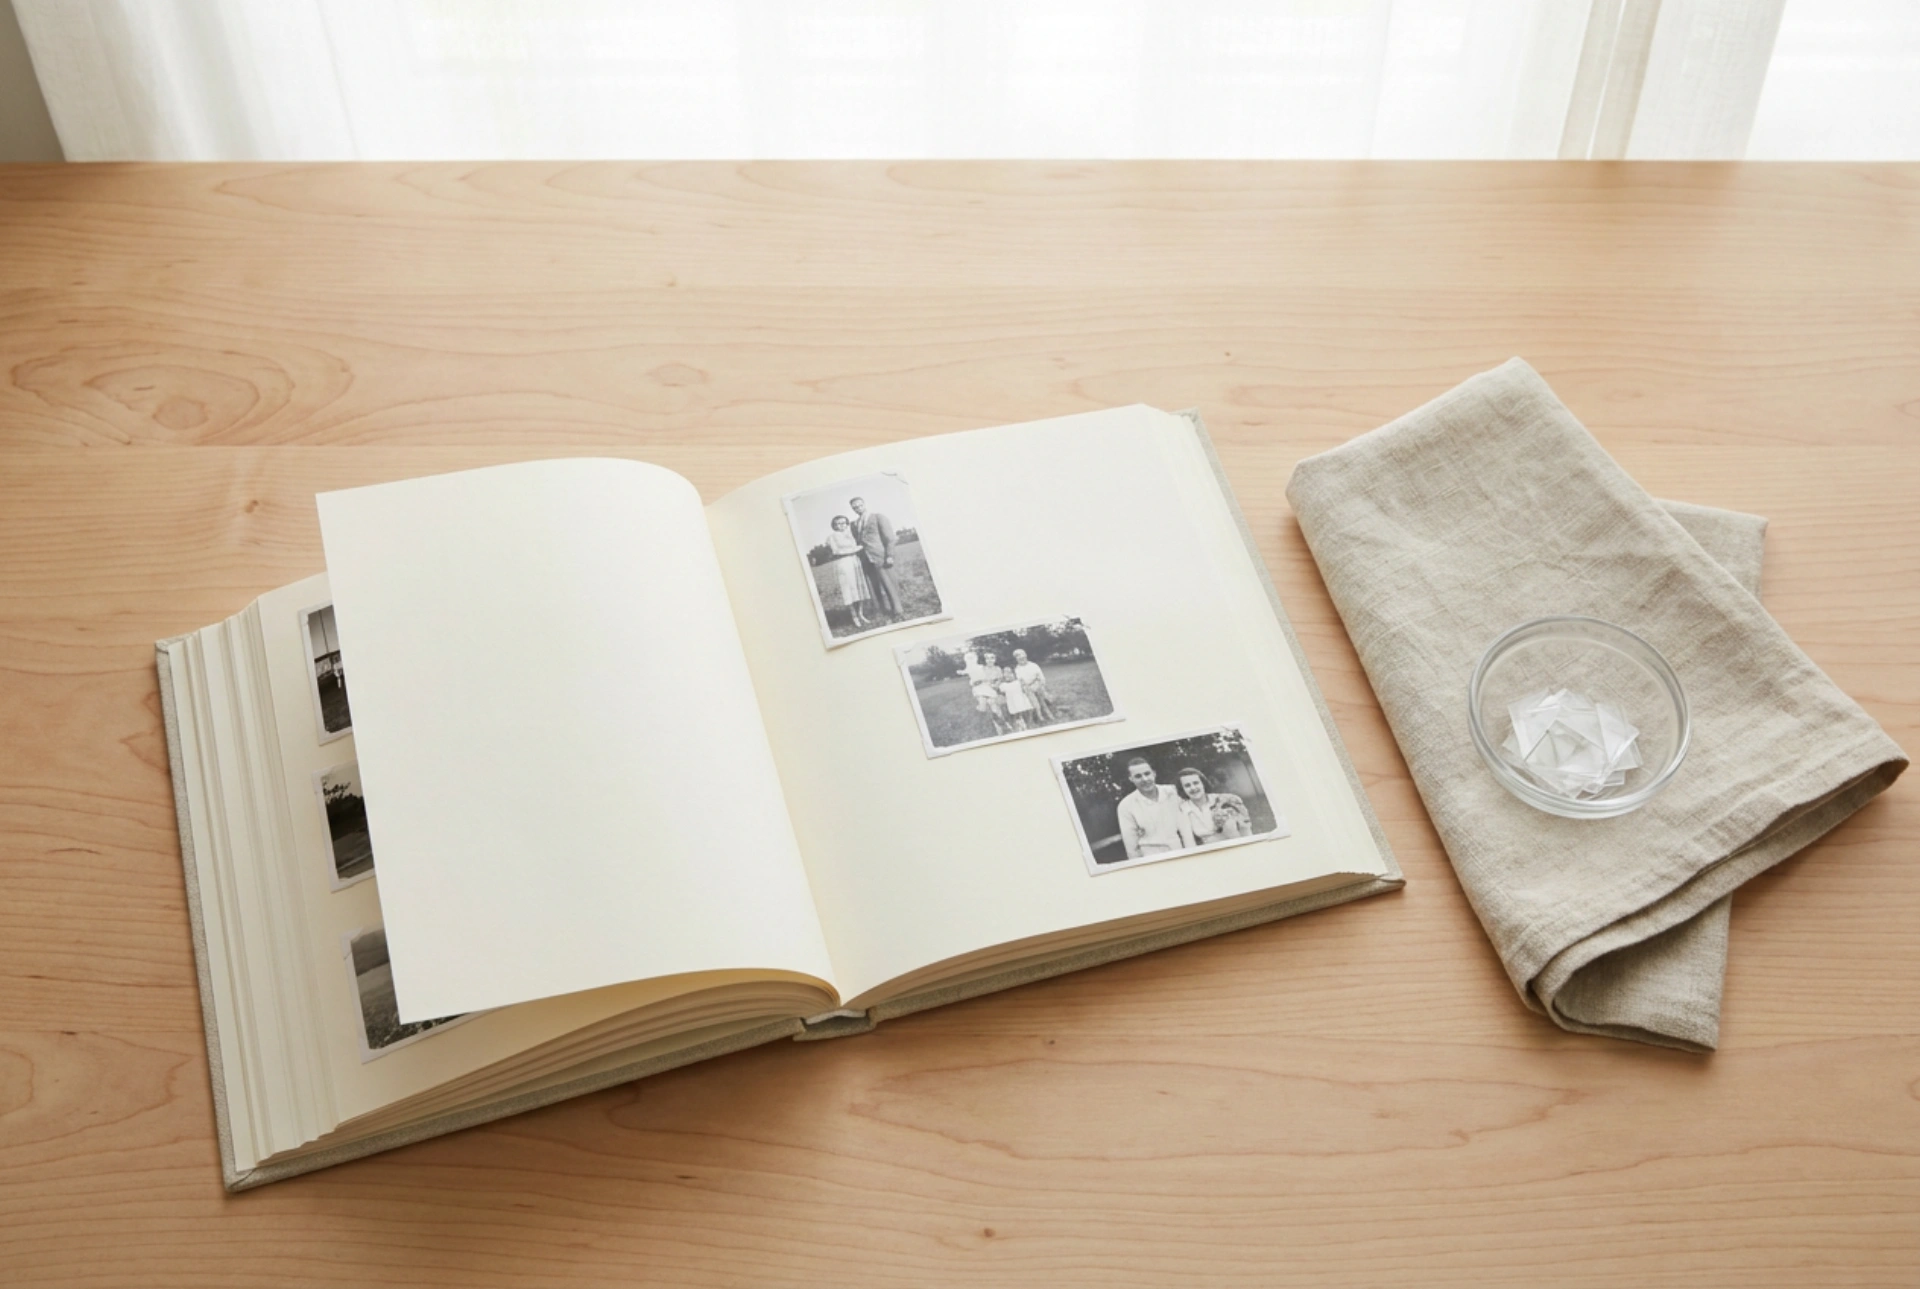
Adhering photographs directly to a page with wet glue or double-sided tape restricts the natural physical movement of materials. Photographic paper and backing paper are hygroscopic, meaning they absorb and release moisture from the air. When relative humidity fluctuates, these materials expand and contract at different rates. If a photograph is permanently glued flat to a backing sheet, these unequal expansion coefficients cause physical stress, leading to warping, buckling, or surface cracking of the photo emulsion. The solution lies in mechanical mounting using archival-quality corners made of inert plastics such as polyester or polypropylene. These corners hold the photograph securely in place through physical tension rather than chemical bonding. This design creates a mechanical slip-joint, allowing the photograph to expand and contract independently of the page, while ensuring the mounting remains entirely reversible without damaging the print.
Structural Balance and Weight Distribution in Large Albums
Large, heavy-duty albums are highly susceptible to mechanical wear along their spines and bindings. A common mistake is clustering too many heavy prints on one side of a page or concentrating bulk in a single section of the album. This uneven distribution shifts the physical centre of gravity, creating high torque on the binding system whenever the album is opened or stored vertically. Over time, this stress warps the spine and causes pages to sag or tear from their mountings. To counteract these physical forces, apply a balanced grid layout. Alternate the placement of larger, heavier prints across opposite pages to distribute the physical mass evenly. Additionally, inserting thin, acid-free glassine paper sheets between pages acts as a protective barrier, reducing surface friction and preventing photos on opposing pages from sticking to each other or transferring dyes under pressure.
Handling Techniques and Microclimate Management
Human skin naturally produces oils, sweat, and amino acids which are slightly acidic. When raw photographs are handled with bare hands, these lipids transfer directly onto the emulsion, attracting airborne dust and micro-fungal spores. Over time, these contaminants trigger silver mirroring—a chemical reaction where silver ions in the photographic emulsion migrate to the surface and oxidise, forming a reflective, metallic haze. Always handle photographs by their outer edges, or wear lint-free cotton or nitrile gloves. Once assembled, store the album in a controlled microclimate. High humidity (above 60%) softens gelatin emulsions and promotes mould growth, while low humidity (below 30%) makes paper fibers and gelatins brittle. Maintain a stable relative humidity between 30% and 50%, and store the album flat rather than vertically to eliminate downward gravitational pull on the pages.
A Step-by-Step Archival Assembly Protocol
To systematically organize your photo album, follow this precise sequence:
- Preparation: Thoroughly clean and dry a flat, non-porous working surface. Dust the surface with a dry microfibre cloth to remove any abrasive particles that could scratch the photographic emulsion.
- Sorting and Curation: Categorise your photographs chronologically or thematically on a separate surface before committing them to the album pages. This eliminates the need to reposition mounted elements later.
- Dry Fitting: Place the photos loosely on the album page to establish a balanced visual and physical layout, ensuring equal weight distribution across the binding.
- Applying Corners: Slide the archival corners onto the corners of the photograph first, then carefully press the adhesive-backed corners onto the album page. This technique guarantees perfect alignment and prevents any adhesive from contacting the photograph itself.
- Interleaving: Place a sheet of acid-free glassine paper between the finished pages to isolate opposing sides and protect the emulsion from friction.