


Measuring for a top-loading washing machine requires looking beyond the static dimensions printed on the manufacturer's specification sheet. Unlike front-loading models, these appliances operate within a dynamic spatial envelope that requires vertical, lateral, and rear clearance to prevent mechanical wear, structural noise, and plumbing failures.
The Vertical Envelope: Measuring Lid Arc and Ergonomic Access
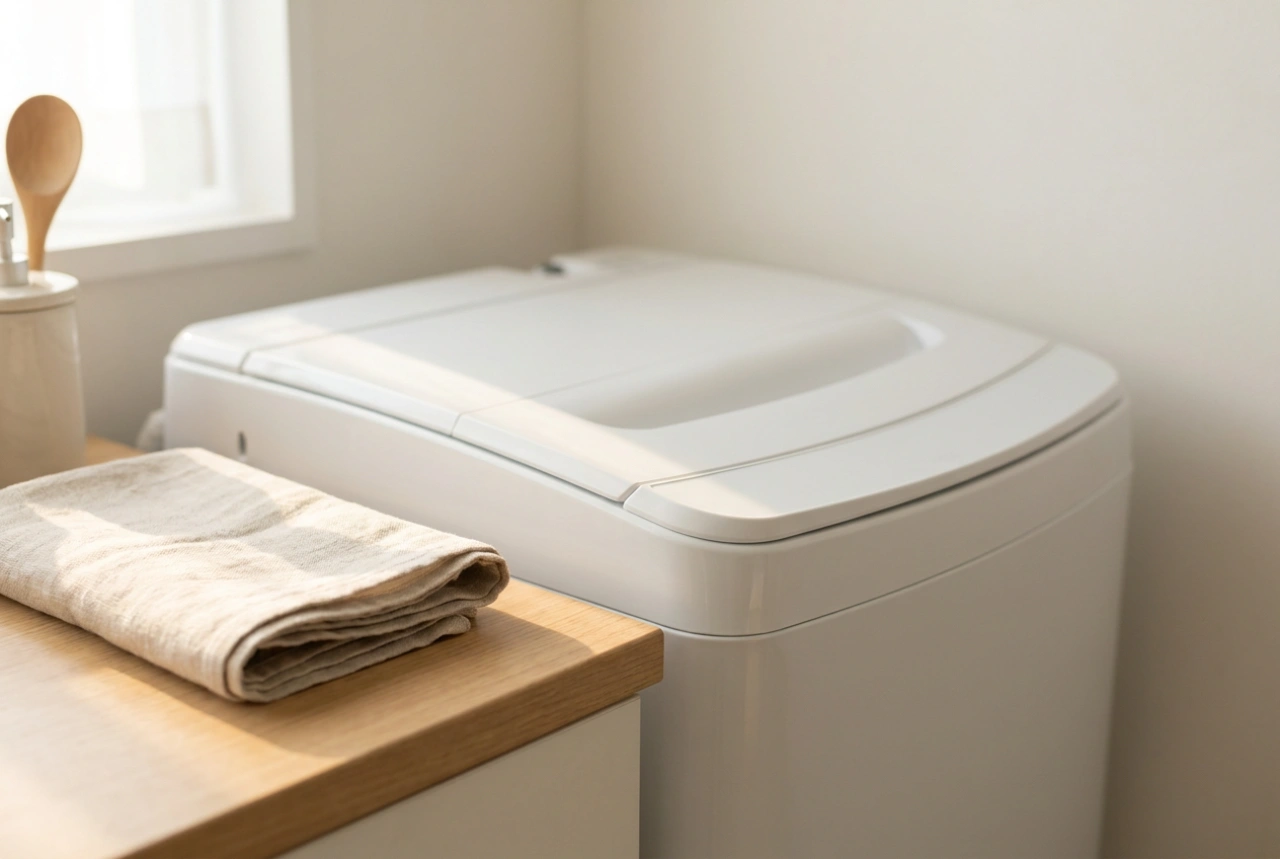
The defining characteristic of a top-loading washing machine is its top-hinged lid. When measuring the height of your designated space, you must calculate two distinct vertical values: the static height with the lid closed and the dynamic height with the lid fully open. Failing to account for the open lid is one of the most common installation errors, particularly in utility rooms with low-hanging cabinetry, boilers, or shelving.
To determine the necessary vertical clearance, measure from the floor to the top panel of the machine, then add the full length of the lid itself. Most lids open to an angle of 90 degrees or slightly more. For example, if a machine is 90 centimetres tall and the lid is 40 centimetres deep, you require a minimum clearance of 130 centimetres of unobstructed vertical space. Additionally, factor in your own hand clearance; you need at least 10 to 15 centimetres above the fully opened lid to comfortably load and unload heavy, water-logged textiles without scraping your knuckles against shelves or ceilings.
The Kinetic Buffer: Accounting for Vibration and Spin Dynamics
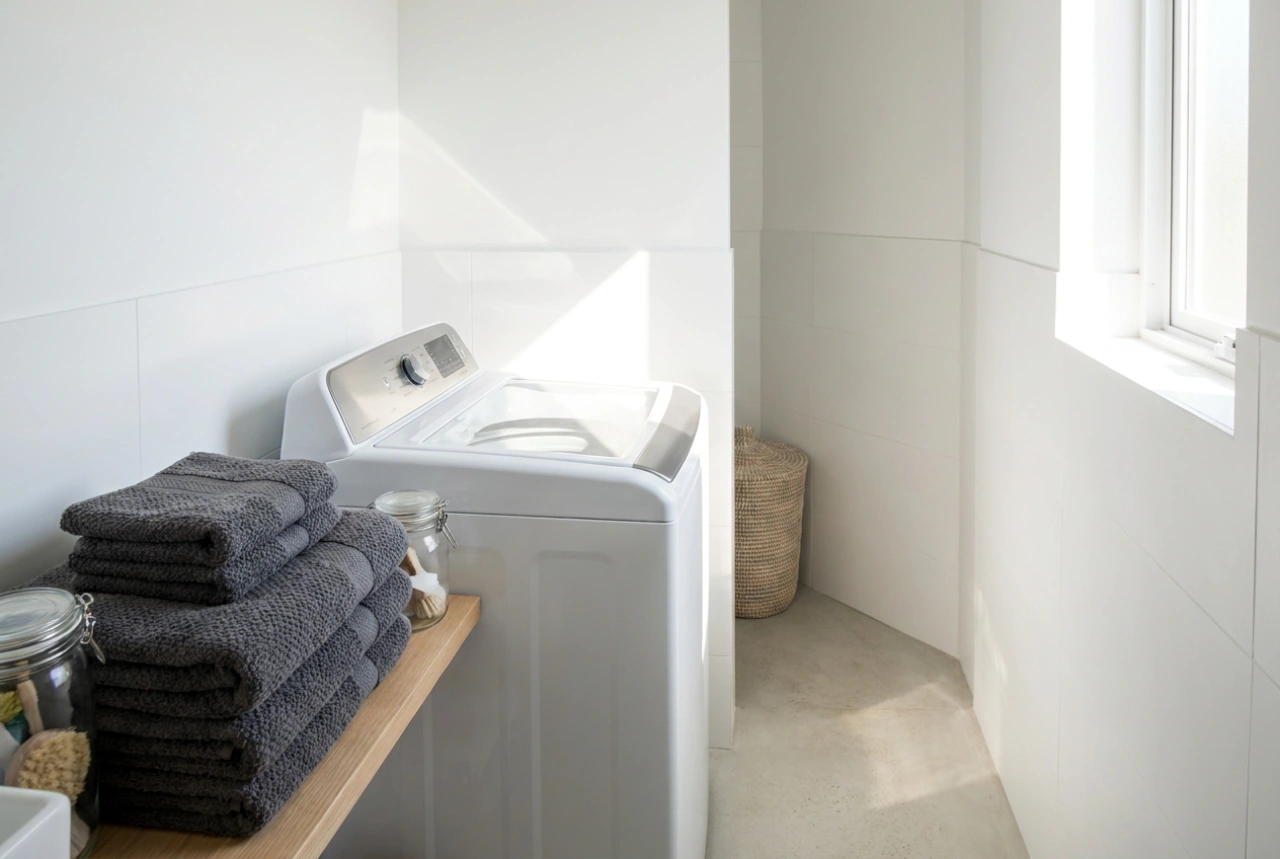
Washing machines are subject to intense kinetic forces during the spin cycle, where drum speeds can exceed 1200 revolutions per minute. Centrifugal force, especially during uneven load distribution, causes the entire chassis to vibrate and shift slightly on its suspension. If a top-loader is packed tightly between walls or kitchen units, these physical oscillations will transfer directly into your home's structure, causing loud drumming noises and potential structural damage.
To mitigate this kinetic transfer, you must maintain a physical buffer. Allow a minimum of 2.5 centimetres (approximately one inch) of free space on both the left and right sides of the appliance. This lateral gap ensures that even during high-velocity spins, the steel cabinet of the machine does not strike adjacent surfaces. Furthermore, ensure the floor beneath the machine is perfectly level and rigid; a concrete floor is ideal, as timber joists can flex, amplifying vibrations and increasing the required clearance margins.
The Utility Zone: Rear Clearance for Hoses and Electrical Connections
The depth of a washing machine is never just the depth of the metal cabinet. The rear of the appliance houses critical utility connections: the cold water inlet valve, the flexible corrugated waste hose, and the mains power cable. These components require physical space to function safely and efficiently without being crushed or kinked.
Water inlet hoses are reinforced to withstand high mains pressure, but they are susceptible to damage if bent at sharp angles. Bending a hose too tightly restricts water flow and creates high-pressure stress points that can lead to catastrophic bursts over time. Similarly, the drain hose needs sufficient space to form a smooth U-bend to prevent back-siphoning of wastewater. Always allow a buffer of 7 to 10 centimetres behind the machine to accommodate these connections safely. If your plumbing pipes protrude from the wall rather than being recessed, you must measure from the outermost edge of those pipes rather than the flat wall itself.
Step-by-Step Measurement Protocol for a Secure Fit
To ensure a flawless installation, follow this systematic measurement sequence with a reliable steel tape measure:
- Width: Measure the narrowest point of the installation gap (often between skirting boards, not just wall-to-wall). Add 5 centimetres of total clearance (2.5 cm per side).
- Depth: Measure from the back wall (or the front of protruding pipework) to the front edge of the space. Ensure you have at least 10 centimetres of rear clearance plus the depth of the appliance itself.
- Height: Measure from the floor to the lowest obstruction above (shelves, boilers, cupboards). Compare this to the height of the machine with the lid fully retracted at a 90-degree angle, leaving a margin for your hands.
- Access Pathway: Do not forget to measure the doorways, hallways, and tight corners leading to the installation site to ensure the machine can physically reach its destination.