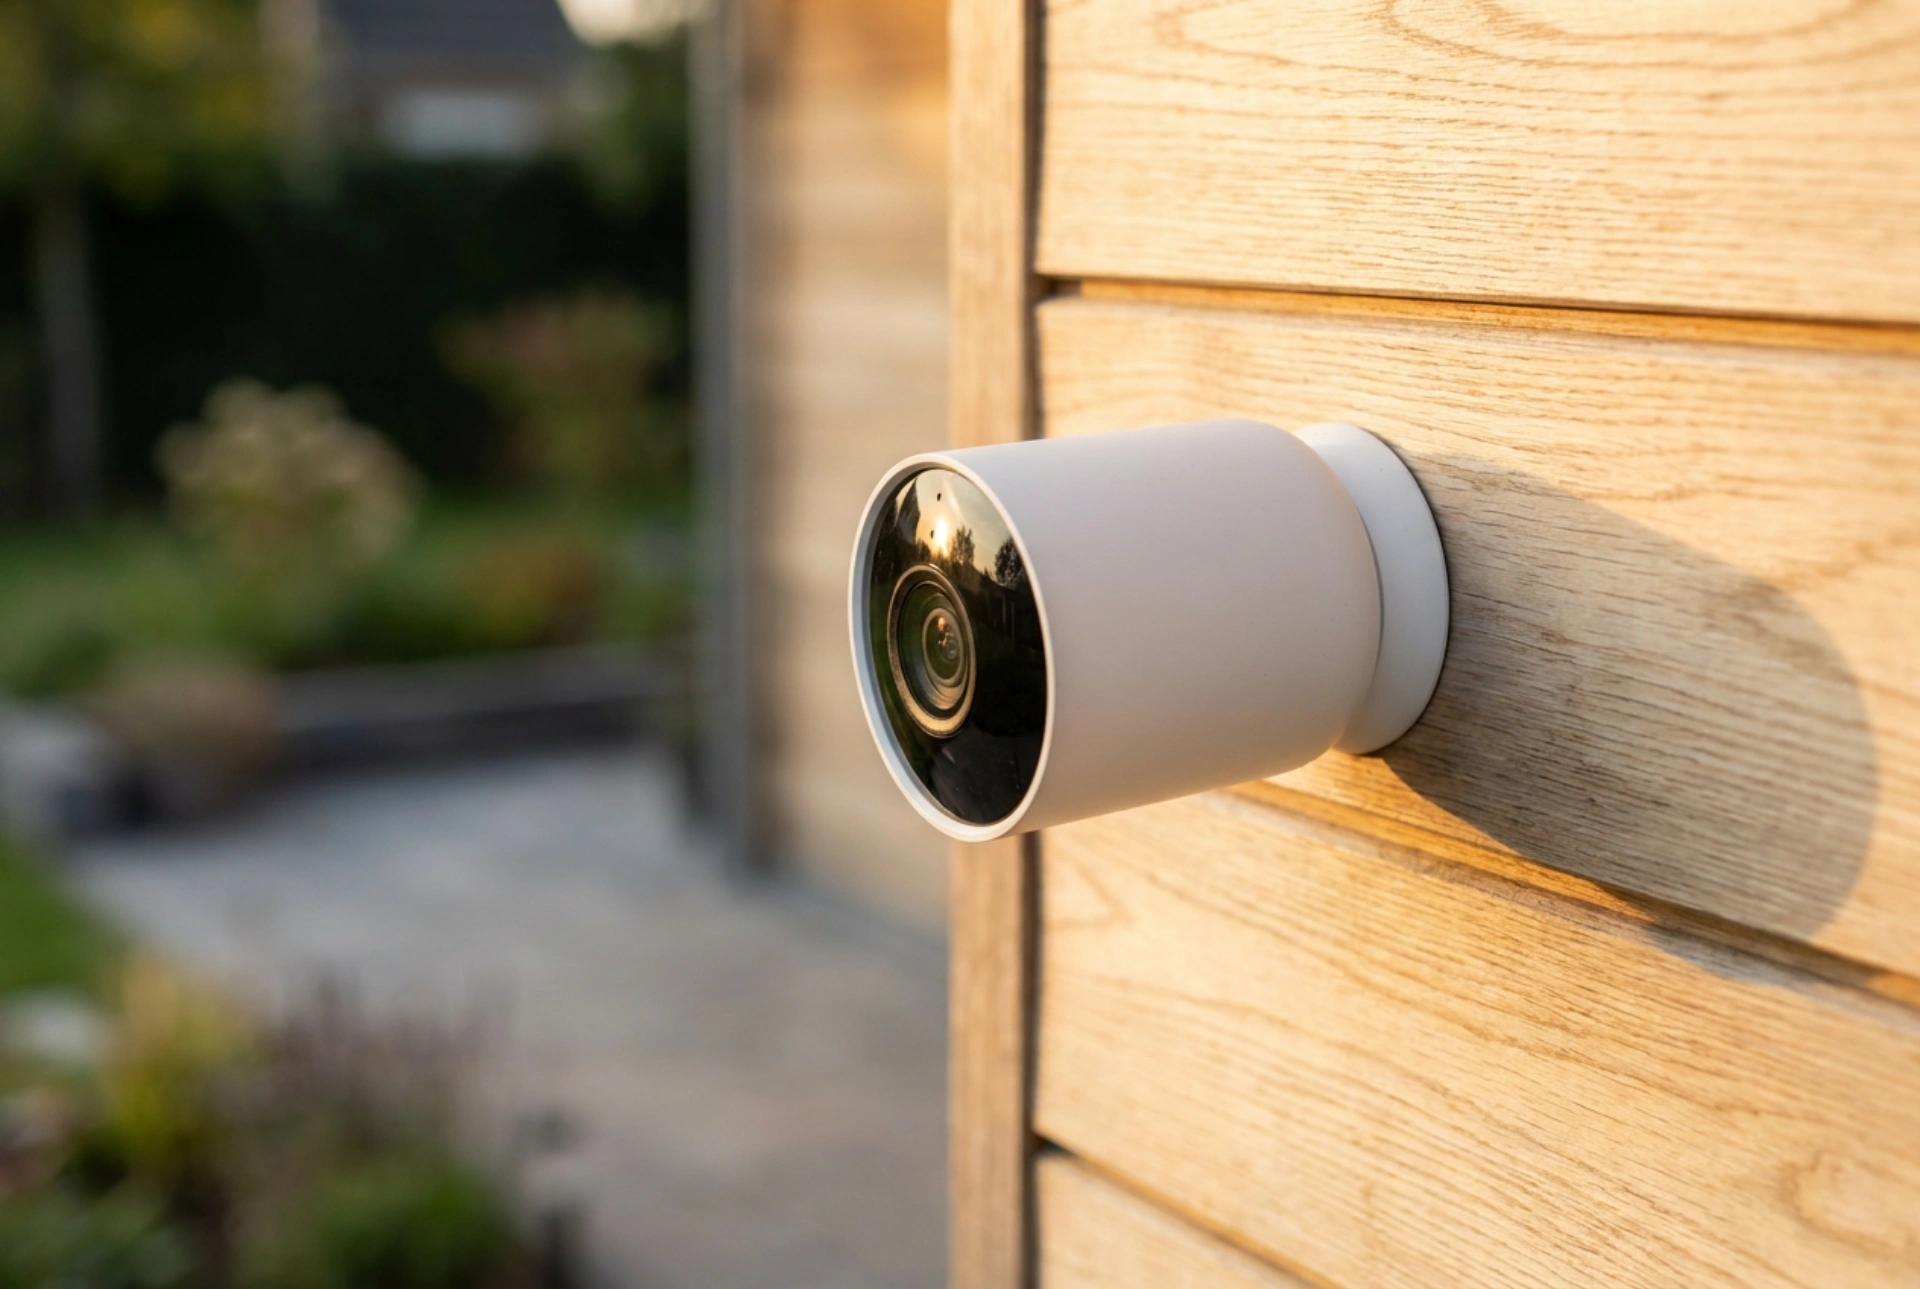


Optimising the battery life of an outdoor Wi-Fi security camera requires a systematic approach to hardware configuration, network physics, and environmental factors. By addressing the root causes of energy depletion, you can significantly extend the interval between charges without compromising your property's surveillance.
The Physics of Wi-Fi Signal Resistance
Every barrier between your wireless router and the outdoor camera forces the camera's internal transmitter to increase its transmission power. When a Wi-Fi signal must penetrate dense building materials such as brick, concrete, stone, or foil-backed insulation, the electromagnetic waves attenuate severely. To maintain a stable connection, the camera's radio frequency transceiver draws significantly more milliampere-hours from the battery.
To combat this, perform a network site survey. Repositioning the router or access point even slightly can clear a direct path through less dense materials like wood or glass. If physical repositioning is not possible, installing a dedicated outdoor access point closer to the camera reduces the transmission distance. This allows the camera to operate in a low-power wireless state, dramatically lowering its daily energy consumption.
Calibrating Passive Infrared Sensors
Most wireless cameras use Passive Infrared (PIR) sensors to detect motion. These sensors detect changes in infrared radiation (heat signatures) within their field of view. When a warm object moves across the sensor's optical zones, the camera wakes up from its low-power sleep state to record and transmit data.
False triggers from swaying vegetation, passing vehicles, or sudden temperature changes caused by moving clouds cause frequent wake-up cycles, which are the primary driver of rapid battery drain. To prevent this, physical adjustment is key. Angle the camera downward to exclude public footpaths or busy roads from the sensor's range. Additionally, adjust the sensor's sensitivity thresholds in the configuration settings to ensure it only triggers for larger thermal masses, such as a human body, at closer proximity.
The Chemistry of Batteries in Cold Climates
Outdoor cameras rely on lithium-ion or lithium iron phosphate chemistry. In cold weather, the internal resistance of these batteries increases because the chemical reactions within the electrolyte slow down. This reduces the battery's overall capacity to deliver current, causing the voltage to drop rapidly under load.
While you cannot change the laws of chemistry, you can mitigate these thermal effects. Mount the camera in a location sheltered from wind chill, such as under an eave, soffit, or porch. Avoid direct exposure to freezing winds, which accelerates convective heat loss from the camera housing. Using a custom-fitted insulating cover made of silicone can also help retain the small amount of heat generated by the internal processor during operation.
Reducing Processing Load via Video Settings
Video compression and encoding are highly processor-intensive tasks. The camera's system-on-chip (SoC) consumes considerable energy converting raw optical sensor data into compressed digital video. High resolution, high frame rates, and long recording intervals keep the processor in an active, high-power state for too long.
Adjust the video settings to find an optimal balance between clarity and power conservation. Lowering the capture resolution from 4K to 1080p, or reducing the frame rate from 30 to 15 frames per second, reduces the mathematical calculations required by the processor. Additionally, configure shorter recording clips, such as 10 to 15 seconds per motion event. This ensures the camera captures the essential activity and immediately returns to its energy-saving standby mode.