


Wood is a highly hygroscopic material, meaning it constantly exchanges moisture with its surrounding environment. In a bathroom, where relative humidity levels fluctuate drastically within minutes, unprotected wood will inevitably warp, crack, and succumb to fungal rot. Preparing a wooden shelving unit for these demanding conditions requires understanding the material's cellular biology and applying a robust, hydrophobic protective system.
The Science of Wood and Moisture Ingress
At a microscopic level, wood consists of hollow cellulose fibers held together by lignin. When the relative humidity in a bathroom rises, water vapour enters these cellular voids, binding to the cell walls and causing the wood to expand. Conversely, as the room dries, the moisture evaporates, causing the fibers to shrink. This continuous cycle of expansion and contraction creates internal stresses that lead to warping, splitting, and structural failure.
Furthermore, wood with a moisture content exceeding 20 percent becomes highly susceptible to fungal spores. Microscopic fungi feed on the cellulose and lignin, leading to discoloration, structural softening, and rot. To prevent this, you must block water from entering the wood grain while still allowing any internal moisture to escape slowly, preventing wood rot from the inside out.
Penetrating Oils vs. Film-Forming Sealants
To protect wood in humid zones, you can choose between two primary chemical approaches: penetrating finishes and film-forming finishes.
- Penetrating Finishes (Oils): Natural drying oils, such as pure tung oil or polymerised linseed oil, penetrate deep into the wood's cellular structure. Once inside, they polymerise (harden) through oxidation, filling the microscopic voids and solidifying within the wood itself. This makes the wood hydrophobic while preserving its natural texture and allowing it to breathe.
- Film-Forming Finishes (Varnishes): Synthetic sealants, such as polyurethane or water-based acrylics, cure on the surface of the wood to create an impermeable, continuous plastic barrier. While highly effective at blocking water, any physical nick or scratch in the film can allow moisture to seep underneath, trapping it and causing the finish to peel or flake.
For bathroom shelving, a hybrid approach or multiple coats of a high-quality penetrating oil are often preferred, as they do not peel and are significantly easier to spot-repair over time.
Step-by-Step Preparation and Application
Achieving a durable, moisture-resistant finish depends heavily on surface preparation and correct application techniques.
1. Sanding to Open the Grain
Before applying any sealant, the wood must be sanded to remove existing barriers and open the grain pores. Begin with a medium-grit sandpaper (120 grit) to level the surface, then progress to a fine-grit (180 or 220 grit). Avoid sanding finer than 220 grit for penetrating oils, as overly polished wood will not absorb enough oil to offer adequate protection.
2. Removing Microscopic Dust
Wood dust acts as a barrier, preventing oils and sealants from bonding with the cellulose fibers. Thoroughly vacuum the entire shelving unit, then wipe it down with a tack cloth or a lint-free microfiber cloth lightly dampened with mineral spirits. Allow the solvent to evaporate completely before proceeding.
3. Sealing the Vulnerable End Grains
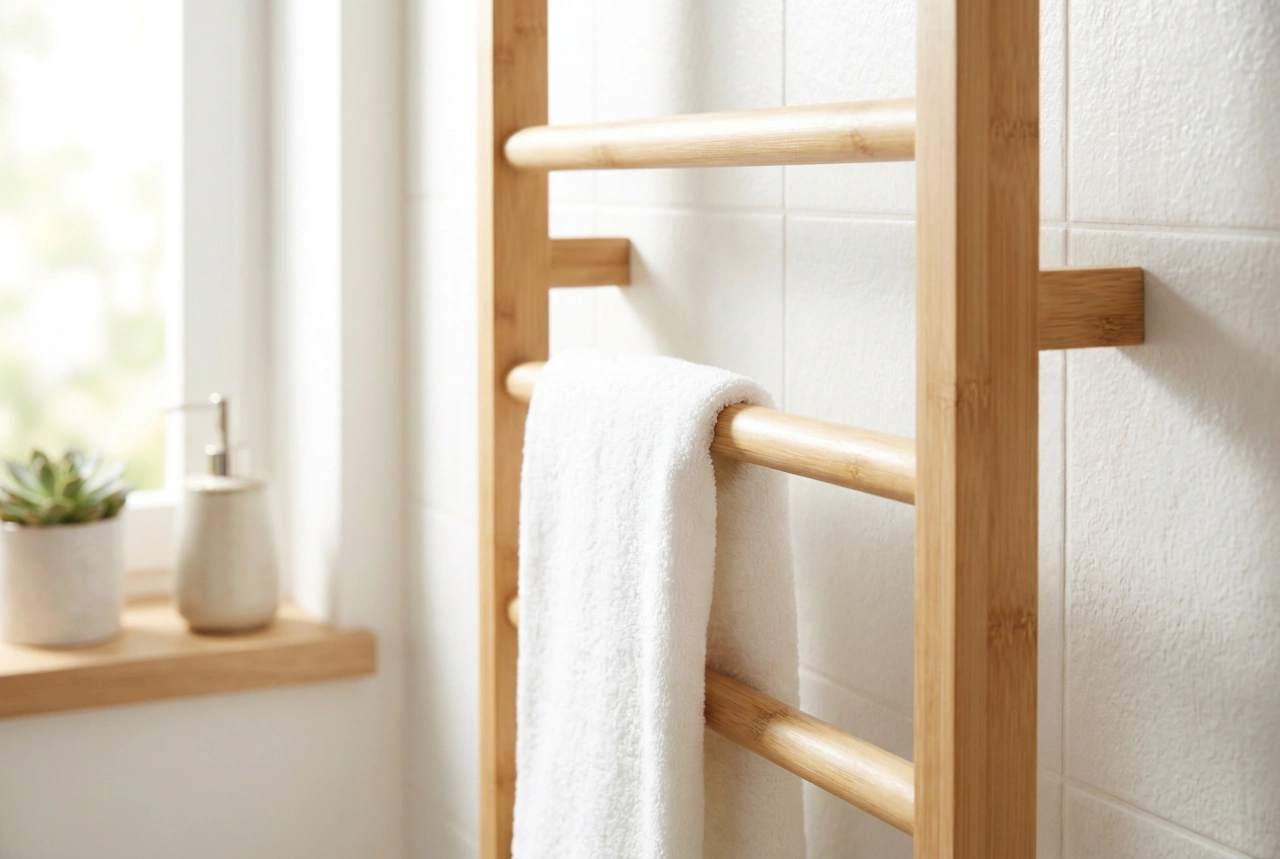
The end grains of a wooden shelf act like bundles of drinking straws, absorbing moisture up to ten times faster than the flat faces. Pay special attention to these areas, applying twice as many coats of sealant to the ends of the shelves, legs, and joints to ensure they are completely saturated and sealed.
4. Applying the Protective Finish
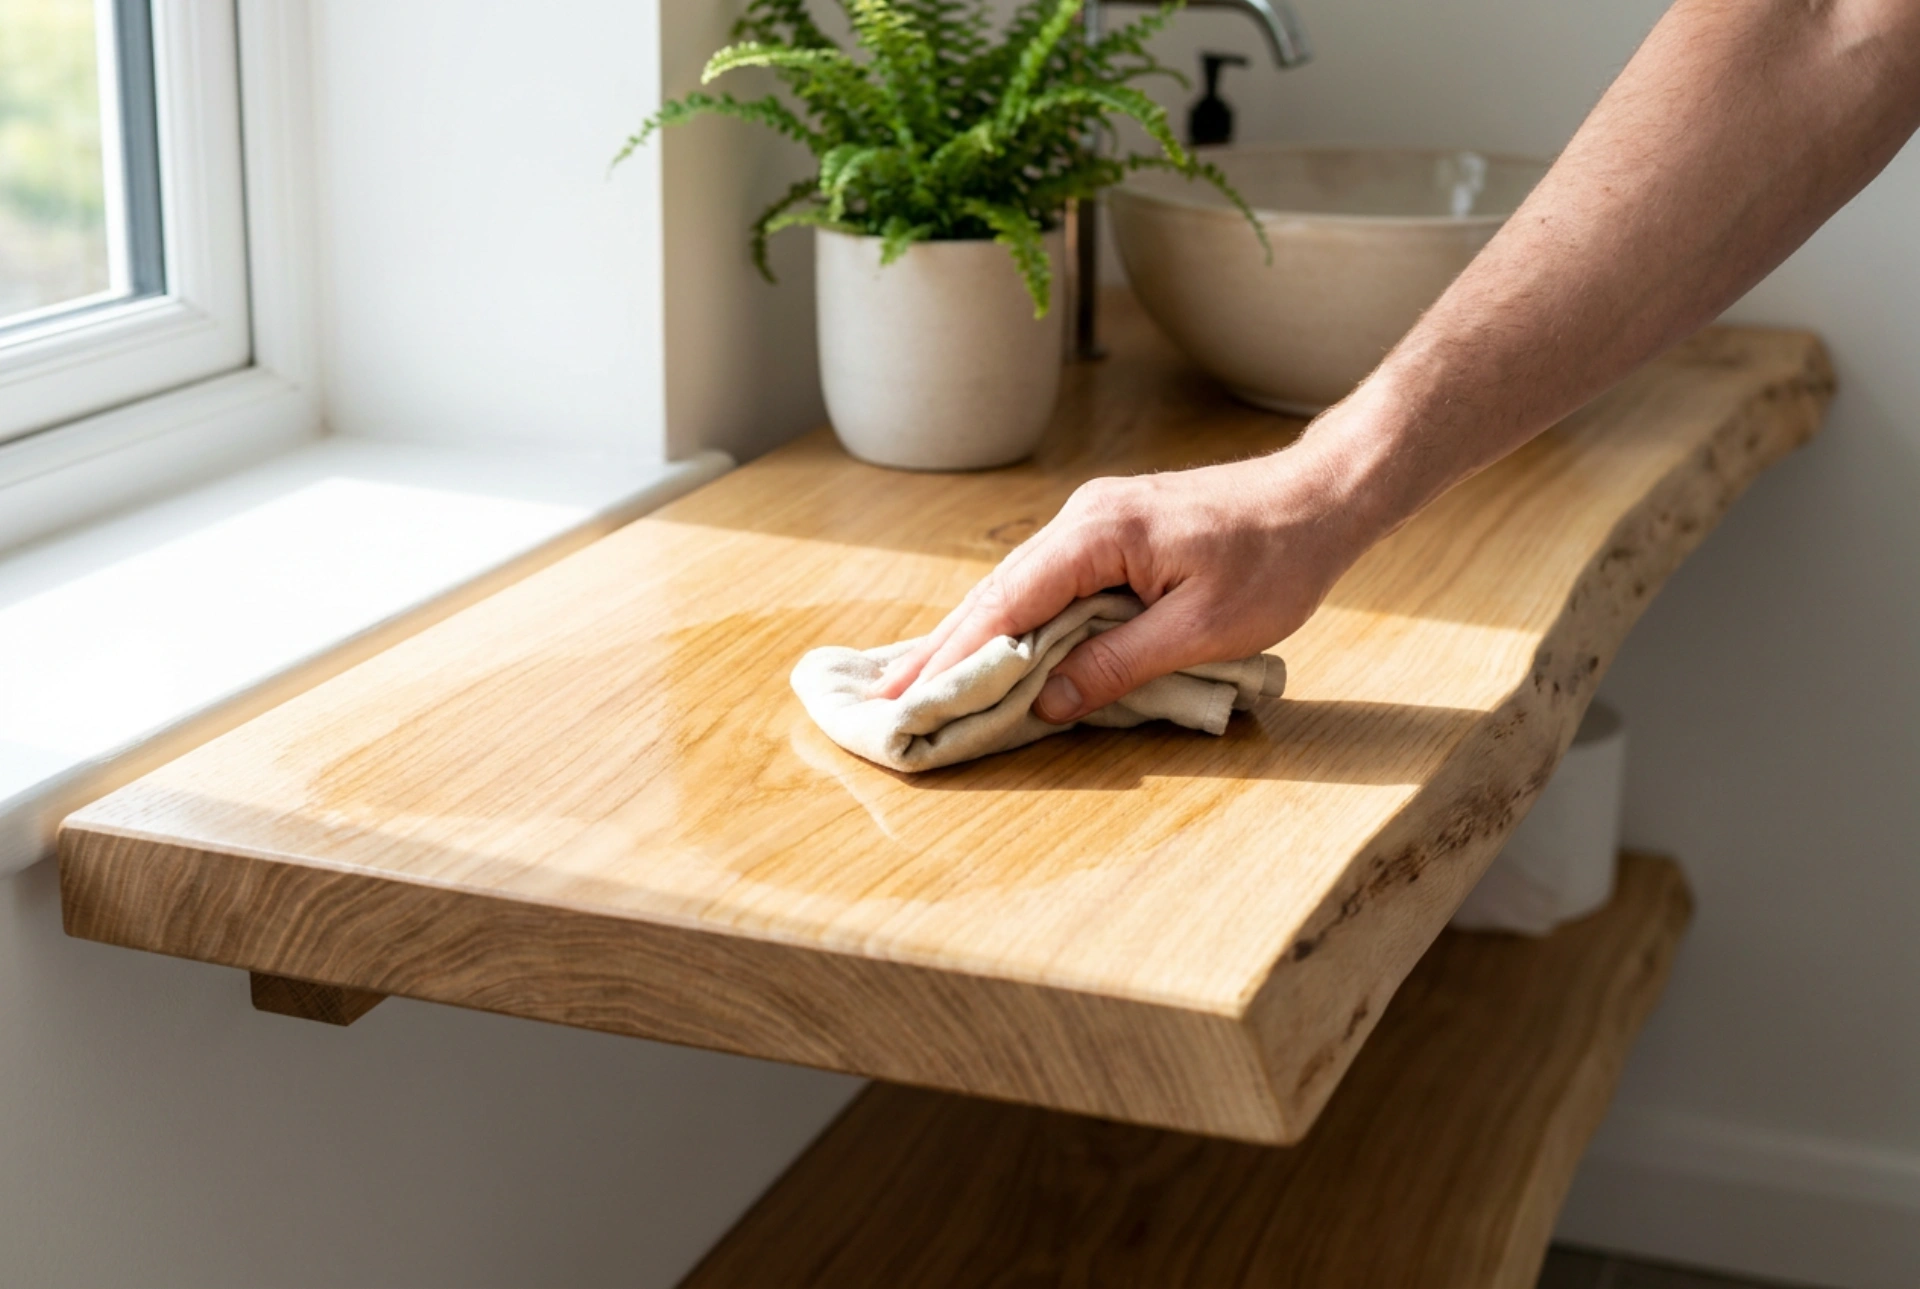
Using a lint-free cloth or a high-quality natural bristle brush, apply a generous coat of your chosen oil or sealant along the direction of the wood grain. Allow the wood to absorb the liquid for 15 to 20 minutes, then thoroughly wipe away all excess, unabsorbed product from the surface. Leaving excess oil will result in a sticky, gummy surface that ruins the finish. Allow to dry for 24 hours, lightly scuff with an ultra-fine abrasive pad, and repeat for at least three coats.
Long-Term Maintenance and the Water-Bead Test
Even the best finish degrades over time under the influence of heat, moisture, and cleaning agents. To monitor the integrity of the protective barrier, perform a simple water-bead test. Drop a few droplets of water onto the shelf surface. If the water beads into tight spheres, the finish is intact. If the water spreads flat or starts to darken the wood, the protective layer has worn thin, and it is time to apply a maintenance coat of oil to restore the hydrophobic barrier.